Gravel Backyard Ideas: A Complete Guide to Low-Maintenance, Budget-Friendly Landscaping
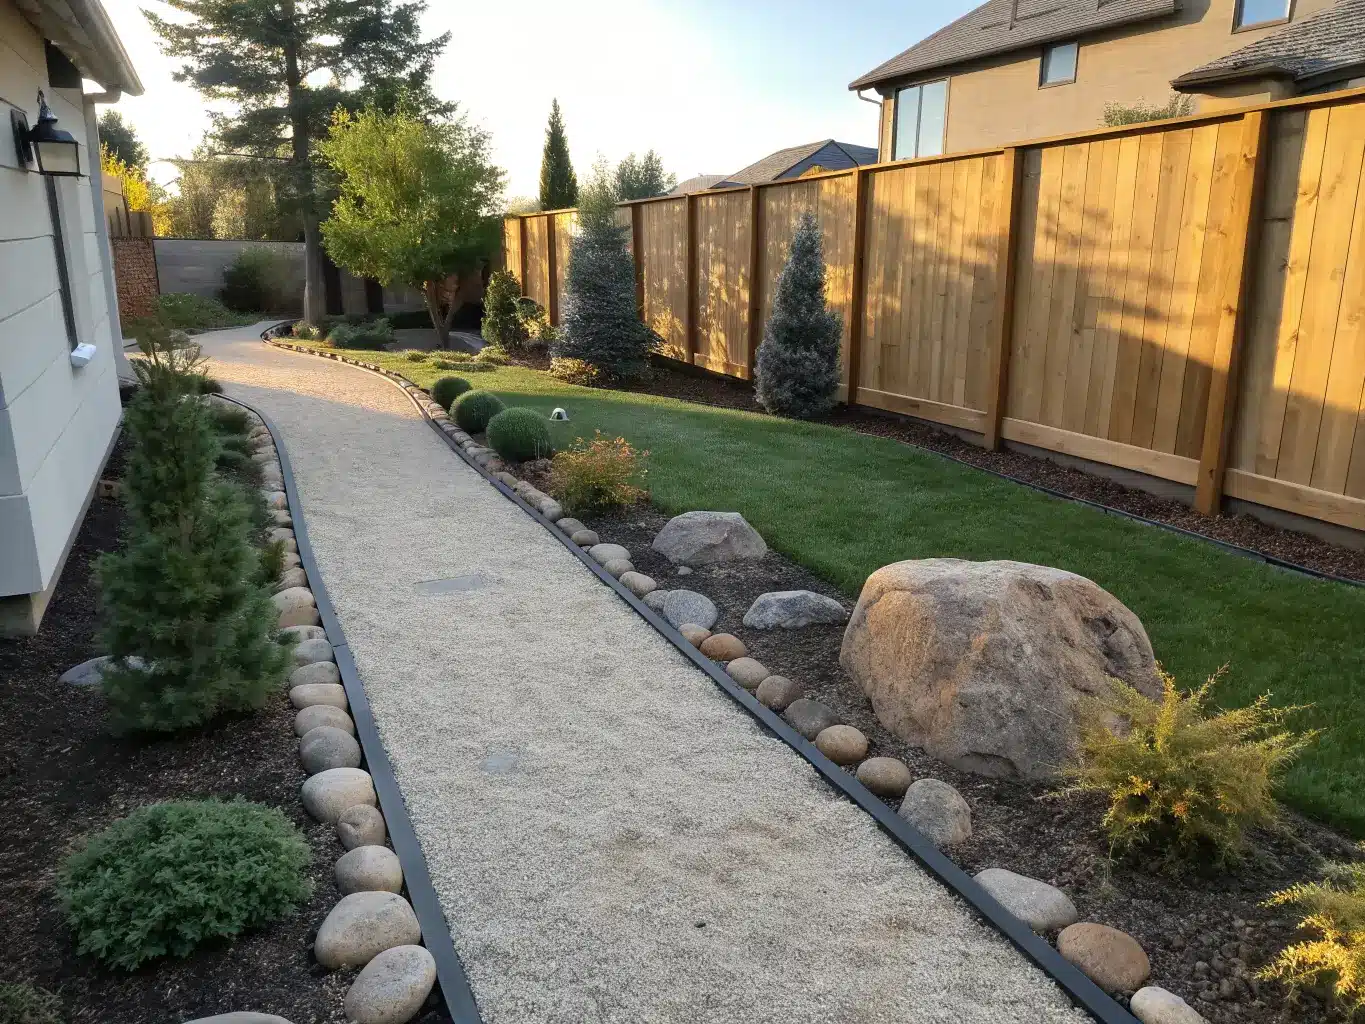
Gravel backyard ideas keep coming up in my searches every spring for the same reason: I got tired of babying a lawn that turned to mud every March and straw every July. Three years ago I ripped out a 200-square-foot dead-grass patch on the side of my house and replaced it with gravel, steel edging, and a cluster of drought-tolerant plants. It’s the lowest-maintenance decision I’ve made in that yard, and I still think about it every time I mow the tiny scrap of lawn that’s left.
If you’re staring at a patchy lawn, a muddy side yard, or a boring concrete slab and wondering if gravel is the answer, here’s what actually works, what I got wrong, and how to avoid the mistakes that make gravel yards look cheap instead of intentional.
What a Gravel Backyard Actually Involves
Time: A small path or a single seating nook is genuinely a weekend project. I built my first gravel reading nook — about 80 square feet — in a Saturday, start to finish. Bigger projects, like a full gravel patio with a fire pit, a graded drainage bed, or anything on a slope, take longer because you’re dealing with excavation, compaction, and edging that all needs to happen in the right order.
Cost: This is the main reason people gravitate toward gravel. It’s one of the cheapest ways to redo a backyard. Basic pavers run around $2 each, ground grids for stabilizing gravel on slopes can be as low as $0.30 per square foot, and a pea-gravel patio is consistently one of the most budget-friendly patio options you can DIY. My side-yard project, including gravel, edging, fabric, and three boulders, came in under $600 — a fraction of what a paver patio quote would have cost.
Space size: Gravel is flexible in a way lawn and full hardscape aren’t. It works in narrow side yards, awkward corners you don’t know what to do with, sloped sections where grass won’t grow evenly, and large open backyards where you want to define zones without pouring concrete everywhere.
Skill level: Paths, patios, and planting beds are beginner-to-intermediate — if you can use a shovel and a level, you can do this. Fire pits, drainage trenches, and slope work move into intermediate territory. Retaining walls or major regrading are advanced jobs, and honestly, that’s where I’d call in a landscaper rather than guess.
Seasonality: Gravel works year-round. It doesn’t die, doesn’t need water, and doesn’t turn into a swamp in the rain if you’ve graded it right. What changes seasonally is the styling around it — planters, lighting, cushions — not the gravel itself.
The Design Identity: What Style Are You Actually Going For
Before you order a single yard of gravel, decide what look you’re chasing, because gravel colors and companion materials shift the whole feel.
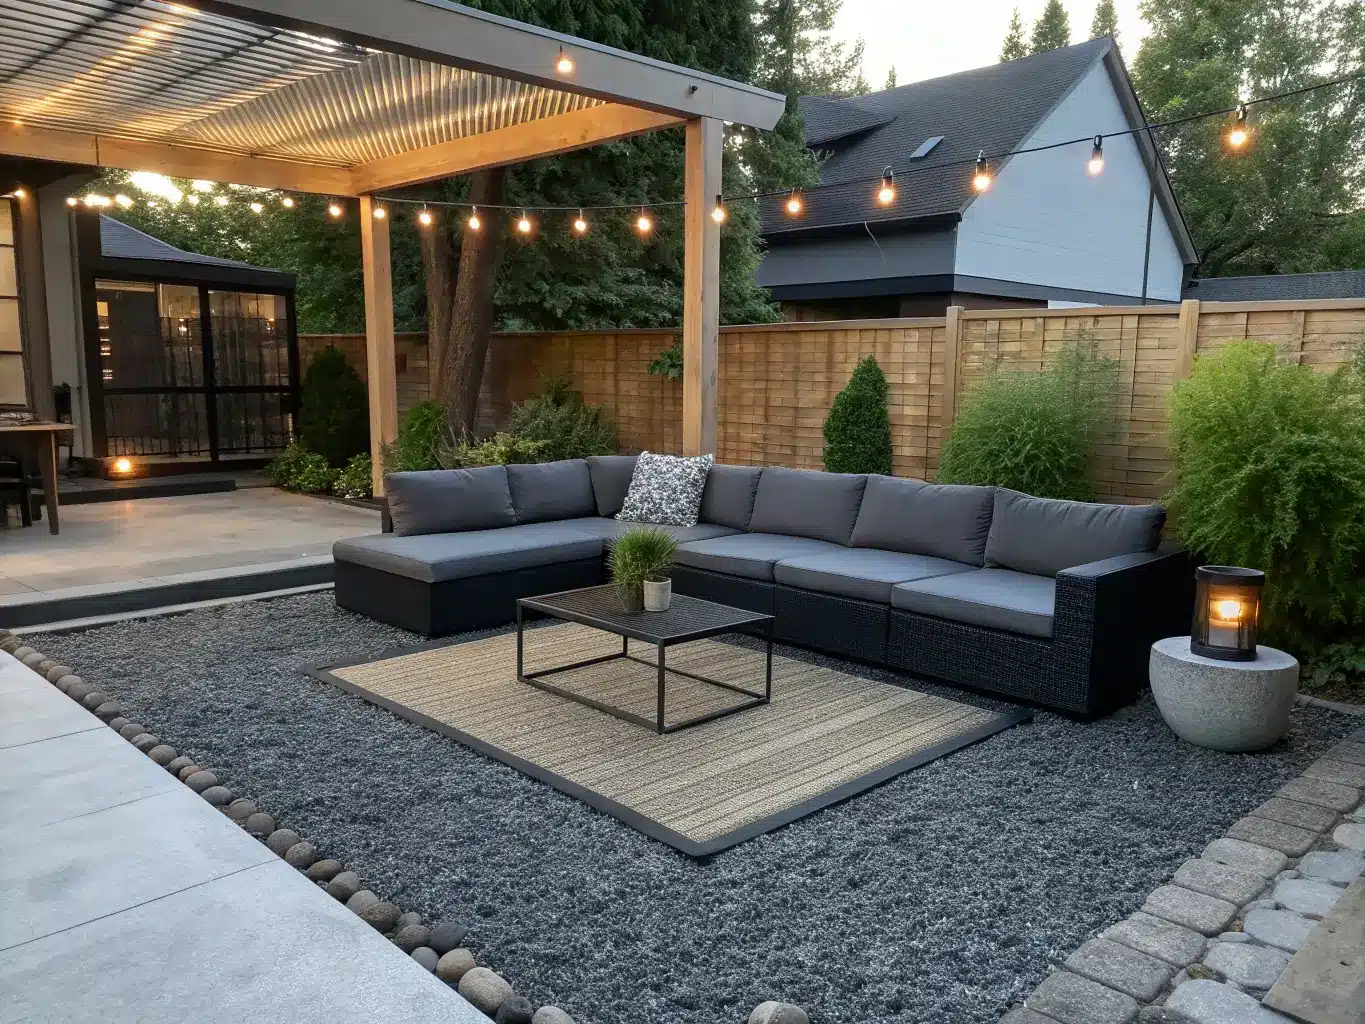
– Modern minimal — charcoal or dark gray gravel, steel edging, sharp lines, minimal planting
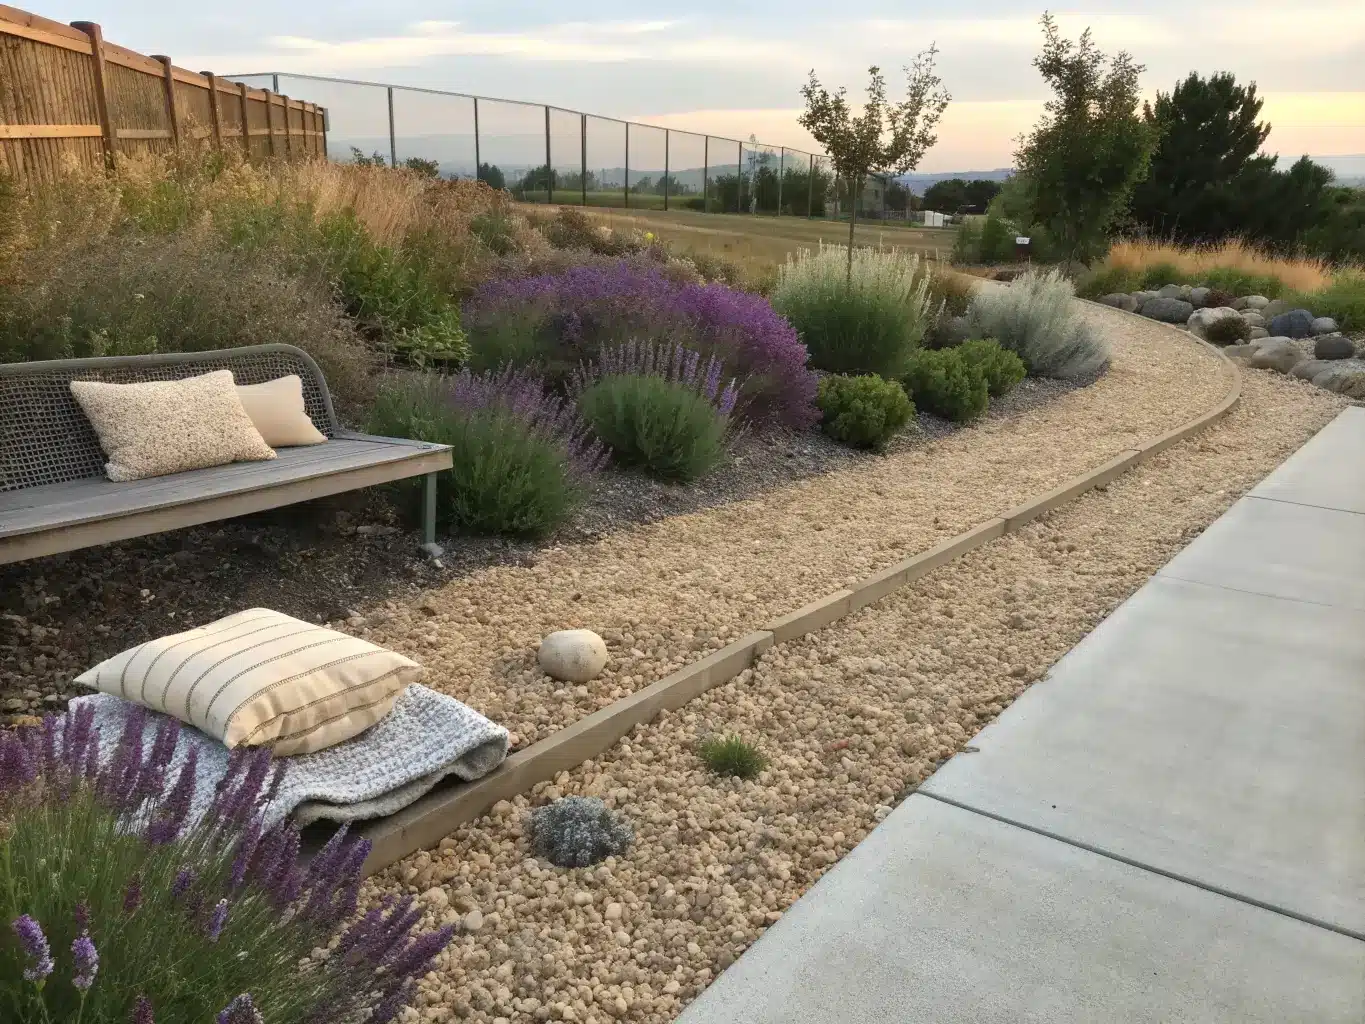
– Mediterranean — buff or tan gravel, terracotta pots, olive trees or lavender, warm and sun-bleached
– Japanese-inspired — fine light gravel, large stones, moss, restrained planting, raked lines
– Drought-tolerant/desert modern — mixed neutral gravel, agave, succulents, ornamental grasses
Materials that pair well with gravel: bluestone, brick pavers, cedar, concrete, river rock, boulders, steel edging, and natural stone borders. My own yard mixes buff pea gravel with cedar edging and one large sandstone boulder I found on Facebook Marketplace for $40 — heavy enough that two of us barely got it into the truck bed, but it anchors the whole space.
This approach is perfect if you want something low-maintenance and drought-tolerant, or if you’re dealing with a patchy lawn or a spot that never drains right. It’s less ideal if you have small kids who need a soft place to fall or a dog that thinks gravel is a chew toy — mine does, occasionally, and I’ve made peace with it.
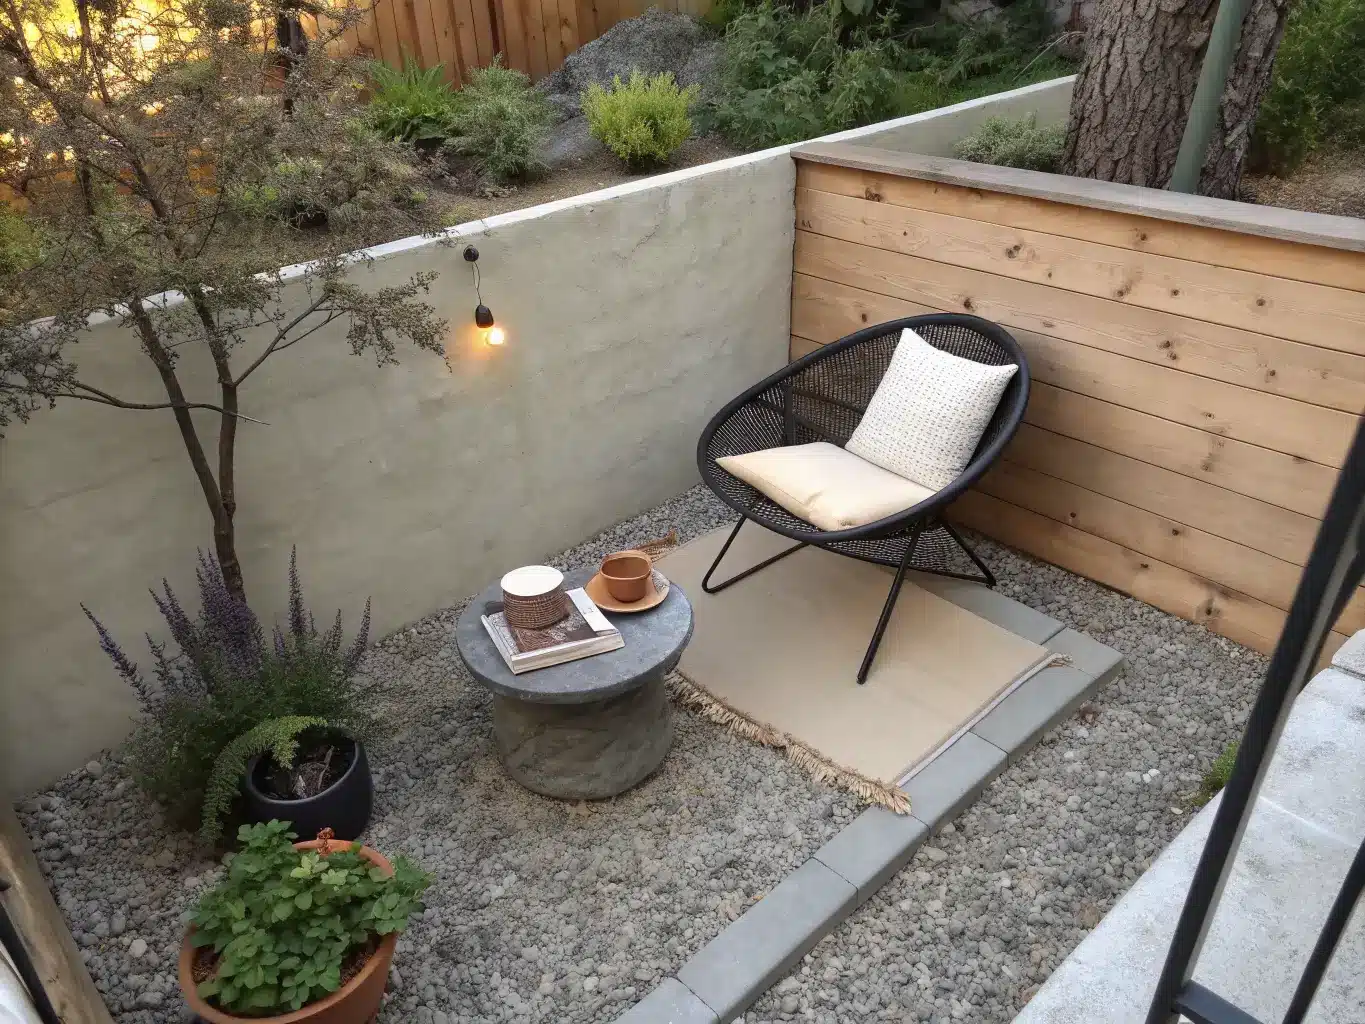
The worth having Pieces That Make a Gravel Yard Work
You need more than “gravel dumped on dirt.” Here’s the actual stack, bottom to top:
– Crushed stone or limestone base layer — this is what gives you stability and drainage. Skip this and your gravel will sink and shift within a season.
– Landscape fabric on top of the base, under the decorative gravel, to cut down on weeds
– Edging — steel, brick, timber, or stone — to keep gravel from migrating into your lawn or beds
– Pea gravel as the top decorative layer for patios and seating areas — it’s smooth underfoot and comfortable to sit on
– Pavers or stepping stones to break up a big gravel field so it doesn’t read as one flat surface
– Boulders or large rocks for structure, especially in Japanese or naturalistic layouts
– Seating — sling chairs, a modular sofa, or a simple bistro set, depending on how you’ll use the space
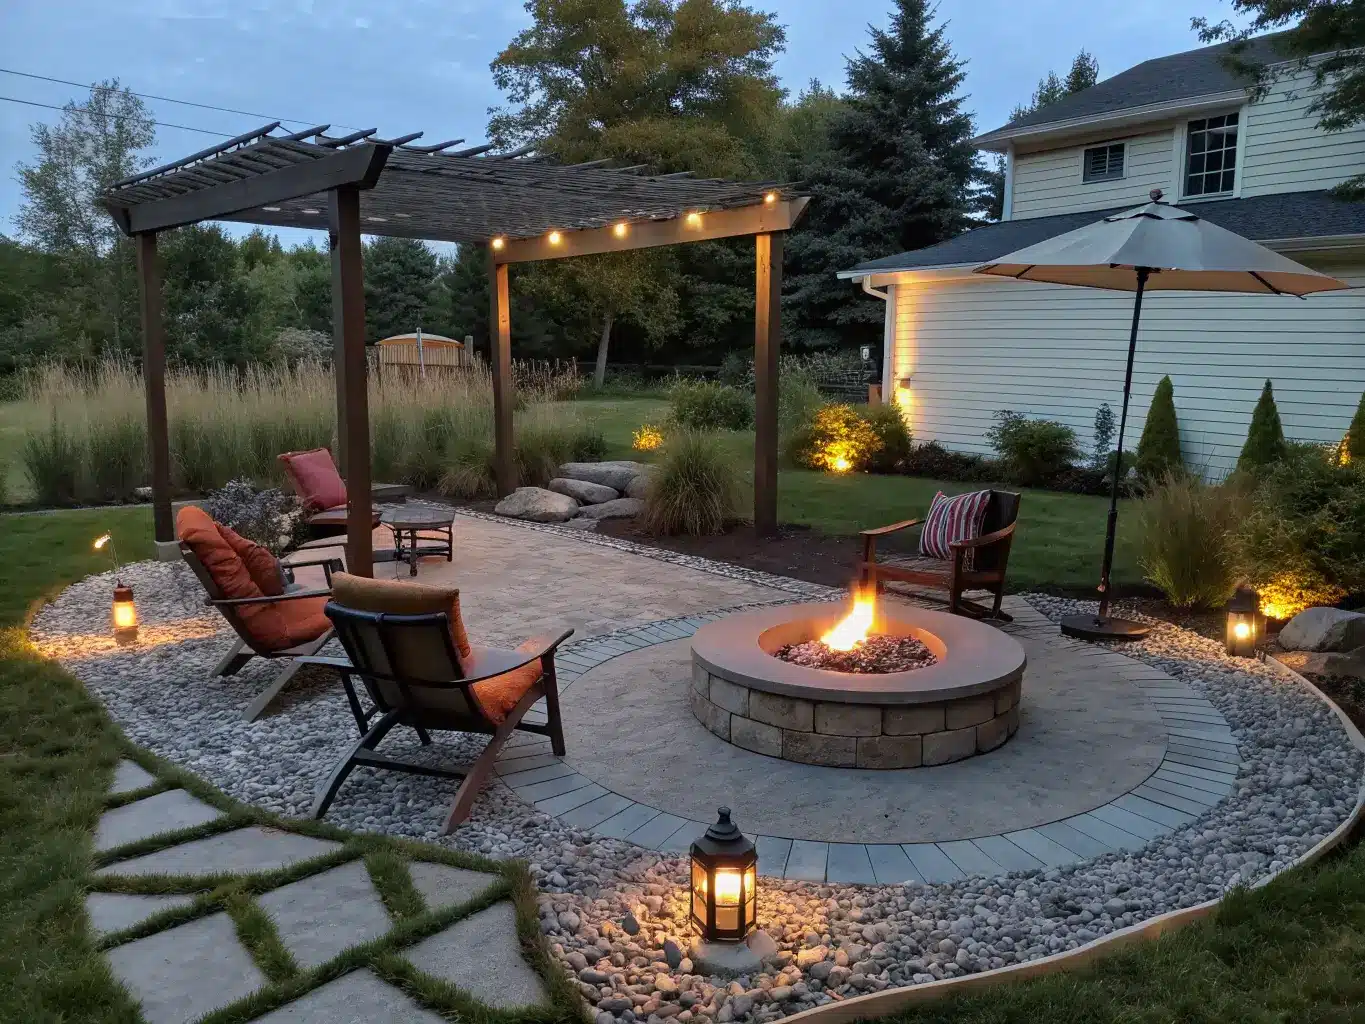
– A fire pit, if you want the space to double as an evening hangout
– A pergola or shade sail if you’re in a sunny climate and want the patio usable at 2pm, not just after sunset
– Planters with drought-tolerant plants — skip this and the whole thing looks like a construction site that never got finished
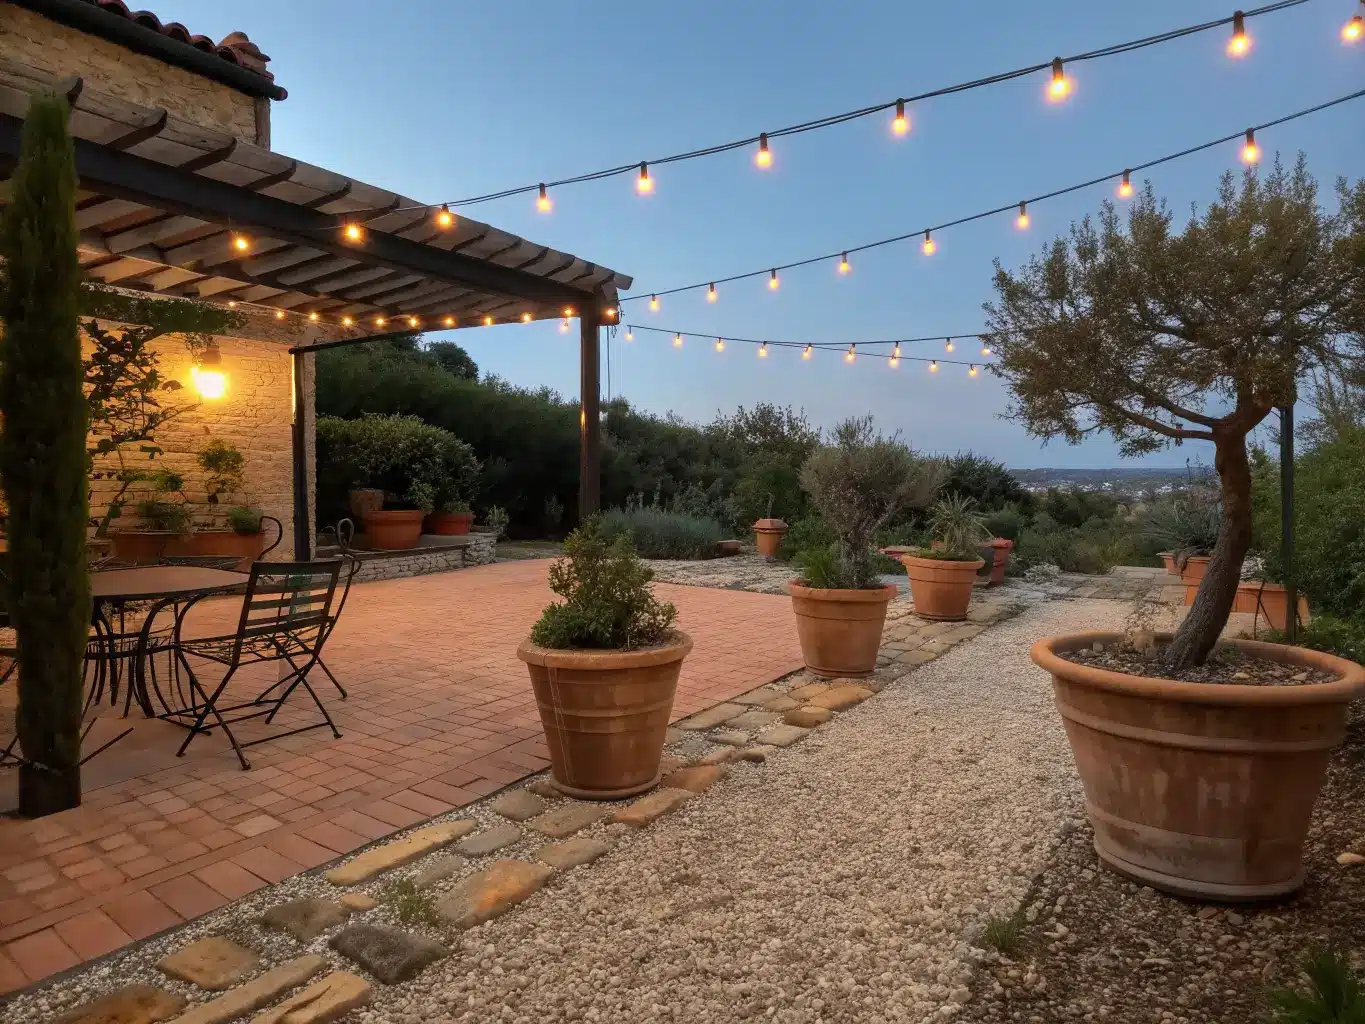
Optional Touches That Take It From Fine to Good
Once the bones are in, these are the details that make people ask where you got your yard done:
– String lights or solar stake lights — cheap, and they make neutral gravel feel warm at night instead of stark
– Outdoor rugs over pea gravel seating areas — softens the whole zone visually
– A small bubbling fountain for sound, especially in a zen-style layout
– Black steel planters or lanterns for a sharper, more modern contrast against light gravel
– Cedar accents — a slatted bench, a timber pergola — to warm up all that stone
– Seasonal container plants — grasses and lavender in summer, ornamental kale or evergreens in winter — so you can refresh the look without touching the hardscape
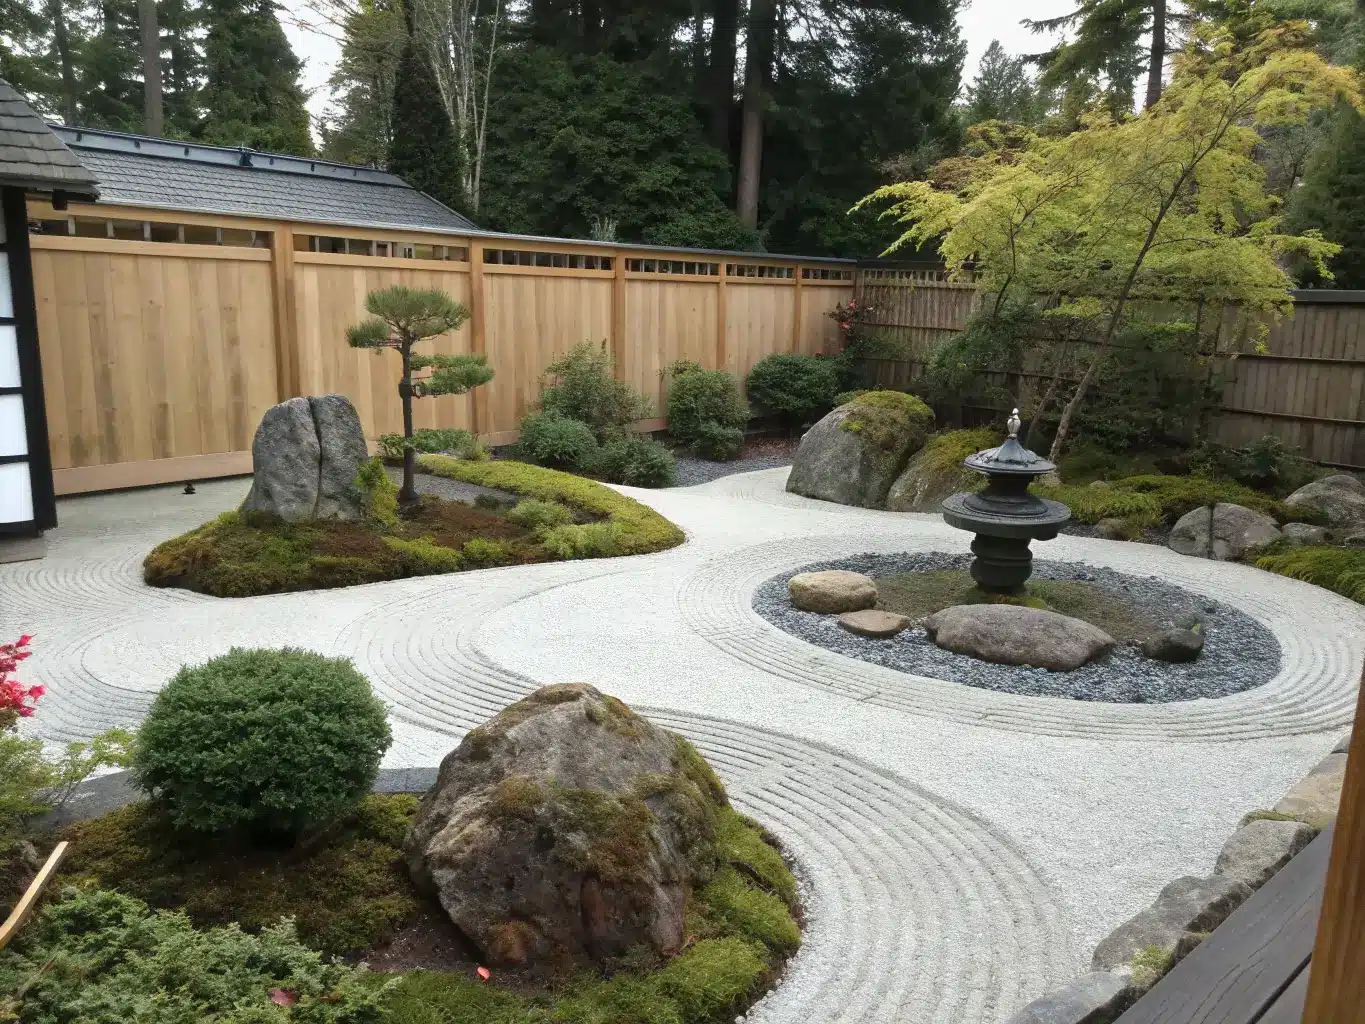
How to Style It So It Doesn’t Look Like a Construction Site
This is where most DIY gravel yards go wrong, including my first attempt. Here’s what actually makes the difference:
Use contrast on purpose. Light gravel — buff, tan — reads soft and Mediterranean. Dark gravel — charcoal, black basalt — reads modern and graphic. Don’t mix five gravel colors thinking it’ll look layered. It looks like leftover bags from three different trips to the landscape yard, which is exactly what happened in my first version before I redid it with a single buff tone.
Keep the layout simple. One dominant gravel color. One or two hardscape materials alongside it. A restrained plant list. That’s it.
Give it one strong focal point. A fire pit, a specimen tree, a big boulder, a pergola — pick one. Without this, even a well-built gravel space feels flat and directionless.
Don’t let gravel dominate the whole yard. This was my biggest early mistake. I did a 300-square-foot stretch that was pure gravel with three small pots at the edges, and it looked like a gravel parking lot, not a garden. I pulled up a third of it a year later and put in a planting bed instead. Current landscaping guidance backs this up — the yards that read as designed, not just cheap, treat planting as equal to the hardscape, not an afterthought.
Mix materials for depth. Gravel plus bluestone stepping pads. Gravel plus a brick paver border. Gravel plus a timber deck transition. Two materials read intentional; five reads chaotic.
Repeat your materials. If you use buff gravel in the path, use it in the patio and the planting bed borders too. Consistency is what makes a yard feel like one cohesive plan instead of three separate weekend projects — which, again, mine started as, until I unified it.
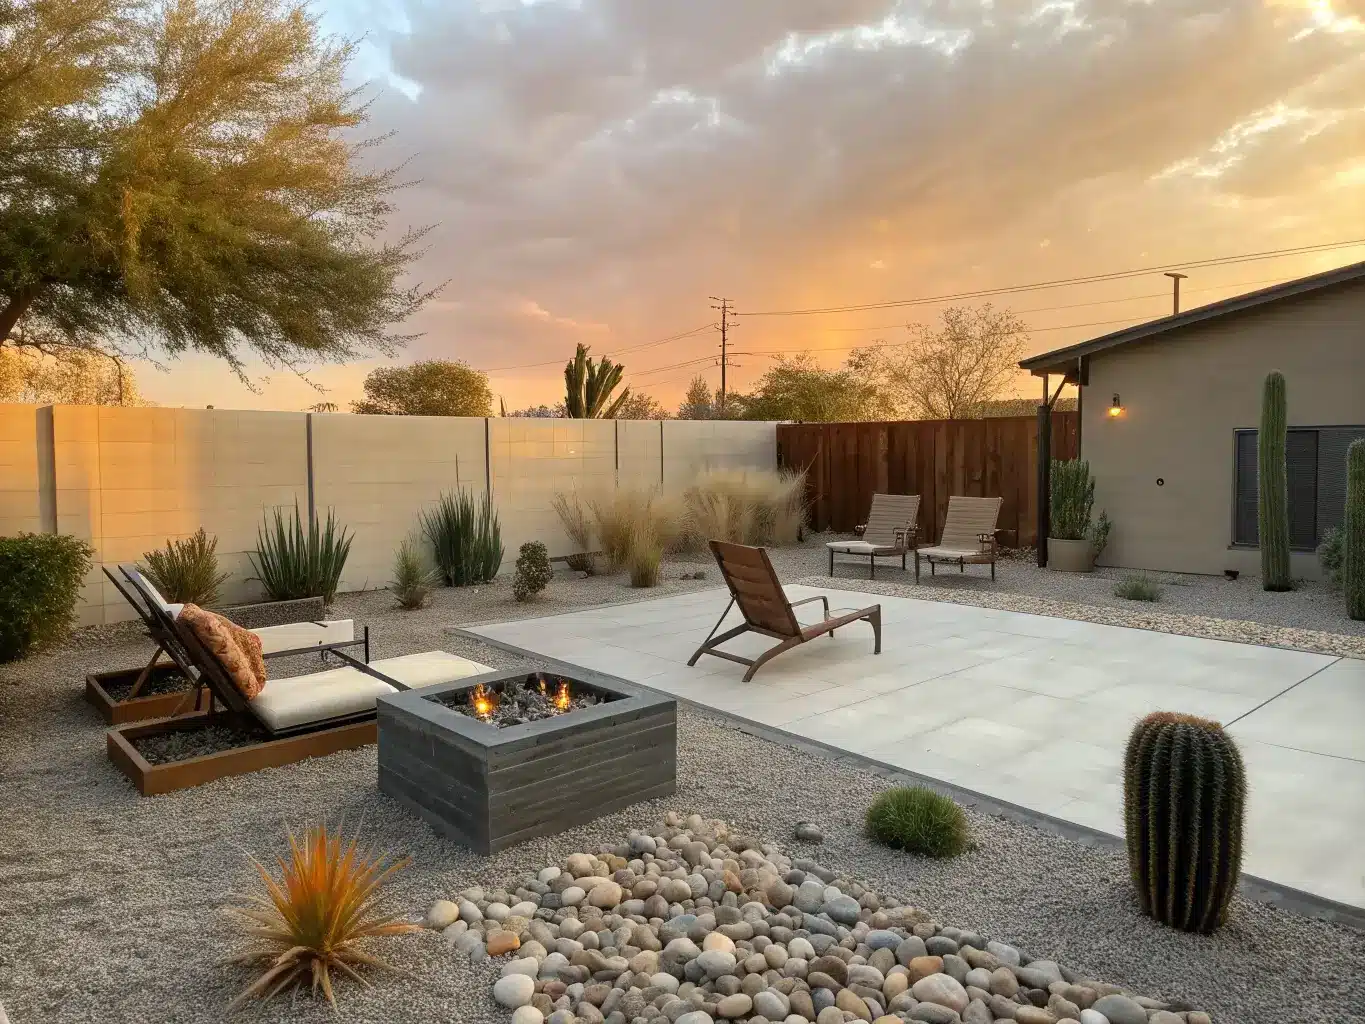
How to Actually Build This: Step by Step
1. Clear the area. Strip sod, weeds, and topsoil down to bare ground. Don’t skip the topsoil removal — gravel laid straight on soil will sink unevenly within months.
2. Check your grading. Water should move away from your house, not toward it. If you’ve got a low spot that pools every time it rains, this is your chance to fix it before you bury the problem under stone.
3. Install edging first. Steel, timber, brick — whatever you’re using, get it in before the gravel goes down. Trying to edge around gravel after the fact is a miserable, gravel-in-your-shoes kind of afternoon. Ask me how I know.
4. Lay landscape fabric across the graded, cleared area, overlapping seams by a few inches.
5. Add your base layer — 3 to 4 inches of crushed stone or limestone, compacted. A hand tamper works for small areas; rent a plate compactor for anything over a couple hundred square feet.
6. Top with your decorative gravel — usually 2 inches is plenty for a path or patio. Too deep and it feels like walking on a beach, which sounds nice until you’re trying to carry a tray of drinks across it.
7. Place your big elements — fire pit, boulders, paver stepping stones, pergola posts, benches — before you do your final planting. It’s much easier to move a planter than a fire pit once things are settled.
8. Plant in clusters, not singles. Three rosemary plants grouped together read as a garden. Three rosemary plants scattered ten feet apart read as three plants that got lost.
9. Finish with lighting and a small number of accessories. Resist the urge to add more pots. The clean gravel itself is part of the design — don’t bury it.
Budget: Where to Spend, Where to Save
Spend on:
– Proper base prep and compaction — this is structural, not decorative, and cutting corners here means redoing the whole thing in two years
– Edging — cheap edging bends, rusts unevenly, or pulls out of the ground; steel or well-set brick holds its line
– One good focal point (fire pit, quality boulder, or a small tree)
Save on:
– The gravel itself — buff and gray gravel cost about the same as more “designer” colored stone, so don’t overpay for a trendy shade
– Furniture — a $150 bistro set on a well-built gravel patio looks better than a $600 set on a poorly graded one
– Planters — thrifted terracotta and concrete pots look identical to new ones once they’ve got dirt and a plant in them
Common Mistakes I’ve Seen (and Made)
– Too much gravel, not enough planting — the flat, parking-lot look I mentioned above. Fix it by converting 20-30% of any large gravel field into planting beds.
– No edging — gravel migrates into your lawn, your neighbor’s yard, your gutters. It’s inevitable without a hard boundary.
– Skipping compaction — a gravel patio that shifts underfoot within six months usually means someone skipped the base layer or didn’t compact it.
– Wrong gravel size for the job — pea gravel (3/8 inch) for anything you’ll walk on regularly; larger crushed stone (3/4 inch or bigger) for drainage areas or decorative zones you won’t be crossing barefoot.
– Overcrowding the layout with too many pots, ornaments, and mismatched furniture — gravel yards read best clean.
– Directing drainage the wrong way — gravel handles water well, but if you grade it toward your foundation or a neighbor’s fence line, you’ve just moved the problem, not solved it.
Keeping It Fresh Without Redoing the Whole Yard
Once it’s built, gravel is close to maintenance-free, but here’s how to keep it from feeling static:
– Swap planters, cushions, and lighting seasonally. Summer grasses and lavender give way to evergreen arrangements or bare branches with lights in winter. The hardscape never changes; the styling does.
– Stick to one gravel color and one or two hardscape materials across the whole yard so new additions don’t clash with what’s already there.
– Try cross-style combinations if you want variety without starting over: boho pairs well with cedar accents and soft textiles over a gravel patio; coastal works with pale buff gravel and driftwood-toned furniture; modern wants charcoal gravel and black steel edging; Japanese-inspired wants fine gravel, moss, and almost no color at all.
– Convert one zone instead of the whole yard if you’re bored. I turned a straight gravel strip along my fence into a shallow dry creek bed last year — a weekend project, a few bags of river rock, and it completely changed that corner without touching anything else.
The whole appeal of gravel is that it’s forgiving. You can start small, see how you like maintaining it, and expand later. That’s exactly how mine happened — one side yard, then a path, then a fire pit zone two years after that. None of it was planned as one big project, and it still looks like it belongs together, because I kept the gravel color and the edging consistent the whole way through.
More Ideas to Explore
Keep the momentum going: Modern Spanish Revival: How to Get the Look Without Gutting Your House covers another angle worth a look.