My first apartment patio was a concrete slab barely bigger than a closet door laid flat.
My first apartment patio was a concrete slab barely bigger than a closet door laid flat. I could fit two feet standing on it before hitting the railing. For a year I did nothing with it because I thought “small patio ideas” meant miniature versions of a real backyard setup. It doesn’t. It means rethinking the whole approach — vertical instead of horizontal, layered instead of scattered, and ruthless about what actually earns a spot out there.
Once I stopped trying to fit a table, chairs, and a plant collection onto four square feet, the space finally worked. Here’s everything I learned getting there.
Quick Style Snapshot
Time needed: A simple refresh — rug, lights, a couple planters — takes 1 to 3 hours. If you’re assembling a bistro set, mounting a privacy screen, or building anything, budget 1 to 2 weekends. I’ve done both versions, and the weekend project is worth it if you’re staying put for more than a season.
Cost range, based on what I’ve actually spent or priced out:
– Budget refresh ($75–$250): string lights, a small rug, three or four planters, cushion covers, and a side table from a thrift shop or a pallet you DIY yourself.
– Mid-range setup ($250–$900): a foldable bistro set, a real outdoor rug, a privacy screen, and enough planters to layer greenery at different heights.
– Higher-end makeover ($900–$2,500+): weathered teak furniture, a storage bench, quality lighting, and a custom-built privacy wall.
Ideal space size: This works for patios and balconies from roughly 4 by 6 feet up. A 4×6 rug is the workhorse size for a reason — it fits almost every micro-patio without hanging over the edge.
Skill level: Beginner to intermediate. Hanging string lights and arranging planters is a Tuesday-night task. Building a pallet bench or mounting a lattice screen takes actual tools and a free afternoon.
Seasonal appeal: Year-round in mild climates. In colder ones, you extend the season with warm lighting, weather-resistant textiles, and a small portable heater if your building allows it.
The Design Identity: What This Style Actually Is
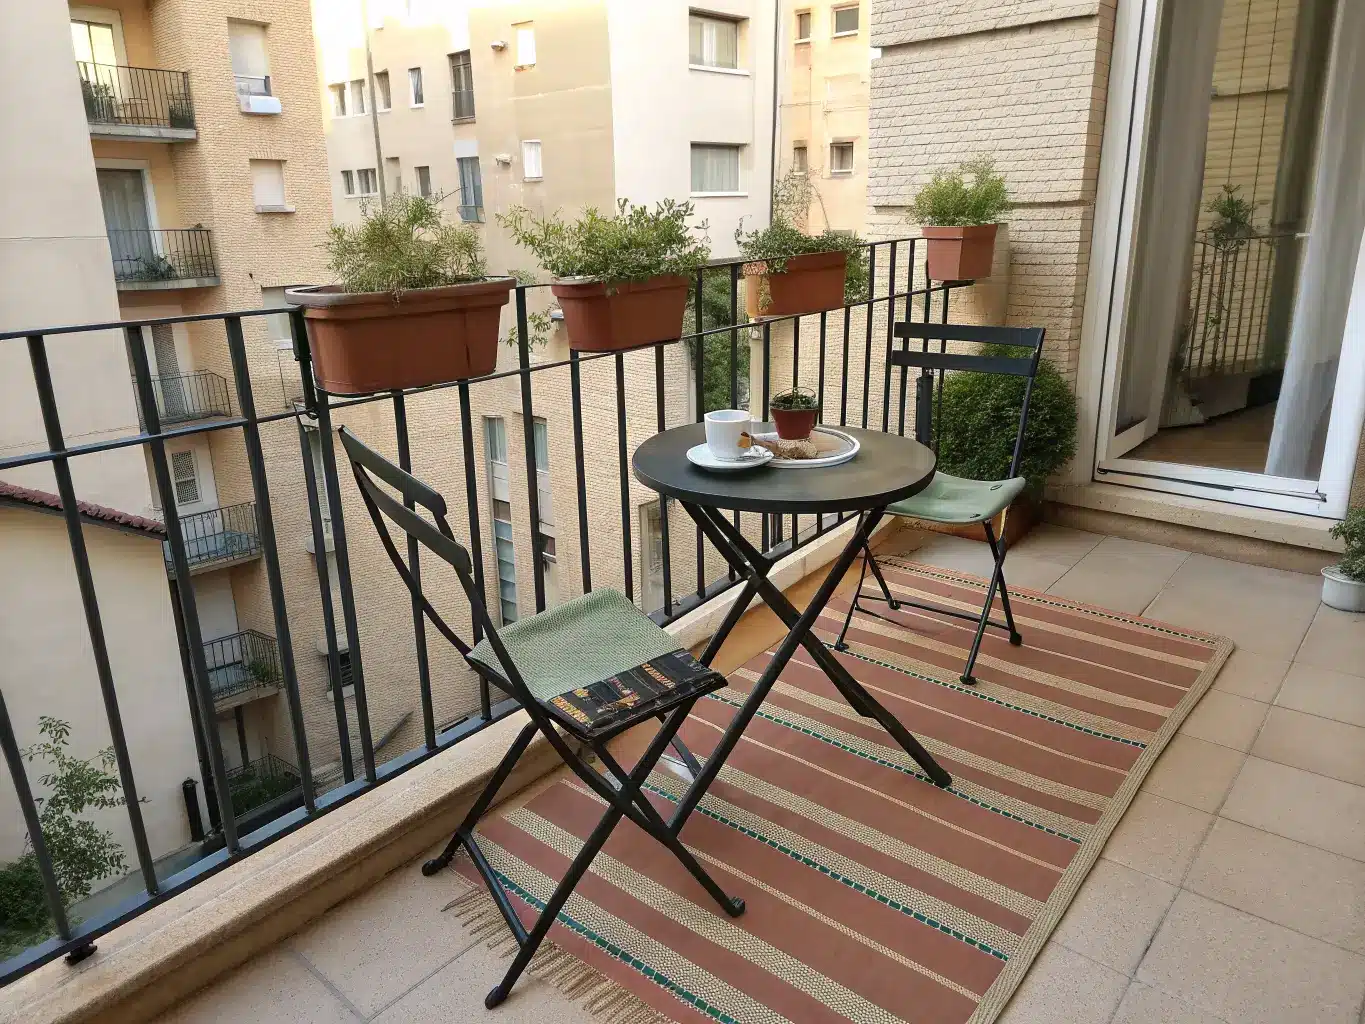
The look that works best on tiny apartment patios right now is a mix of compact contemporary and renter-friendly boho-coastal — clean furniture lines, natural textures, and a lot of greenery doing the visual heavy lifting instead of bulky decor.
Colors that repeat across every small patio I’ve styled well: warm white, sand, sage green, terracotta, navy, and black metal accents. Not because they’re trendy — because they read as calm and cohesive in a space too small to hide a mismatched palette.
Materials that hold up: polypropylene outdoor rugs, weathered teak, aluminum, resin, bamboo, and galvanized metal planters. I learned the hard way that a jute rug looks great for exactly one rainstorm before it’s ruined.
This style is built for renters, apartment dwellers, and plant people who want one usable outdoor corner — a coffee nook, a two-chair dining spot, a reading perch — not a full outdoor living room. If you’re working with a Juliet balcony, a narrow terrace, or a ground-floor rental slab, this is your playbook.
The Must-Have Pieces for a Tiny Patio
You need fewer things than you think. Here’s what actually earns square footage:
– One hero piece — a folding bistro set, a compact café table with two chairs, or a small bench with cushions. Pick one, not several.
– Space-saving seating — stackable or foldable chairs so you can clear the floor when you need to. I keep two folding chairs from IKEA that lean flat against the railing when I’m not using them.
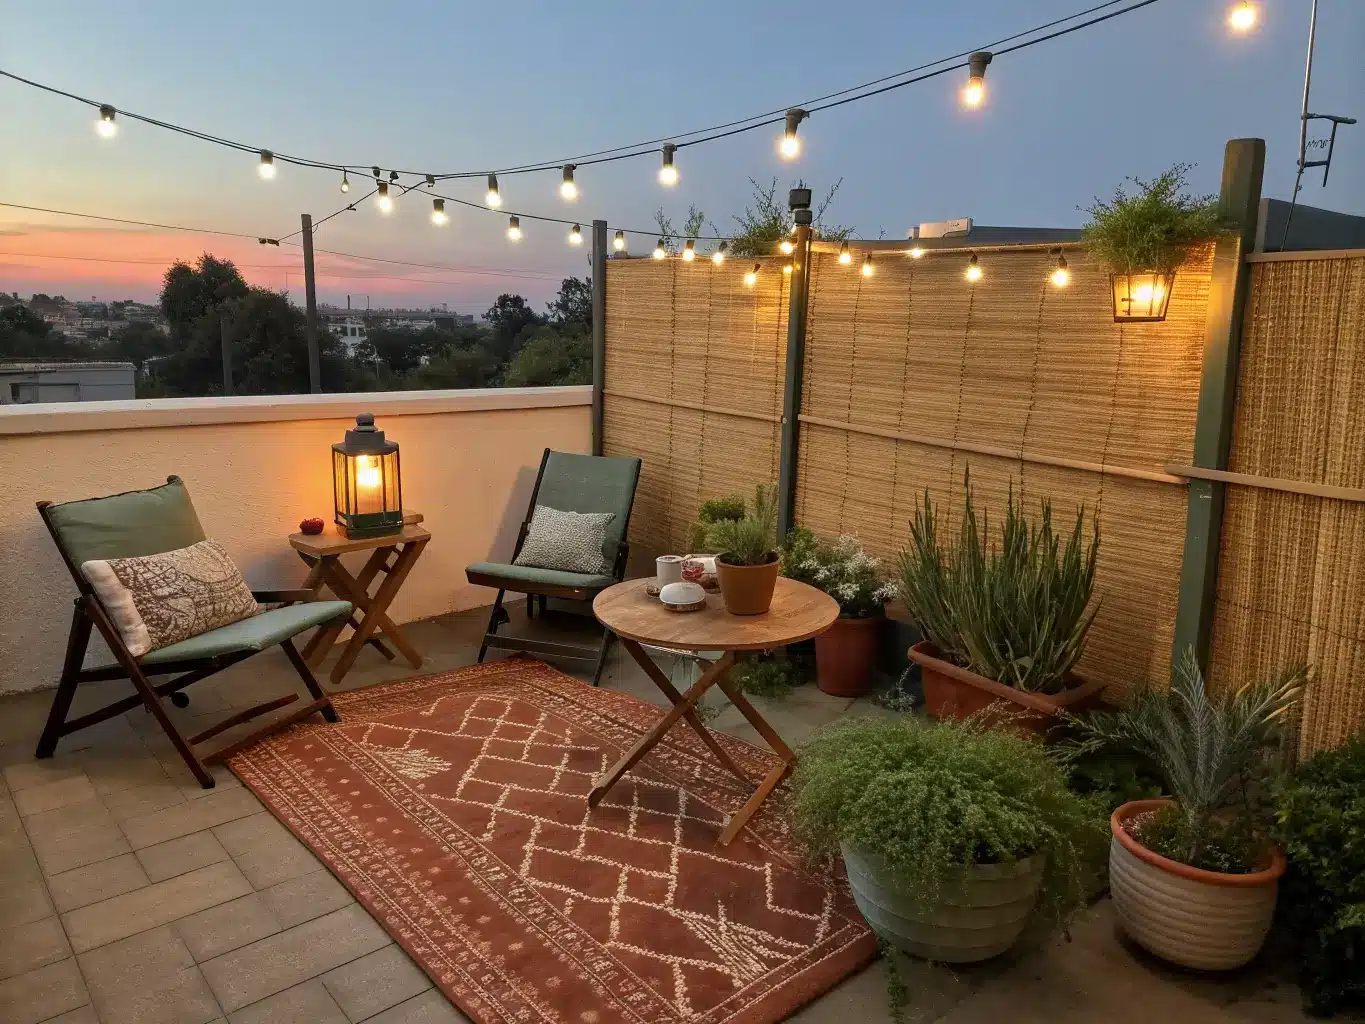
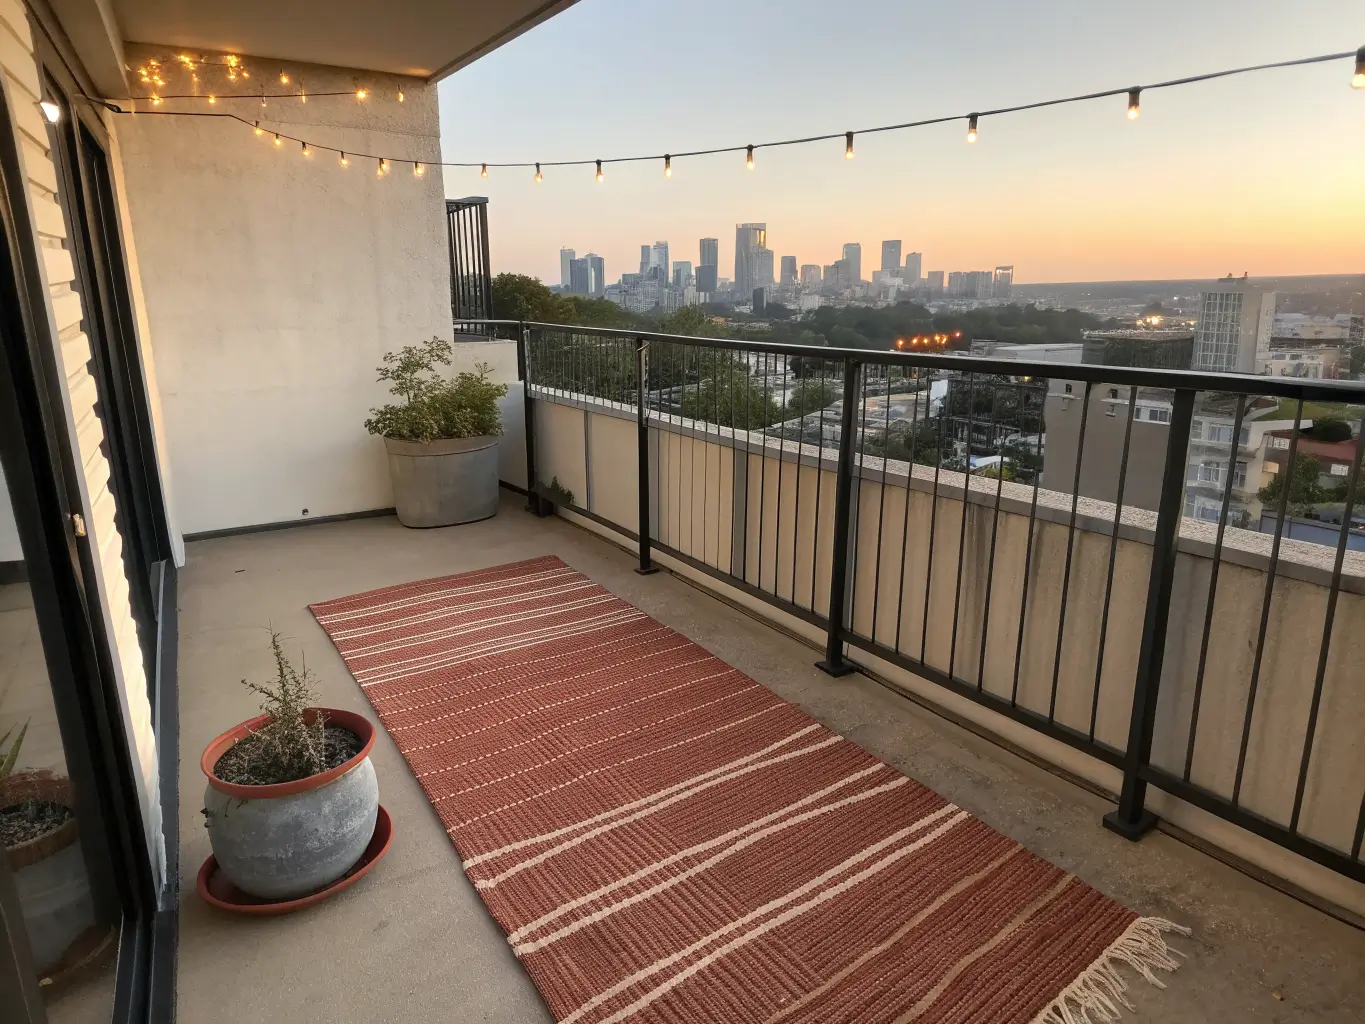
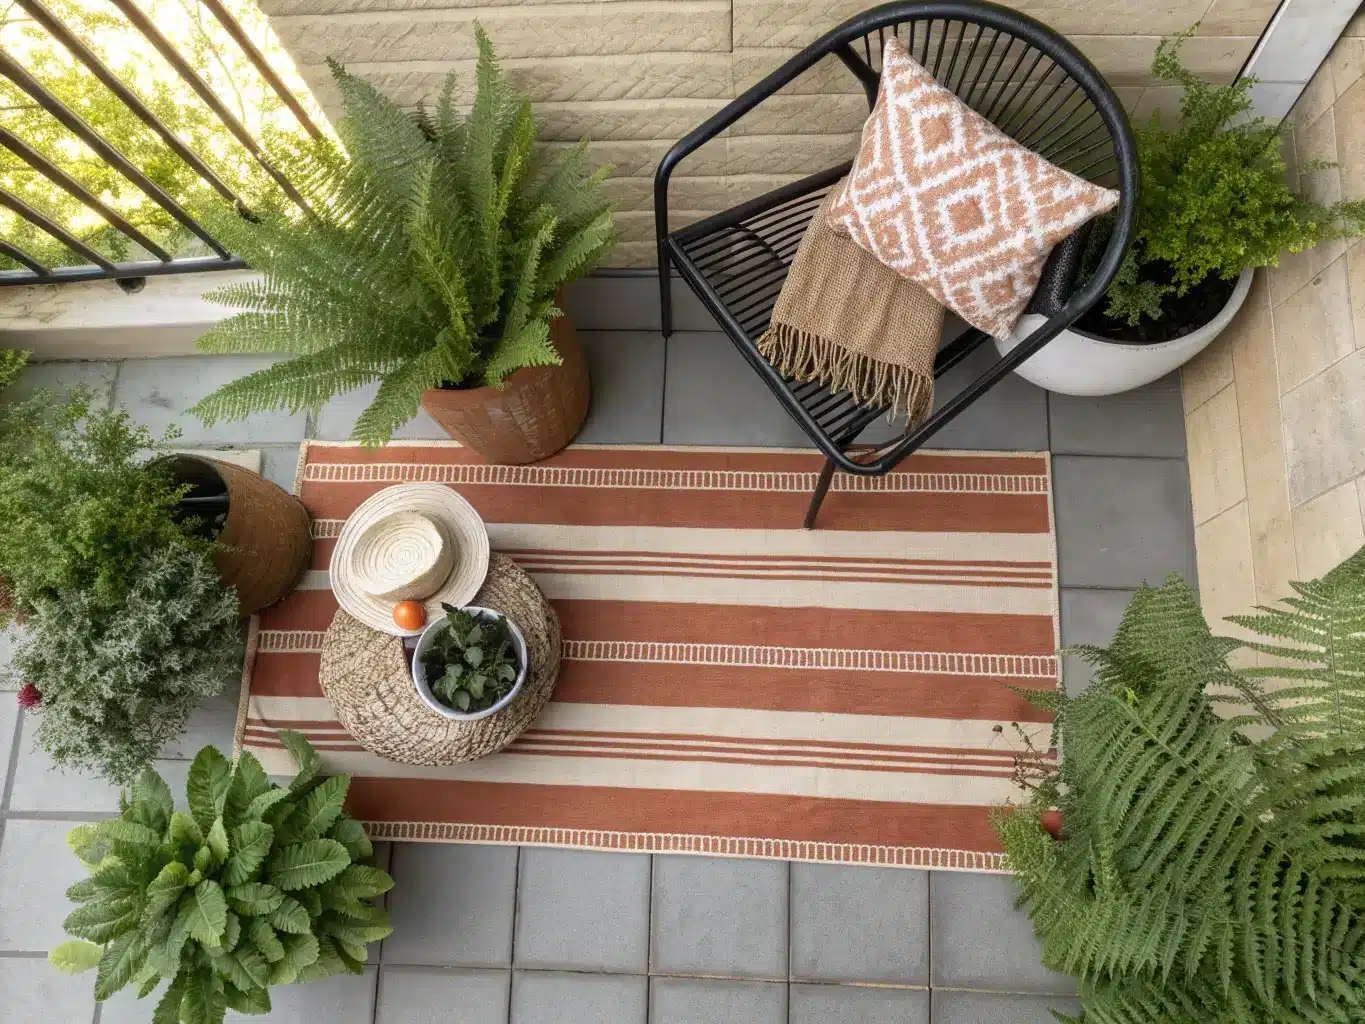
– A grounding rug — a 4×6 outdoor rug in polypropylene. This single item does more to make a patio feel like a “room” than anything else on this list. Mine is a $60 flatweave in a faded terracotta stripe, and it’s survived three summers of direct sun without fading.
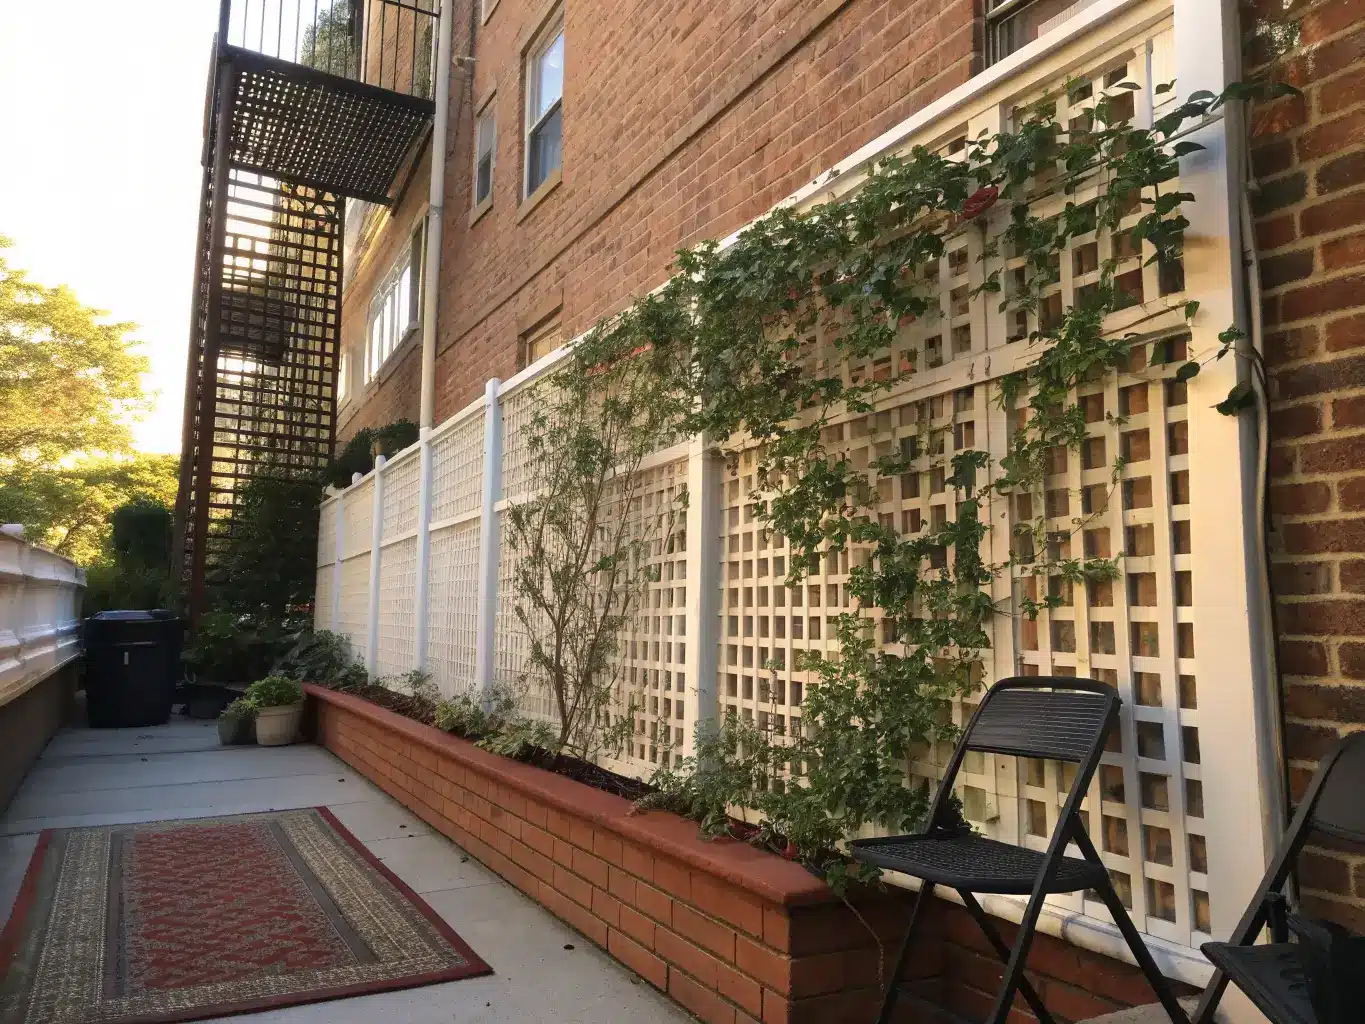
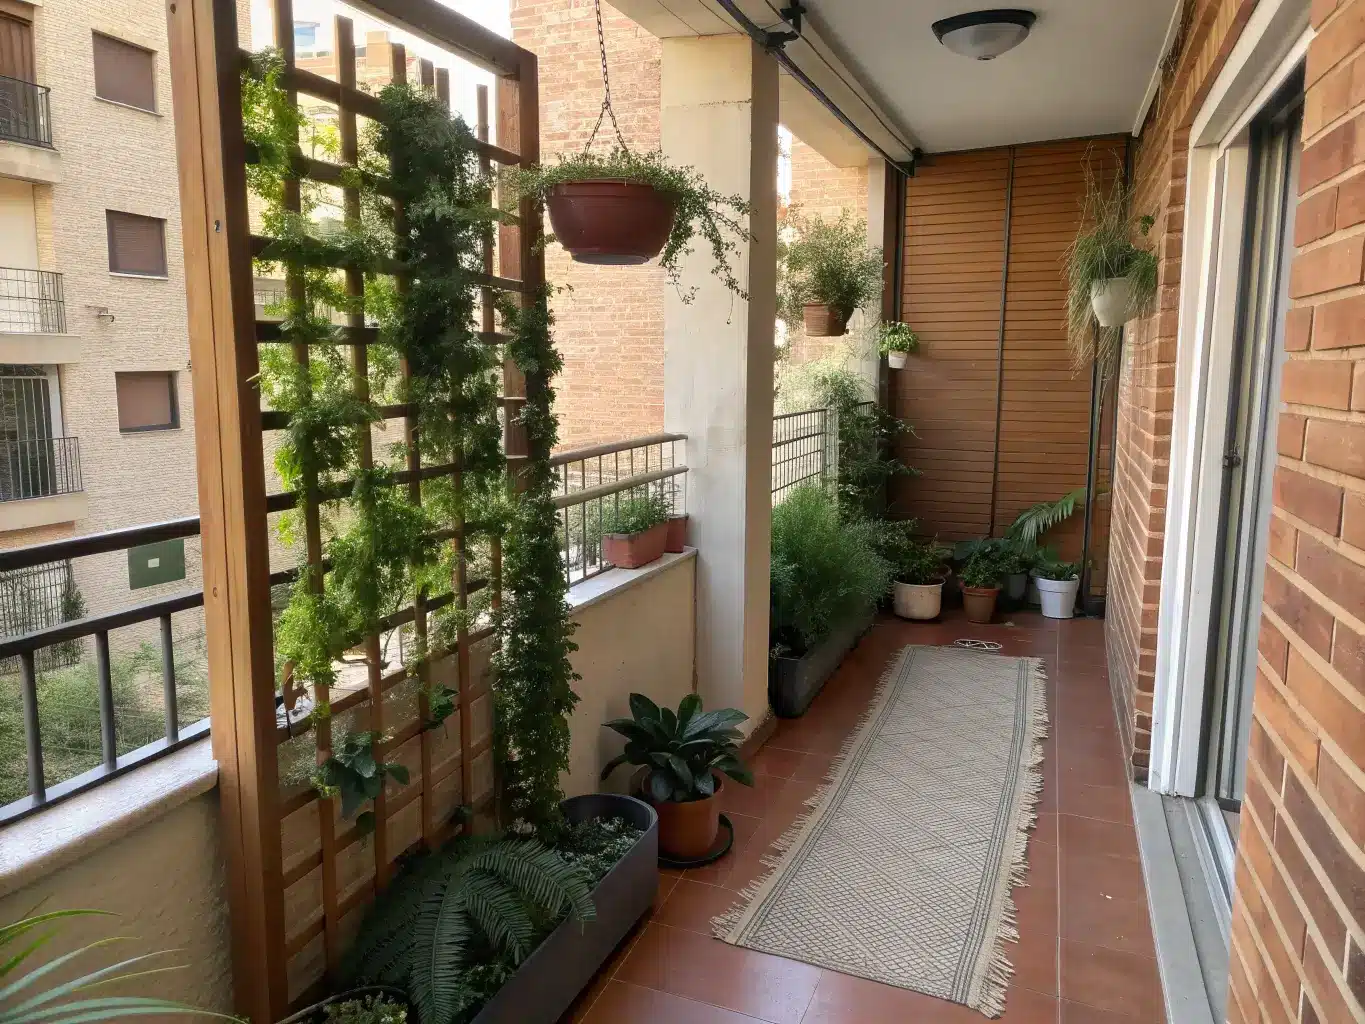
– Vertical greenery — railing planters, a hanging pot or two, and a small trellis. Keep the floor clear; let the plants climb.
– A privacy layer — bamboo screening, a lattice panel, or outdoor curtains if you’re facing a neighbor’s window or a busy street.
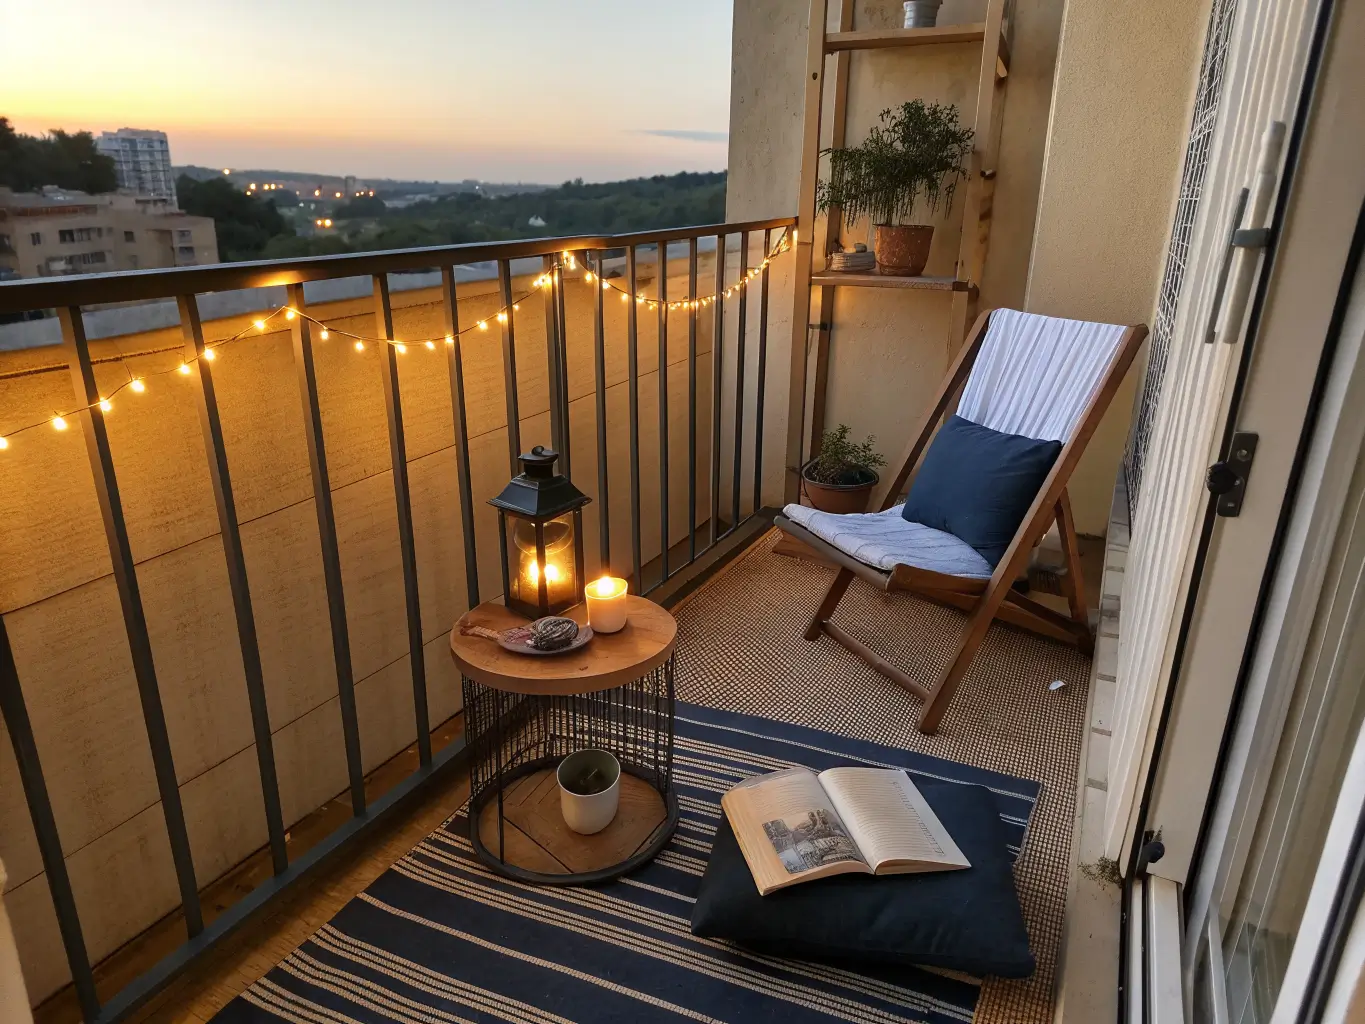
– Warm lighting — string lights are the cheapest transformation you can buy. $15 gets you a strand that makes a concrete slab feel intentional after dark.
– A small surface — a drink table or tray table for coffee, a book, whatever. It doesn’t need to seat a dinner party.
That’s it. That’s the full list. Everything else is optional layering.
Optional Enhancements Worth Adding Later
Once the basics are in place, this is where you make it feel like your patio instead of a showroom photo:
– Seasonal textile swaps — coastal stripes in summer, plaid or rust tones in fall, heavier cushion covers in winter.
– Organic texture — herbs in a window box, trailing pothos or ivy, a fern in a shaded corner, ornamental grasses if you get enough sun.
– A little metal shine — a brass lantern or black powder-coated frame adds contrast without adding bulk. Use it sparingly; two metallic touches is plenty for a space this size.
– Comfort layers — an outdoor floor cushion, a lightweight throw, washable pillow covers. These are the things that make people actually sit out there instead of just looking at it.
How to Put It Together, Step by Step
Before you buy anything, measure. Width, depth, door swing, railing height, where the outlets are, where water drains. I skipped this step once and bought a side table that blocked my door from opening past 90 degrees. Measure twice, buy once.
Then decide the patio’s one job. Coffee nook? Dining spot? Plant zone? Reading corner? Pick one purpose — trying to make a 5×7 space do everything is how you end up with clutter.
Layout order that actually works:
1. Lay the rug first. It defines the zone before anything else goes down.
2. Place your anchor furniture — the bistro set or bench — on top of or next to the rug.
3. Add greenery at the edges and corners, keeping the center open for walking and sitting.
4. Layer in privacy if you need it — screen, curtain, or planter wall.
5. Finish with lighting and one or two soft accessories. Stop there. Resist adding a third throw pillow.
Keep a 24 to 30 inch walking path clear at all times. This is the rule that separates a patio that feels functional from one that feels like an obstacle course. I ignored this in my first setup — crammed a side table right next to my bistro chair — and spent a summer awkwardly sidestepping around my own furniture every time I went outside.
Go vertical before you go wide. Wall planters, rail-mounted hooks, a leaning trellis — these give you the greenery and personality of a garden without eating the four square feet you need to actually stand in.
Common Mistakes (I’ve Made Most of These)
Overfurnishing. My first instinct was to fill every inch — extra chair, side table, plant stand, doormat. It looked like a storage unit, not a patio. Fewer pieces, chosen well, always reads better than more pieces chosen fast.
Buying furniture sized for a real patio. A full bistro set with a wide table might look great in the store and then eat 80% of your floor space at home. Stick to foldable, stackable, or wall-hugging pieces built for tight footprints.
Waiting to deal with privacy. If you’re on a ground floor or your balcony faces another building at close range, put up a screen or curtain in week one. Retrofitting privacy after you’ve already arranged everything means moving furniture twice.
Using indoor materials outside. A regular throw pillow will mildew in a season. Stick to outdoor-rated fabric, polypropylene rugs, resin furniture, treated wood, or aluminum. I ruined a cute canvas cushion cover in about six weeks of morning dew before I learned this.
Forgetting drainage. Put saucers under every pot. Plan where runoff goes, especially if you’re above someone else’s patio. Nobody wants to be the downstairs neighbor with a dirt-streaked ceiling.
Keeping It Looking Intentional Over Time
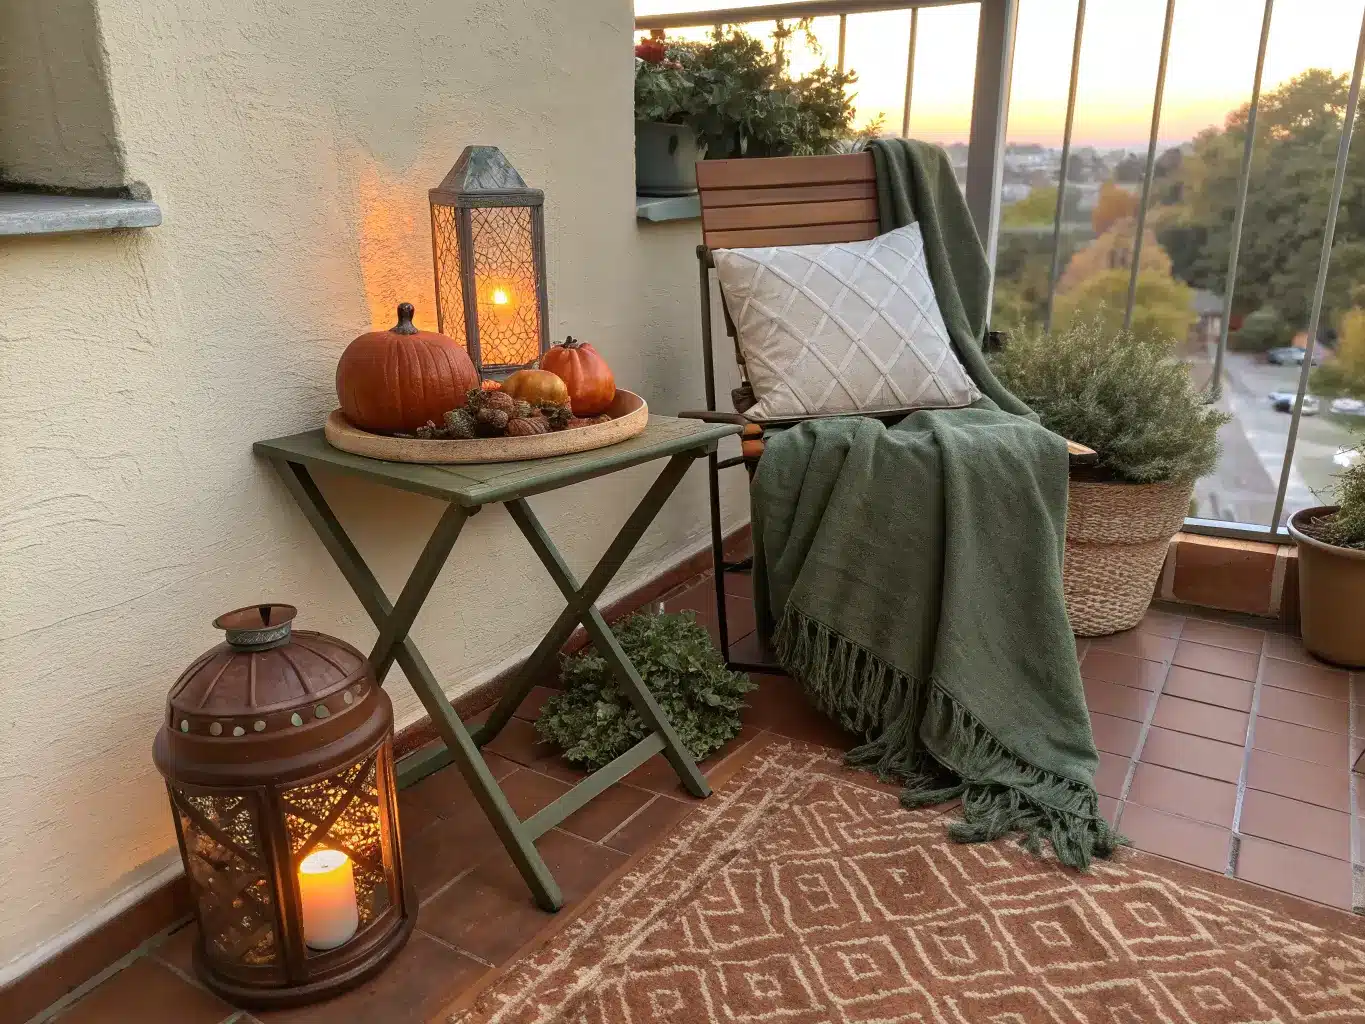
Repeat your palette. If sage green and terracotta are your colors, keep hitting those two notes across cushions, planters, and lanterns. A patio with twelve different colors competing for attention will always look smaller and messier than one with three.
Limit your decorative objects and rotate, don’t add. When I want a seasonal refresh, I swap out what’s already there instead of piling on more. Fall means swapping the blue cushion covers for rust ones — not adding a third planter on top of the two I already have.
Pick one material pairing and stick with it — teak and linen, black metal and terracotta, bamboo and neutral textiles. This is the fastest way to make a tiny space look curated instead of accidental.
Seasonal and Budget Updates
Spring and summer: brighter blooms, citrus-toned accents, lighter pillow covers.
Fall: amber-toned lighting, rust and olive textiles, a couple of small gourds on the side table.
Winter: heavier or faux-fur throws, lantern lighting instead of string lights, a portable heater if your lease allows it.
On a tight budget: thrifted planters, a pallet-built side table (my first one cost $12 in sandpaper and stain, using a pallet I found behind a hardware store), crate furniture, and a removable outdoor rug you can take with you when you move. None of this needs to be permanent or expensive to look finished.
Mixing styles:
– Boho-coastal: weathered teak, ocean-blue cushions, a woven basket for garden tools.
– Modern renter-friendly: black metal furniture, clean lines, one vertical plant wall as the single statement piece.
– Urban garden lounge: herb planters lining the rail, a trellis for privacy, one genuinely comfortable chair you’ll actually sit in.
The through-line on all of it: fewer, better pieces, arranged with a walking path in mind, layered vertically instead of spread wide. That’s the entire trick to making a tiny patio feel like a room instead of leftover space outside your door.