What This Dessert Actually Is
A chocolate lava mug cake is a single-serve chocolate cake, made and cooked entirely in a mug, with a soft or molten chocolate center that oozes out when you crack into it. It’s not a bake — it’s a microwave project, done in 30 to 90 seconds depending on your microwave’s wattage, with about a minute of rest time after.
Total active time is maybe 5 minutes. Cost runs $1.50 to $4.00 per mug cake if you’re working from pantry staples, with the chocolate you use for the center being the main cost swing — a handful of chocolate chips is cheap, a Lindt truffle pushes the price and the payoff up.
Who this is for:
– Anyone cooking for one who doesn’t want a whole cake sitting around tempting them for a week
– Dorm rooms and small apartments where a full oven dessert isn’t happening
– Date-night desserts that feel more effortful than they are
– Late-night chocolate cravings that need solving in under ten minutes
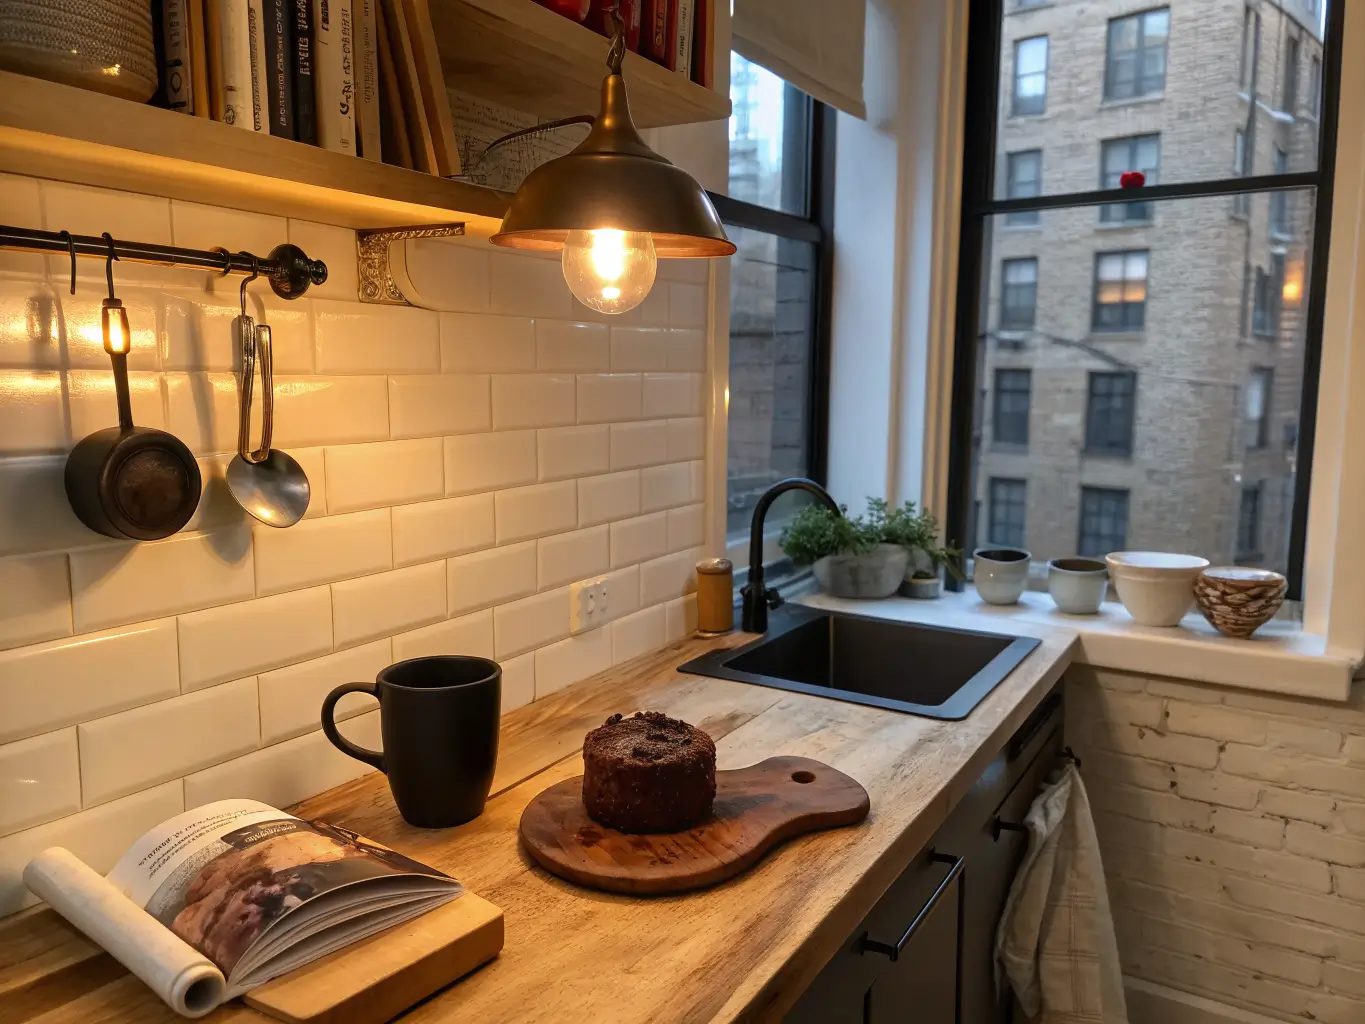
The Essentials: What You Actually Need
You don’t need special equipment. You need the right equipment, which is a slightly different thing.
The mug matters more than people think. Batter rises fast in a microwave, and if your mug is too small, you’ll get overflow — I learned this the hard way with a cute 6-oz espresso mug that turned my microwave into a crime scene. Use a 10–16 oz microwave-safe mug, and if you’re unsure, size up. A 12-oz mug is the sweet spot for most recipes; if you’ve only got smaller mugs, use a small microwave-safe bowl instead.
Core ingredients, all pantry staples:
– Flour, cocoa powder, sugar, baking powder, salt
– Milk, melted butter or oil, vanilla
– 1–2 squares of semi-sweet or bittersweet chocolate, or a small handful of chocolate chips, for the molten center
Tools: a small whisk or fork (you’re mixing right in the mug, no bowl needed) and a spoon for scraping the sides.
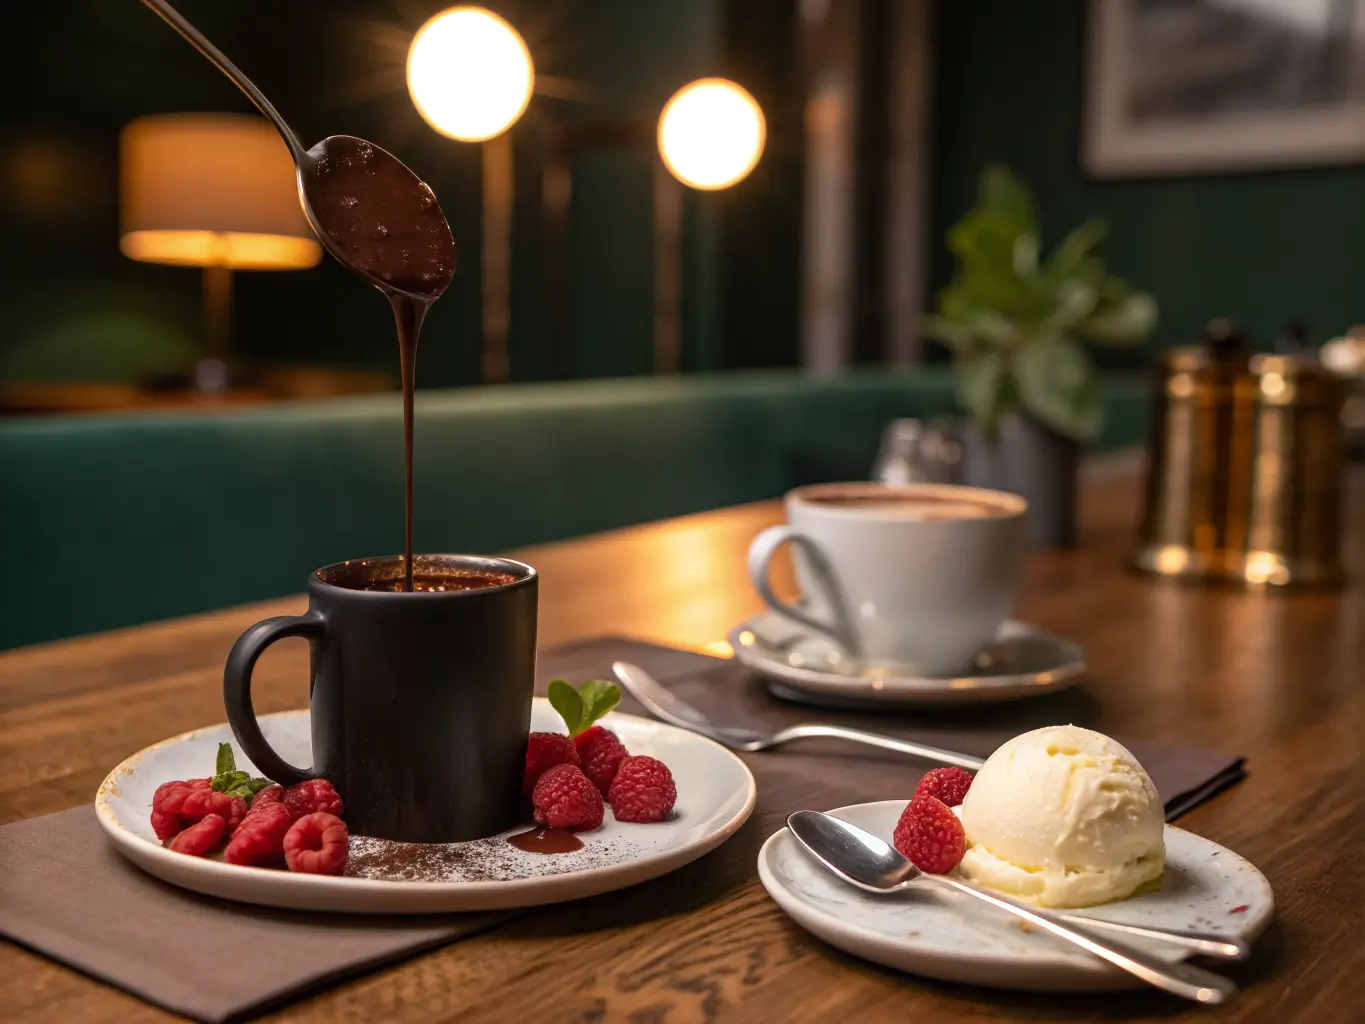
For serving: whipped cream, a scoop of vanilla ice cream, powdered sugar, or extra chocolate shavings. I almost always go ice cream — the hot-cold contrast is half the reason this dessert works.

Upgrades Worth the Extra Effort
Once you’ve made the base version a few times, these are the swaps that make it feel special instead of just fast:
– Truffle center: Drop a whole Lindt truffle or chocolate bonbon into the batter instead of chips. This is the single best upgrade I’ve made — the truffle’s higher fat content means it melts into a genuinely liquid center instead of just a softened pocket of chocolate.
– Coconut whipped cream for a dairy-free finish that still feels indulgent.
– Brown sugar or coconut sugar in the batter for a deeper, almost caramel undertone — I use this when I want the cake to taste less “basic chocolate” and more like something from a bakery case.
– Fresh raspberries on top. The tartness cuts the richness in a way whipped cream alone doesn’t.
Keep any add-ons to one or two elements. This is a dessert with a single dramatic moment — the crack into the molten center — and piling on five garnishes just distracts from it.
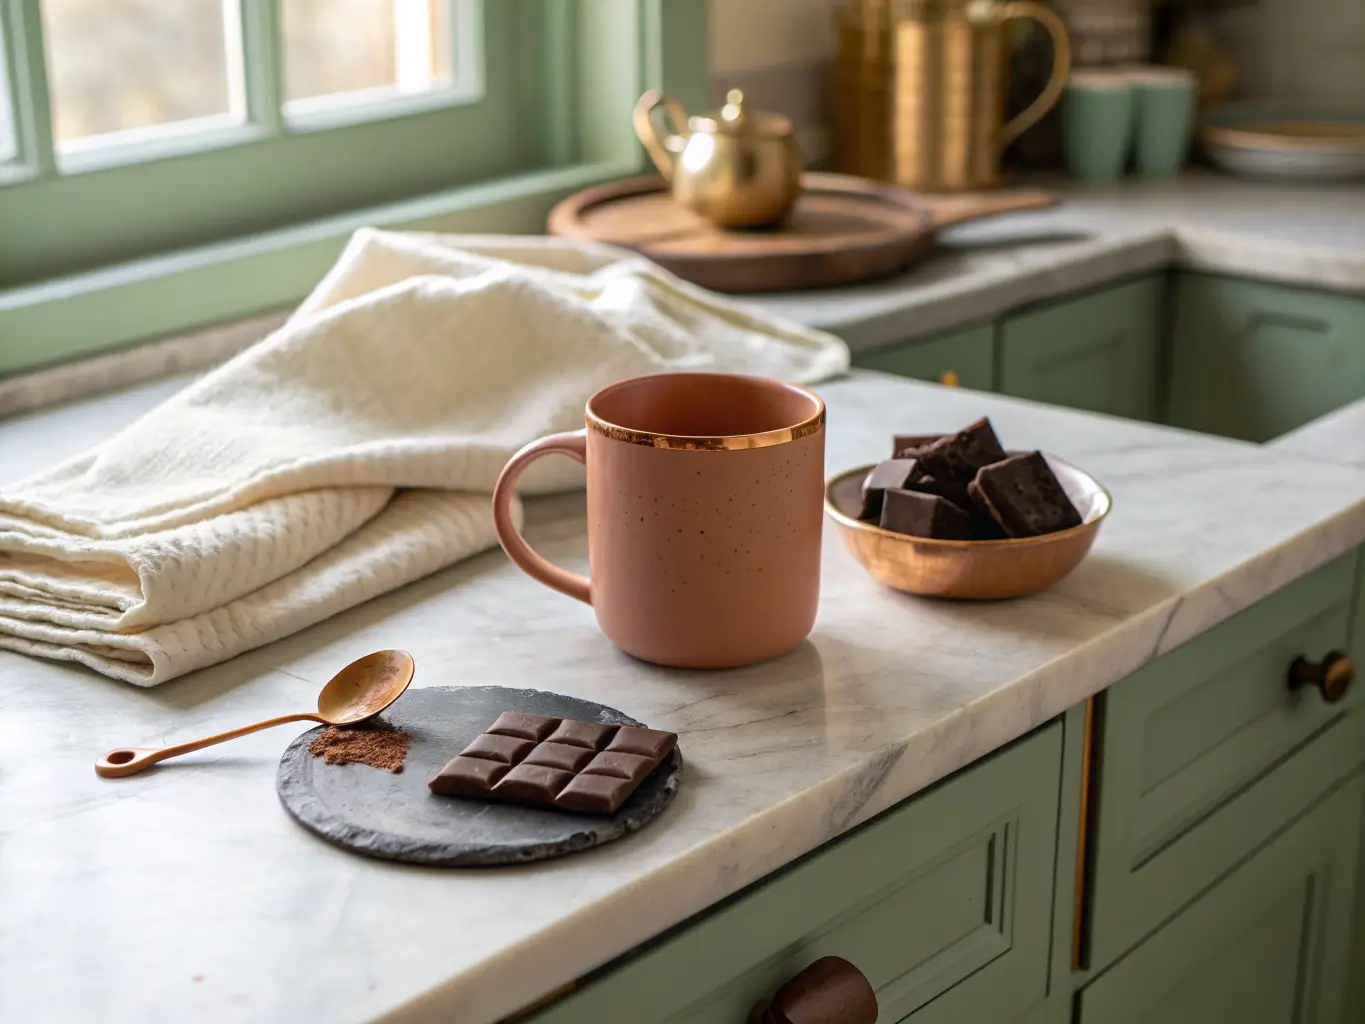
How to Actually Build the Cake
Prep first, cook second. Once this batter is mixed, you’re on the clock, so measure everything out before you start stirring.
1. Whisk dry ingredients in the mug — flour, cocoa, sugar, baking powder, salt.
2. Add wet ingredients — milk, melted butter or oil, vanilla — and stir until smooth. Scrape the bottom and sides of the mug as you go. Flour pockets hiding in the corners are the number one cause of a lumpy, dense bite, and it’s an easy fix that people skip.
3. Push in your chocolate center. Nestle 1–2 squares of chocolate, a handful of chips, or a whole truffle into the middle of the batter, pressing it down slightly so it’s submerged but not touching the bottom of the mug.
4. Microwave in short bursts — start with 30 seconds, check, add 10–15 second increments from there. You’re looking for edges that are set and slightly pulling from the mug, while the very center still looks a touch shiny or underdone. That’s not a mistake — that’s the lava.
5. Rest for 1 minute. I know this is the hardest step because the smell alone will have you reaching for a spoon. But resting lets the structure firm up just enough to hold together while the center stays molten. Skip this and the whole thing can collapse into pudding when you dig in.
6. Top immediately — ice cream, whipped cream, whatever you prepped — and serve right away.
Where People Mess This Up
I’ve made every one of these mistakes personally, so consider this the shortcut past my trial and error.
– Overcooking. This is the big one. Every microwave is different — wattage varies a lot — so the 90-second timer in a recipe is a starting point, not gospel. Go shorter than you think, check, add time in small increments.
– Too-small mug. Already covered, but it bears repeating because it’s the second most common failure and the messiest one.
– Expecting cake-like texture all the way through. If the whole thing is fully set and springy, you’ve made a very small chocolate cake, not a lava cake. The center is supposed to be sticky, even slightly wet. That’s correct, not undercooked.
– Skipping the rest time. Eating it straight out of the microwave means a less stable cake and a center that runs everywhere the second you touch it.
– Not scraping the mug while mixing. Dry flour hiding at the bottom shows up as an unpleasant chalky bite later. Takes two extra seconds to avoid.
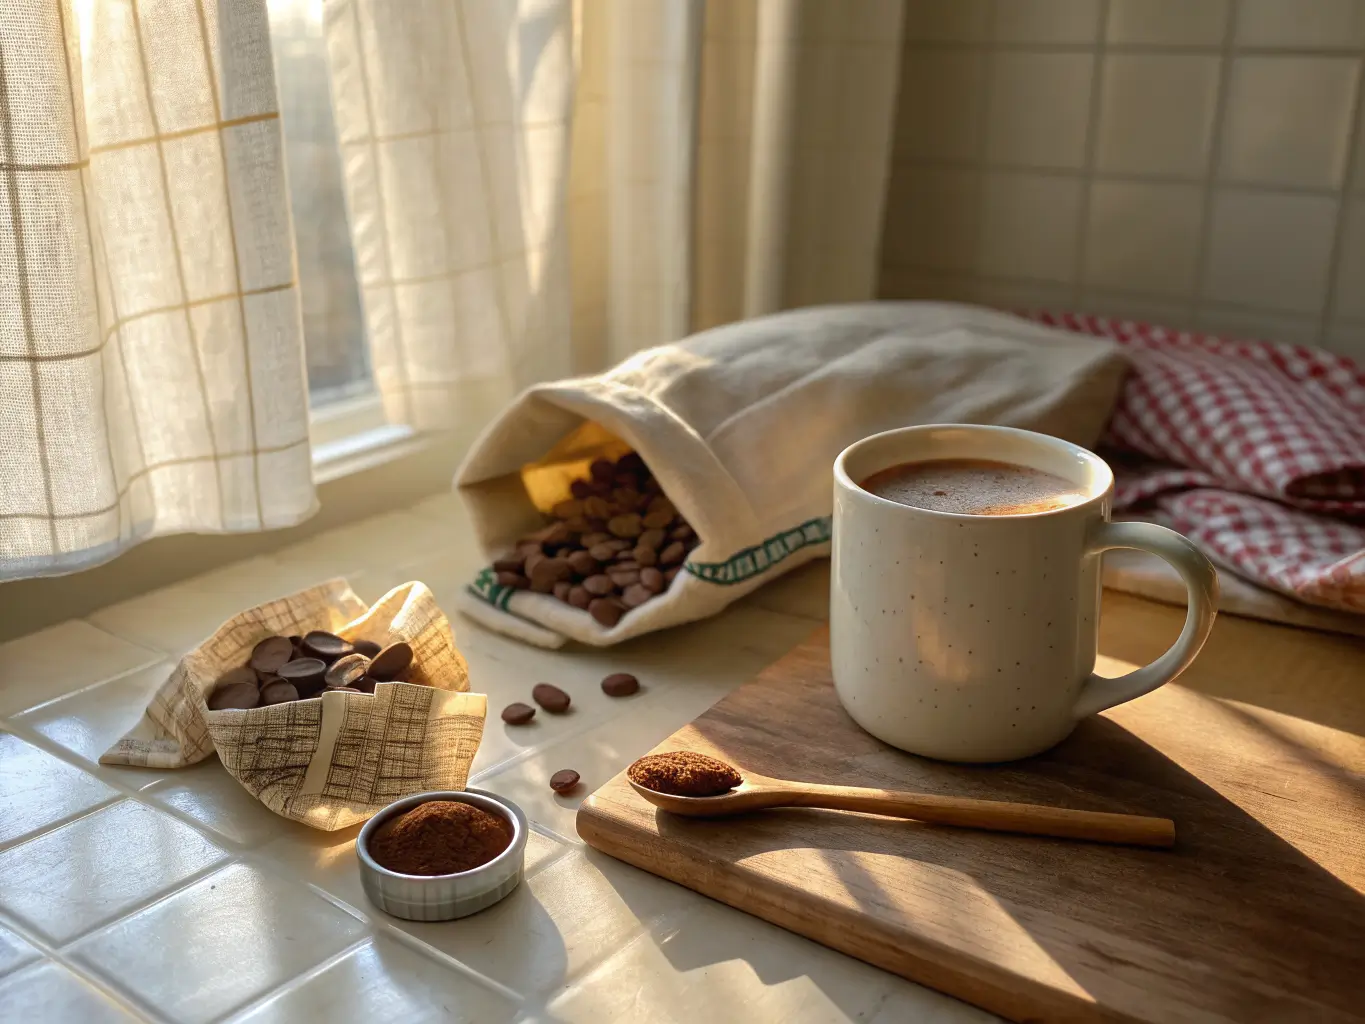
Keeping It Fresh: Seasonal and Budget Tweaks
For a cleaner presentation — especially if you’re serving this to someone, not just yourself at 10pm — use a plain white or matte black ceramic mug. The dark cake against a clean, light background makes the “lava” moment read clearly, especially if you’re taking a photo before you destroy it.
Budget version: skip the truffles and premium bars. Basic chocolate chips and regular cocoa powder get you 90% of the way there for a fraction of the cost. I make the budget version on a random Tuesday and save the truffle upgrade for when I actually have people over.
Seasonal swaps:
– Summer: fresh berries on top, maybe a squeeze of orange zest in the batter
– Winter: a small crush of candy cane or a drop of peppermint extract in the batter for a mocha-mint variation
– Any dinner party: truffle center, shaved chocolate on top, no other garnish — let it look a little dramatic
Dietary adjustments: coconut milk and coconut oil sub in cleanly for dairy versions if you’re avoiding dairy, and there are solid eggless versions floating around since most mug cake batters don’t rely on egg for structure the way a full cake does — baking powder does the heavy lifting here.
The upgrade path I’d actually recommend, in order: start with the basic chocolate chip version until your microwave timing is dialed in, then move to a chocolate square center, and once you’ve got the timing down cold, try the truffle. By then you’ll know your microwave well enough to nail the molten center on the first try instead of the fifth.
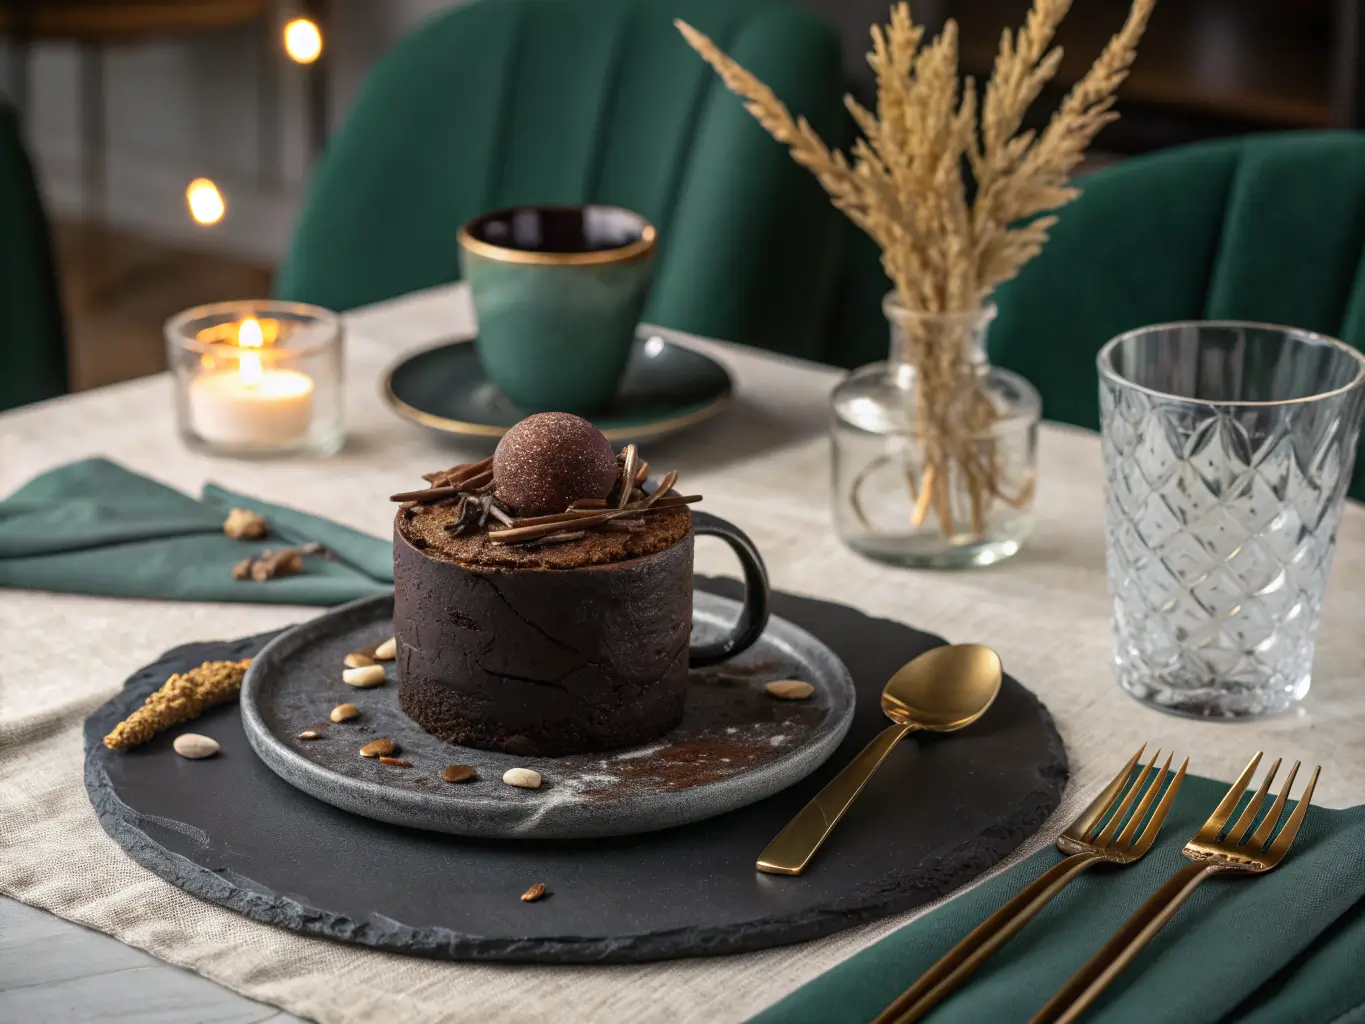
Seasonal swaps: Summer
– Summer: fresh berries on top, maybe a squeeze of orange zest in the batter
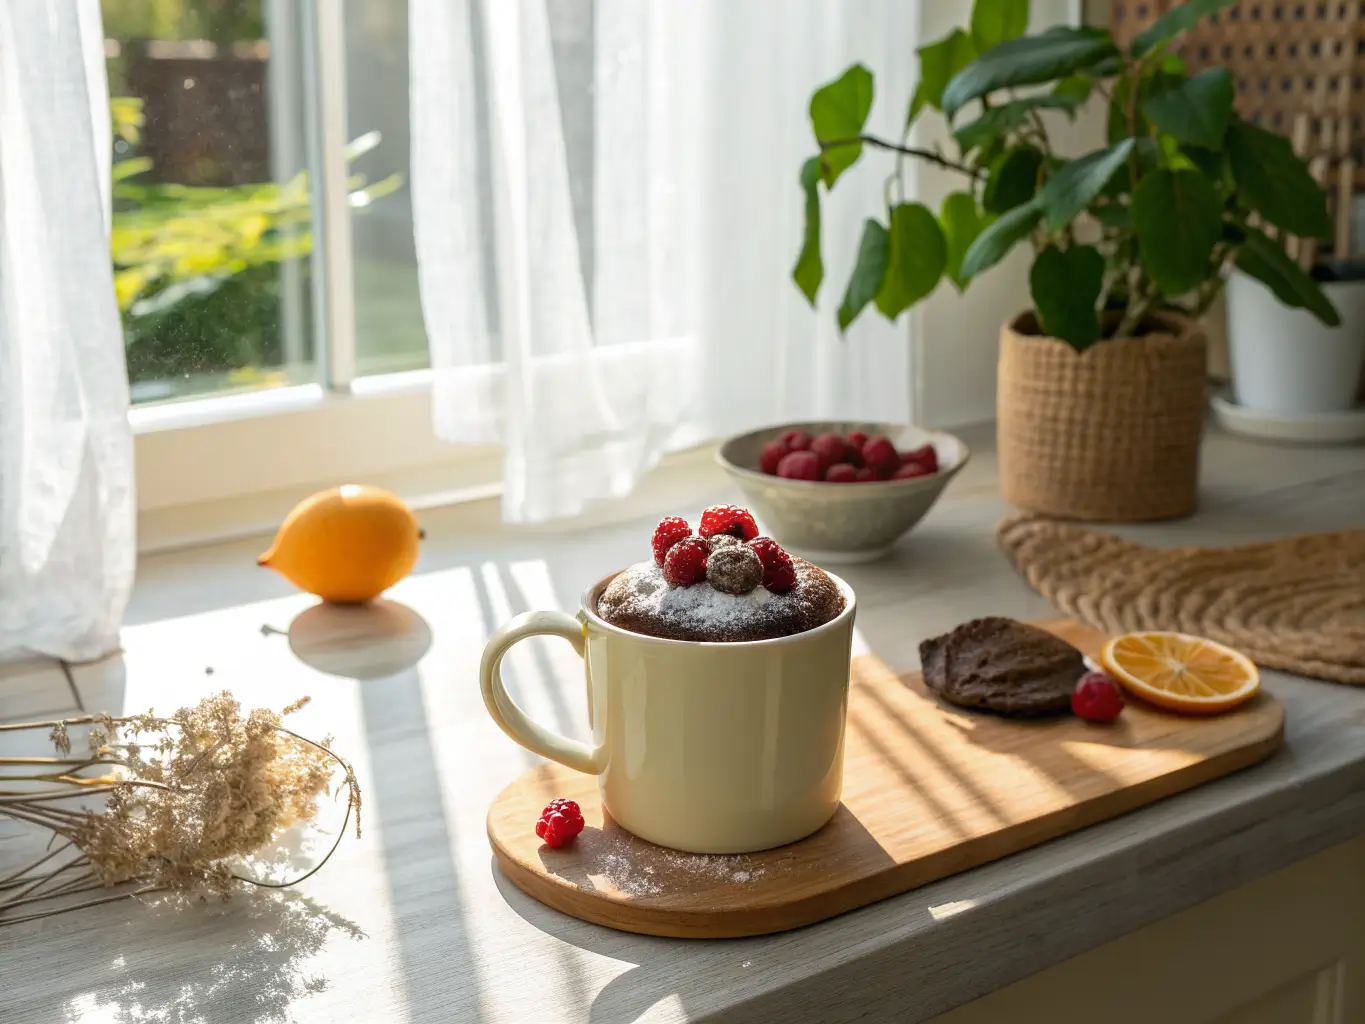
Seasonal swaps: Winter
– Winter: a small crush of candy cane or a drop of peppermint extract in the batter for a mocha-mint variation