Cozy Lighting Living Room: A Room-by-Room Guide to Getting the Glow Right
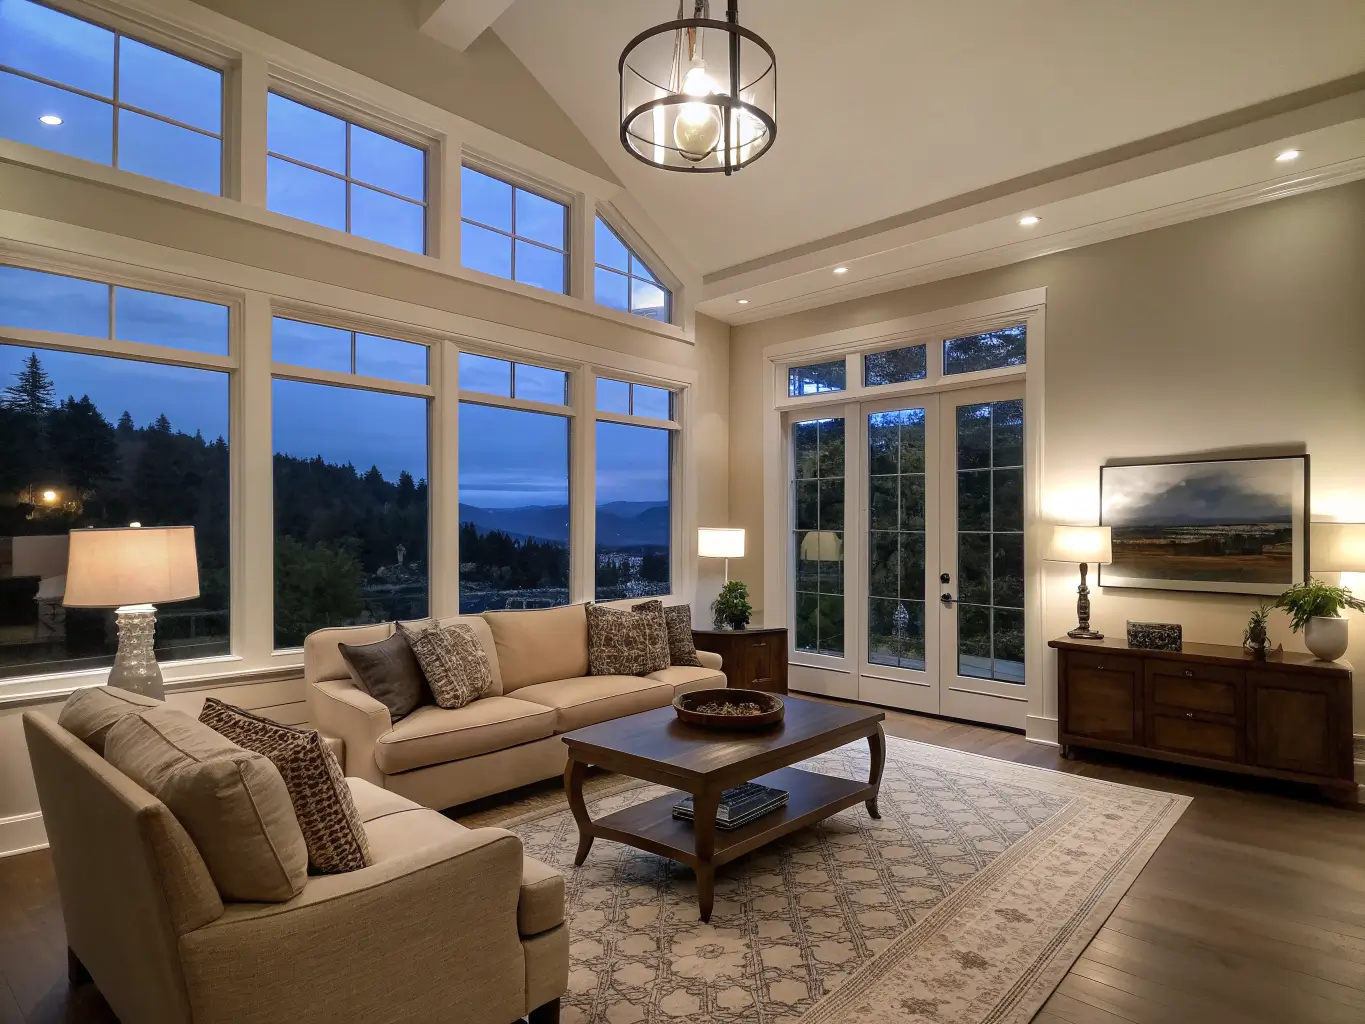
My living room used to have one ceiling fixture — a flush mount with three bulbs that I’m pretty sure were 5000K, because flipping that switch at 8pm felt like walking into a dentist’s office. I lived with it for two years before I figured out the actual problem: it wasn’t the couch, the rug, or the art on the walls. It was that I had exactly one light source in a room where I wanted three or four. Fixing a cozy lighting living room isn’t about buying nicer stuff. It’s about layering.
Once I swapped in some warm bulbs, added a floor lamp by my reading chair, and put the whole thing on a dimmer, the room finally felt like somewhere I wanted to sit at night instead of somewhere I just passed through to get to the kitchen.
What “Cozy Lighting” Actually Means
It’s not a single style — you’ll see this approach in Scandinavian living rooms, organic modern spaces, transitional homes, warm minimalist interiors, all of it. What ties them together is layered ambient lighting: several smaller, softer light sources instead of one bright overhead one.
The colors and materials that support this look:
– Warm white, soft cream, ivory, camel, oatmeal, muted taupe
– Brass or antique gold accents that catch and reflect warm light
– Linen, woven rattan, frosted glass, paper, and wood shades — anything that diffuses light rather than exposing the bare bulb
This is for anyone who wants their living room to feel good for reading, half-watching TV, or talking with a glass of wine after dark — not a space lit like a showroom. It works in a studio apartment corner just as well as a big open-plan family room, though bigger rooms need more zones to avoid dead, dark corners.
Time and Cost: What to Actually Expect
Time: A basic refresh — new bulbs, one lamp shade swap — takes 1 to 3 hours. If you’re adding dimmers, buying new lamps, or setting up smart bulbs, budget a full weekend.
Budget breakdown:
– $60–$200: warm bulbs across your existing fixtures, one new table lamp, maybe a linen shade upgrade. This is where most people should start.
– $200–$700: 2–4 lamps, dimmable bulbs throughout, one decorative sconce or accent fixture.
– $700–$2,000+: designer floor lamps, hardwired sconces, dimmer switch installation, smart lighting system, a statement pendant.
I’d tell anyone starting out to spend in the $60–$200 range first and live with it for a couple of weeks. You’ll figure out fast whether you need one more lamp or three.
The Must-Have Pieces
You don’t need all of these on day one, but this is the full toolkit:
– Table lamps with linen or frosted shades — placed beside the sofa and any armchairs, these give you mid-level light that doesn’t glare
– Floor lamps positioned beside or just behind seating — this is your reading light and your biggest contributor to that warm “pool of light” effect
– A dimmable ceiling fixture — pendant, semi-flush, whatever you’ve got — but treat it as background light, not the star
– Wall sconces or plug-in sconces at eye level, especially good near a reading chair or flanking a TV wall
– Warm bulbs, 2700K–3000K — this is the number that matters most and I’ll get into why below
– Dimmer switches or smart bulbs so the room can go from daytime-bright to low-glow in one motion
– Low-glare shades — linen, paper, frosted glass, woven fiber — never a bare bulb pointed at eye level
Why 2700K–3000K Is the Number to Remember
This is the single most common question I get asked, and it’s the easiest fix with the biggest impact: what color temperature makes a living room feel cozy?
Stay under 3300K. The sweet spot is 2700K to 3000K — that’s the warm, slightly golden light you’d get from an old incandescent bulb, not the cool blue-white light you want in a garage or office. Every bulb box lists this number. If yours don’t, they’re probably too cool for this look, no matter how nice the lamp is.
One rule that trips people up: keep the temperature consistent across the whole room. A 2700K lamp next to a 4000K ceiling fixture reads as mismatched and slightly off, even if you can’t immediately say why. I made this mistake with a floor lamp I bought before I started paying attention to Kelvin numbers — it threw a cooler, almost clinical light next to two lamps that were warm and golden, and it bugged me every single evening until I finally just swapped the bulb.
Optional Touches That Add Depth
Once the basics are in place, these push the room further:
– LED strip lighting behind a media console or shelving unit for indirect glow with zero visible glare
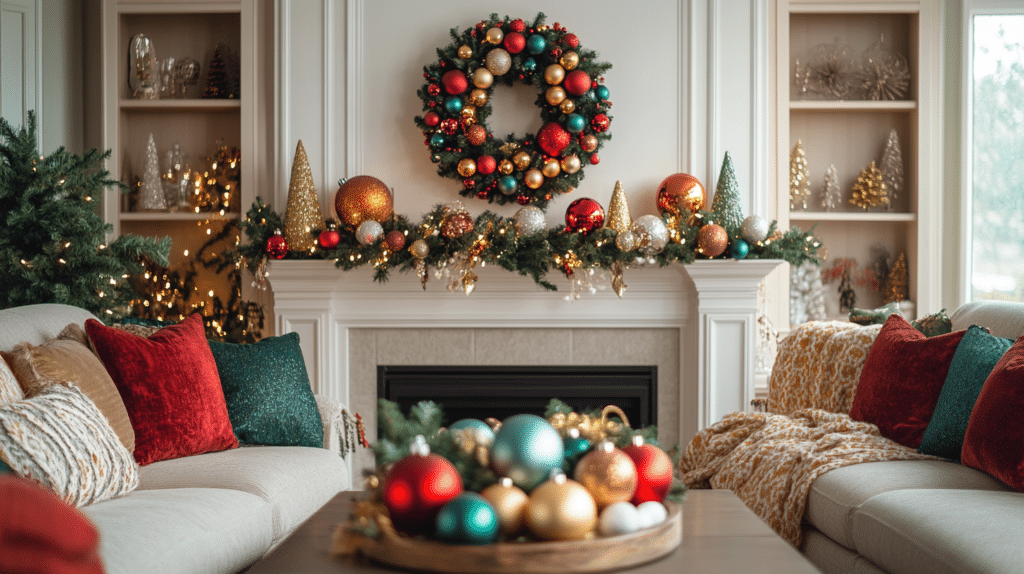
– Candles or candle-style lights on the coffee table or mantel for the lowest, most intimate layer
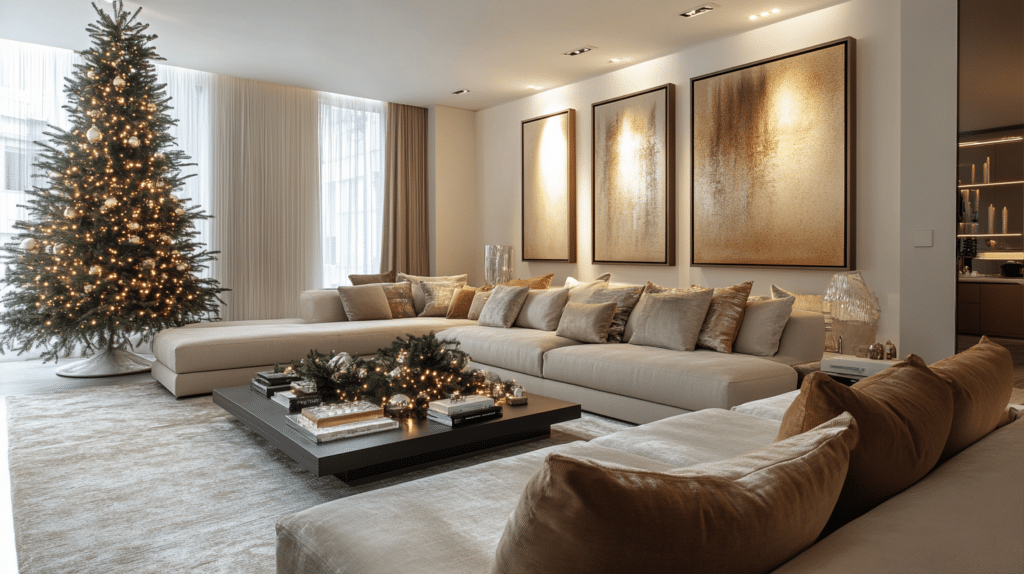
– String lights or micro fairy lights, used sparingly — I only bring mine out in a wicker bowl on the console table from November through February
– Woven baskets, wood trays, ceramic lamp bases to reinforce the natural, warm materials
– Brass or antique gold hardware to reflect the warm light instead of feeling cold or sterile
– Heavy linen curtains that soften daylight coming in and keep the room’s tone consistent day into evening
How to Actually Layer It: Step by Step
Start with your general light source. Ceiling fixture or recessed lighting, put it on a dimmer if you can. This is your base layer, and it should almost never be the only thing on.
Add a floor lamp near your main seating. Beside the sofa arm or just behind a reading chair. This is doing double duty — task light for reading, ambient light for the room.
Balance it with a table lamp on the opposite side of the room. If all your light is clustered on one side, the room reads lopsided even if you can’t articulate why. I learned this after rearranging my own living room three separate times — the fix wasn’t the furniture, it was that both my lamps were on the same wall.
Use a sconce or shelf light to highlight something specific — art, a fireplace, a bookshelf. This gives the eye somewhere to land and adds a fourth layer without adding bulk.
Finish with warm, dimmable bulbs everywhere so you can shift from “cleaning the house” brightness to “friends are coming over at 7pm” brightness with one switch.
The rule of thumb design pros actually use: aim for 3 to 5 small light sources in a living room rather than one dominant one. Count your zones — sofa, chair, console, art — and that number adds up faster than you’d think.
Common Mistakes I’d Steer You Away From
– Relying on one overhead fixture. This is the single biggest reason living rooms feel flat and un-cozy. Even a great fixture can’t do the job alone.
– Bulbs that are too bright or too cool. If it feels more like a hospital waiting room than a living room, check the Kelvin number first.
– Shades that expose the bulb. Sit down in your usual spot and look at each lamp. If you can see the bulb itself, it’s going to feel harsh no matter how warm the light is.
– Ignoring scale. A small lamp in a big room disappears; an oversized fixture in a small room overwhelms it. Match the lamp size to the space, not just your taste.
– Skipping the dimmer. This is the cheapest fix on this whole list and the one people skip most. A $15 dimmer switch or a set of smart bulbs changes the entire feel of the room for less than a takeout dinner.
– Mixing too many finishes. Brass lamp, chrome sconce, black floor lamp — pick one or two metals and repeat them. More than that and the room starts to feel busy instead of calm.
Keeping the Look Cohesive Over Time
Stick to warm neutrals as your base — camel, oatmeal, taupe — and let one or two accent tones do the work, whether that’s brass, walnut, rust, or olive. Repeat your materials: if you’ve got a linen lamp shade on one side of the room, echo it somewhere else rather than introducing a totally different texture.
Cords are the detail nobody plans for and everyone notices. Run them behind furniture or use a cord cover if they’re crossing open floor — visible tangles undercut the whole “restful room” effect fast.
Seasonal and Budget Updates
In fall and winter, I lean into heavier textiles and warmer accents — a thicker throw, more candles, the string lights come out. Come spring, I pull back to lighter neutrals and let more daylight balance the room instead of relying so heavily on lamps.
If you’re building this up slowly, the upgrade order I’d recommend is: bulbs first, dimmer second, one good floor lamp third. That’s the $60–$150 path that gets you 80% of the way there before you touch a single hardwired fixture. Everything after that — sconces, smart systems, designer lamps — is refinement, not necessity.
New mom embracing the chaos and creativity! 💕 Sharing budget-friendly tips for cooking, DIY hacks, home decor, fashion, and making every moment stylish and affordable