What a Wabi-Sabi Garden Actually Is
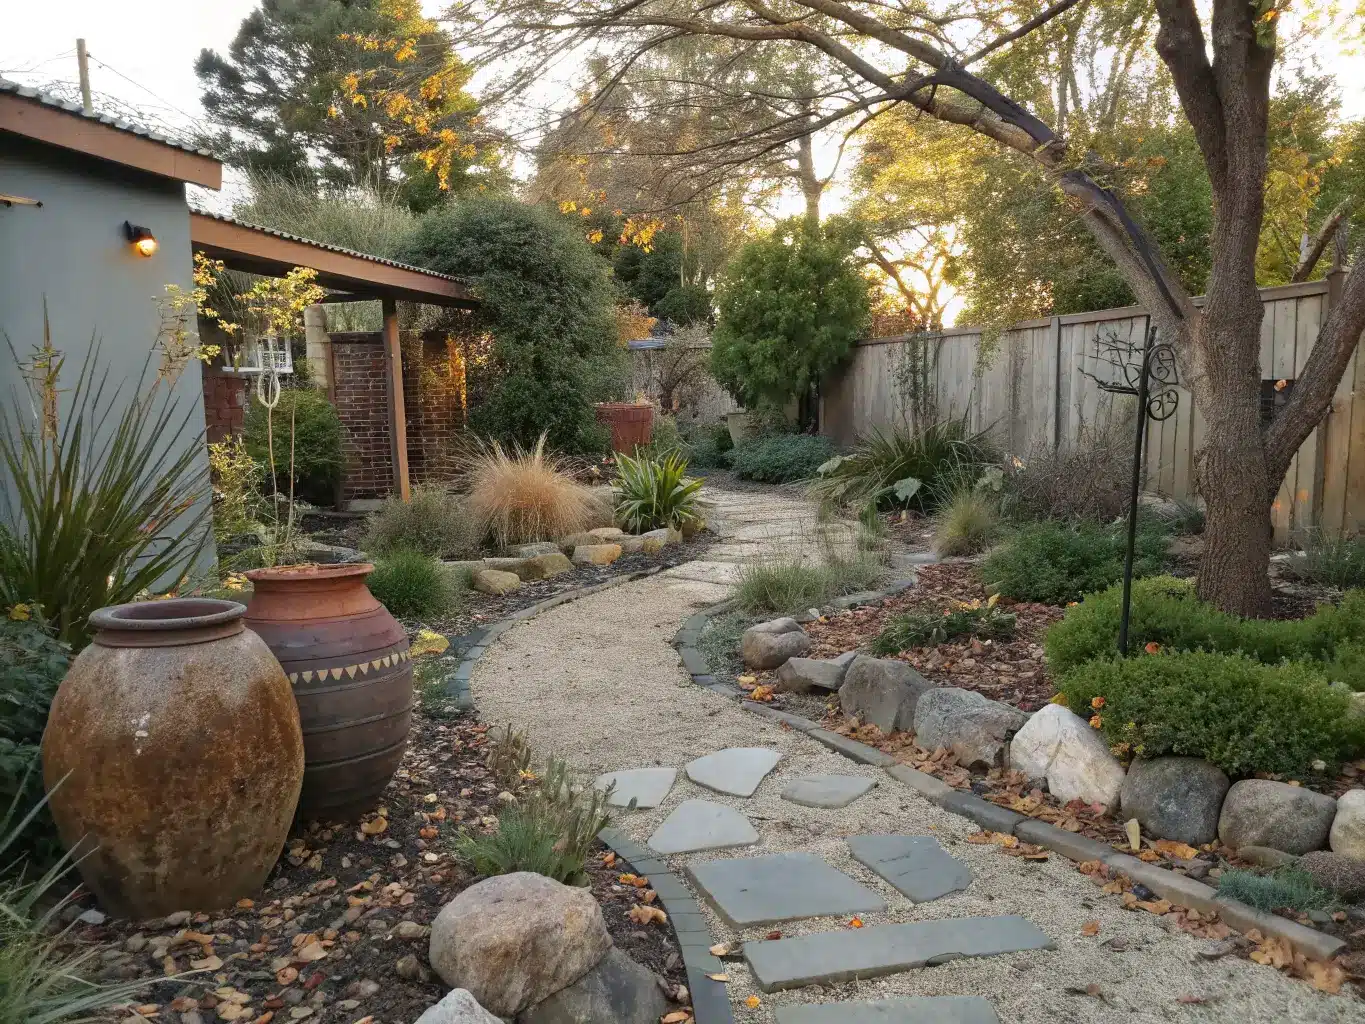
A wabi-sabi garden is a Japanese-inspired approach to outdoor design that finds beauty in weathered stone, cracked pots, moss, and plants left to do their own thing. If you’ve ever felt like your yard looks too try-hard — too matched, too tidy, too much like a catalog page — this is the fix. I redid my own side yard this way two years ago after ripping out a border of matching boxwood balls that I hated the second I planted them. Symmetrical and manicured was never going to be me. It took one weekend of just clearing junk out and about four more weekends spread over a season to get it to a place I actually love. It’s still changing, and that’s the point.
Wabi-sabi is a Japanese concept built around imperfection, impermanence, and simplicity. Applied to a garden, it means you’re not fighting nature to keep everything sharp-edged and symmetrical. You’re working with it — letting stone crack, letting moss creep into gravel joints, letting a shrub grow a little lopsided because that’s more interesting than a sphere.
This isn’t the same as a zen garden, though people mix them up. A zen garden (think raked gravel, minimal planting) is about stillness and meditation through extreme restraint. Wabi-sabi is looser and more organic — it wants texture, aging, and a sense that the garden has a history, even if you built it last spring.
Who this is for:
– Anyone tired of high-maintenance flower beds that need constant deadheading and replanting
– People who already gravitate toward natural materials — stone, clay, raw wood — over painted or plastic garden decor
– Small-space gardeners, because the style thrives on restraint, not square footage
– Anyone who wants a garden that looks better in year three than it did on day one
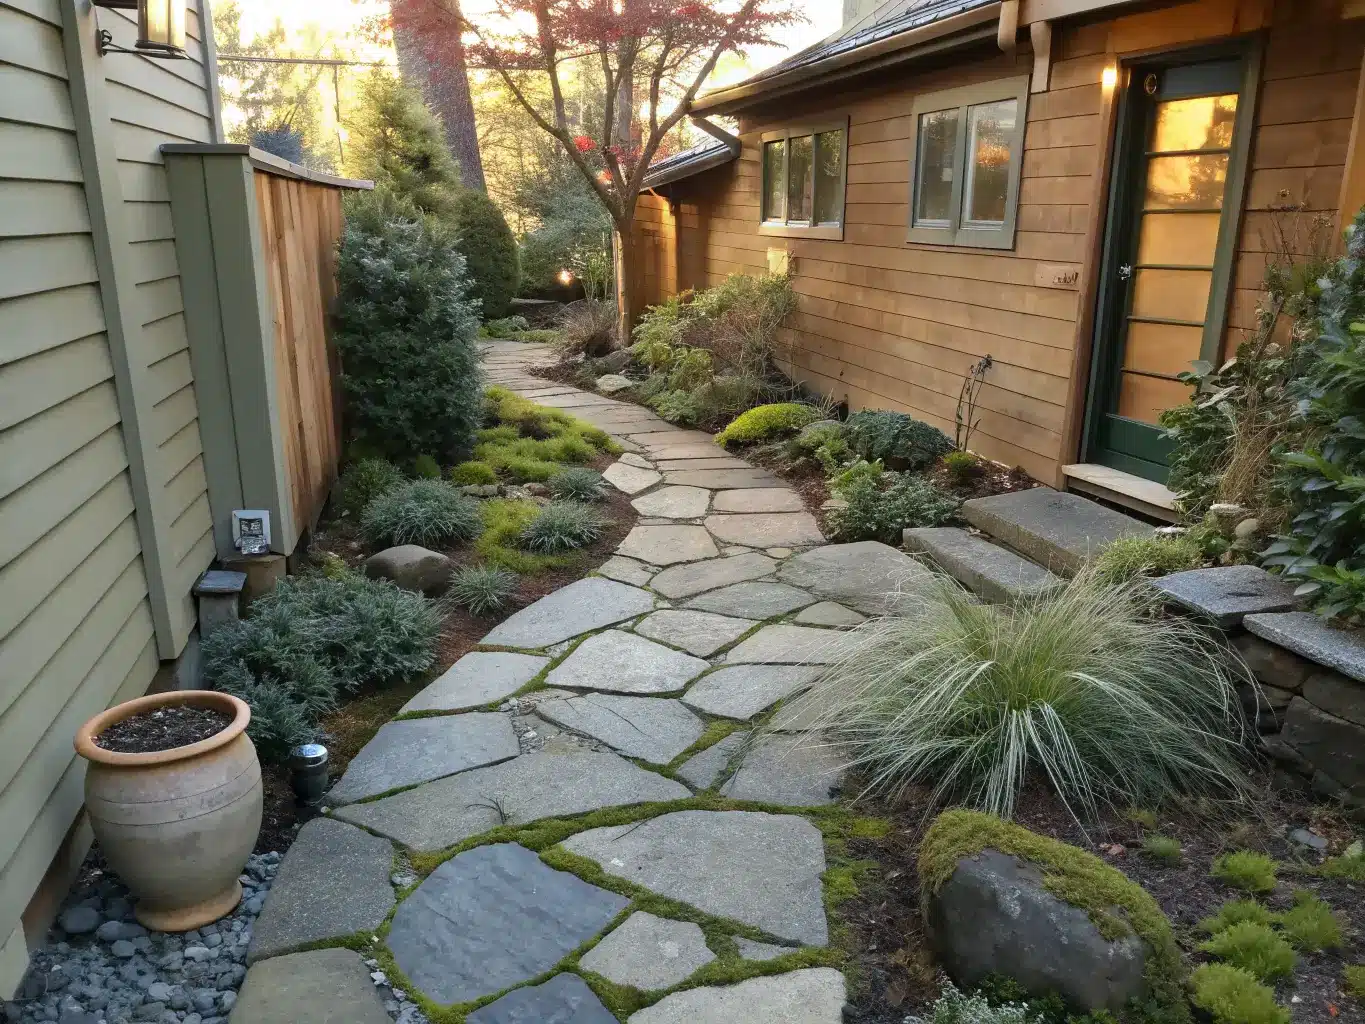
Where it works best: courtyards, narrow side yards, shaded entry gardens, and small backyard corners. I’ve seen it done beautifully in a 6-foot-wide gap between two houses — just gravel, three stones, and a fern. You don’t need acreage. You need restraint.
Setup Time and Cost — What to Actually Expect
Time: A small courtyard or a single border can be refreshed in a weekend. A full yard — new paths, planting beds, a water basin — realistically takes 2 to 4 weekends, spread out rather than crammed into one push. Wabi-sabi gardens aren’t meant to be “finished.” Mine still gets small edits every season.
Cost, broken into real ranges:
– Budget refresh ($150–$600): gravel, a handful of clay or ceramic pots (thrifted ones are better — more on that below), seed packets for native grasses, and whatever salvaged wood or stone you can find on Facebook Marketplace or a demo site.
– Mid-range transformation ($800–$3,500): stone pavers, a small reclaimed bench, a stone water basin, weathered timber edging, and a broader native plant palette.
– Higher-end build ($5,000+): custom stonework, a dry creek bed, larger specimen trees, professional grading and installation. Even at this budget, the goal is fewer, better elements — not more decor.
Skill level: Styling with plants and pots is beginner-friendly. Laying a dry creek bed, grading a path, or setting a water feature properly takes intermediate-to-expert hands, or a weekend with someone who’s done it before.
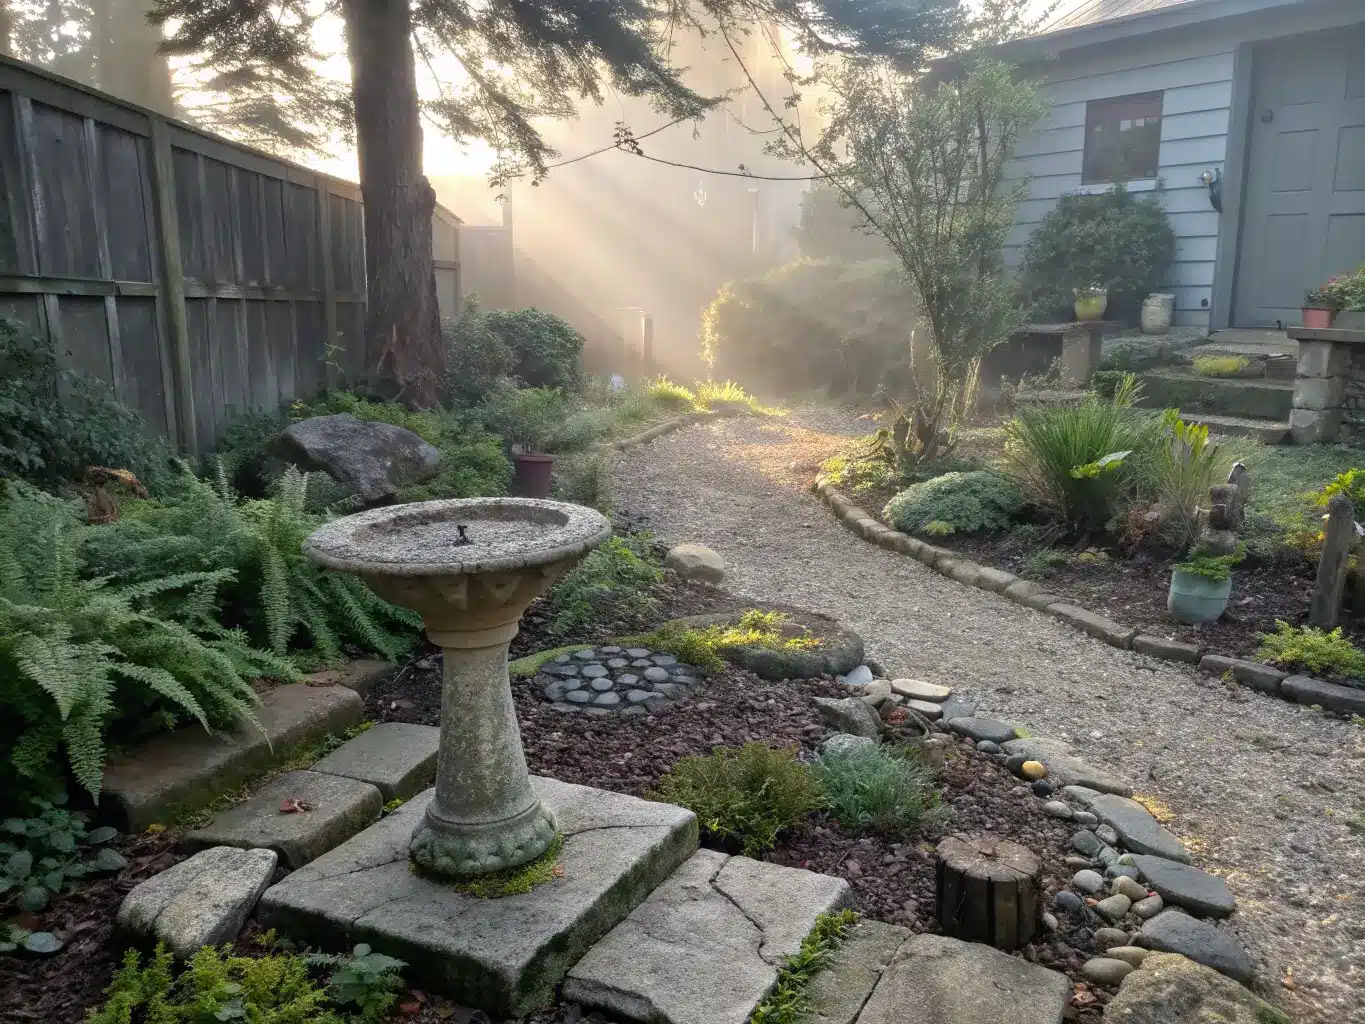
The Core Palette: Colors and Materials
Keep your materials list short. This is not a garden where you’re layering in five different finishes.
Colors: moss green, stone gray, weathered charcoal, terracotta, sand, olive, and that rusty orange-brown you get from oxidized metal.
Materials:
– Natural stone (uncut, irregular shapes — not cut pavers with clean edges)
– Gravel or decomposed granite
– Reclaimed wood
– Unglazed ceramic and clay pots
– Driftwood and river rock
– Weathering (Corten) steel, if you want a metal accent
The rule that matters most here: pick 2–3 primary materials and repeat them everywhere. Stone, clay, and wood, say. Don’t introduce a fourth finish just because you found something cute at a garden center. Repetition is what makes a wabi-sabi space feel calm instead of cluttered.
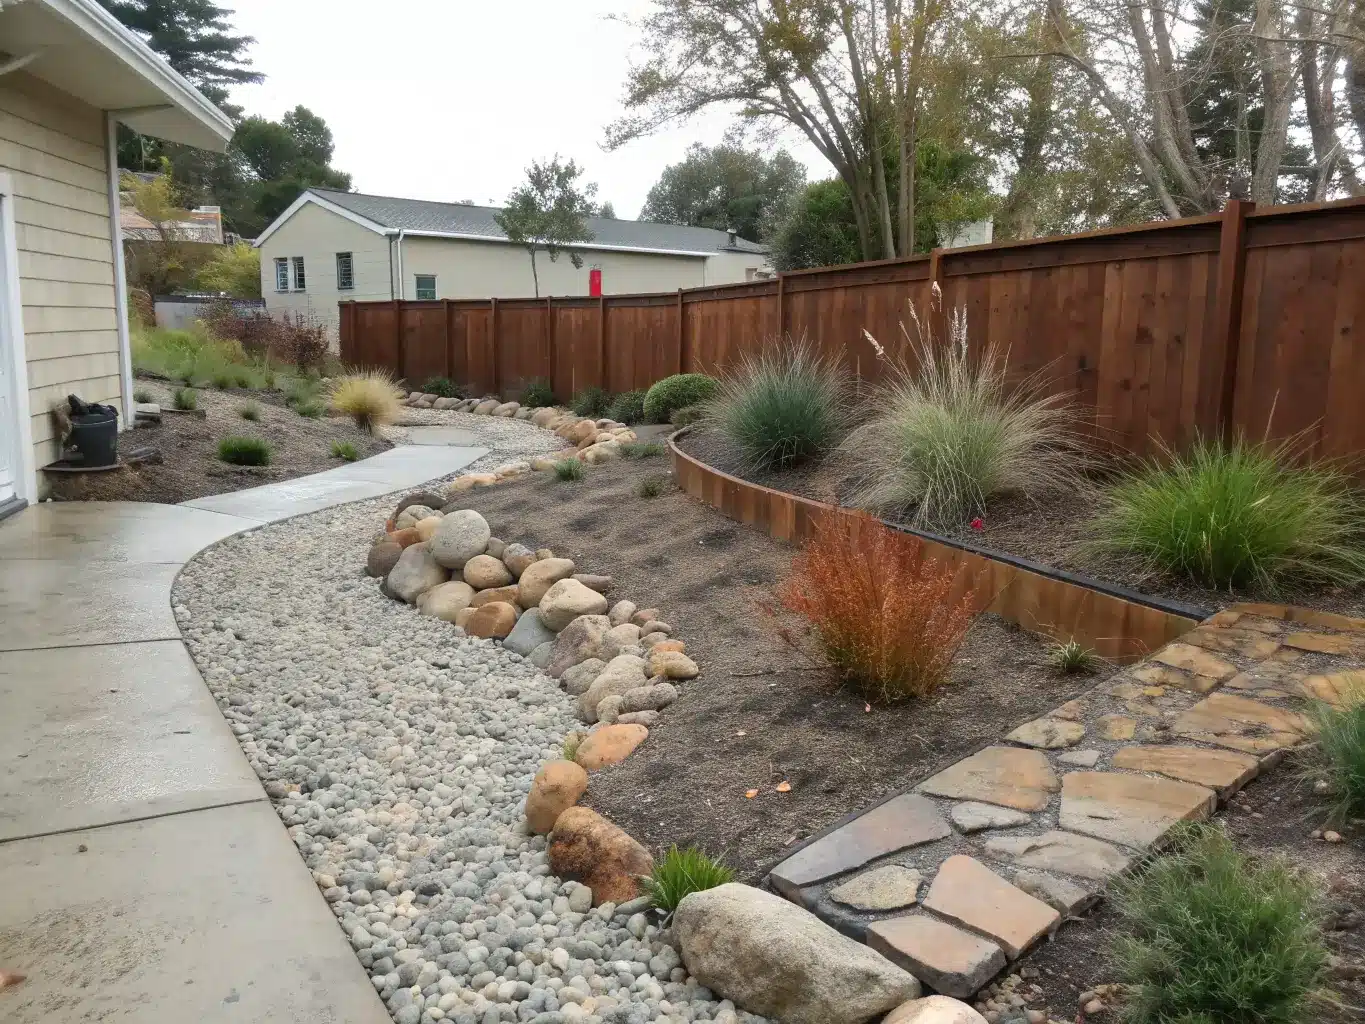
The Must-Have Pieces
You don’t need much. Here’s what actually earns its place:
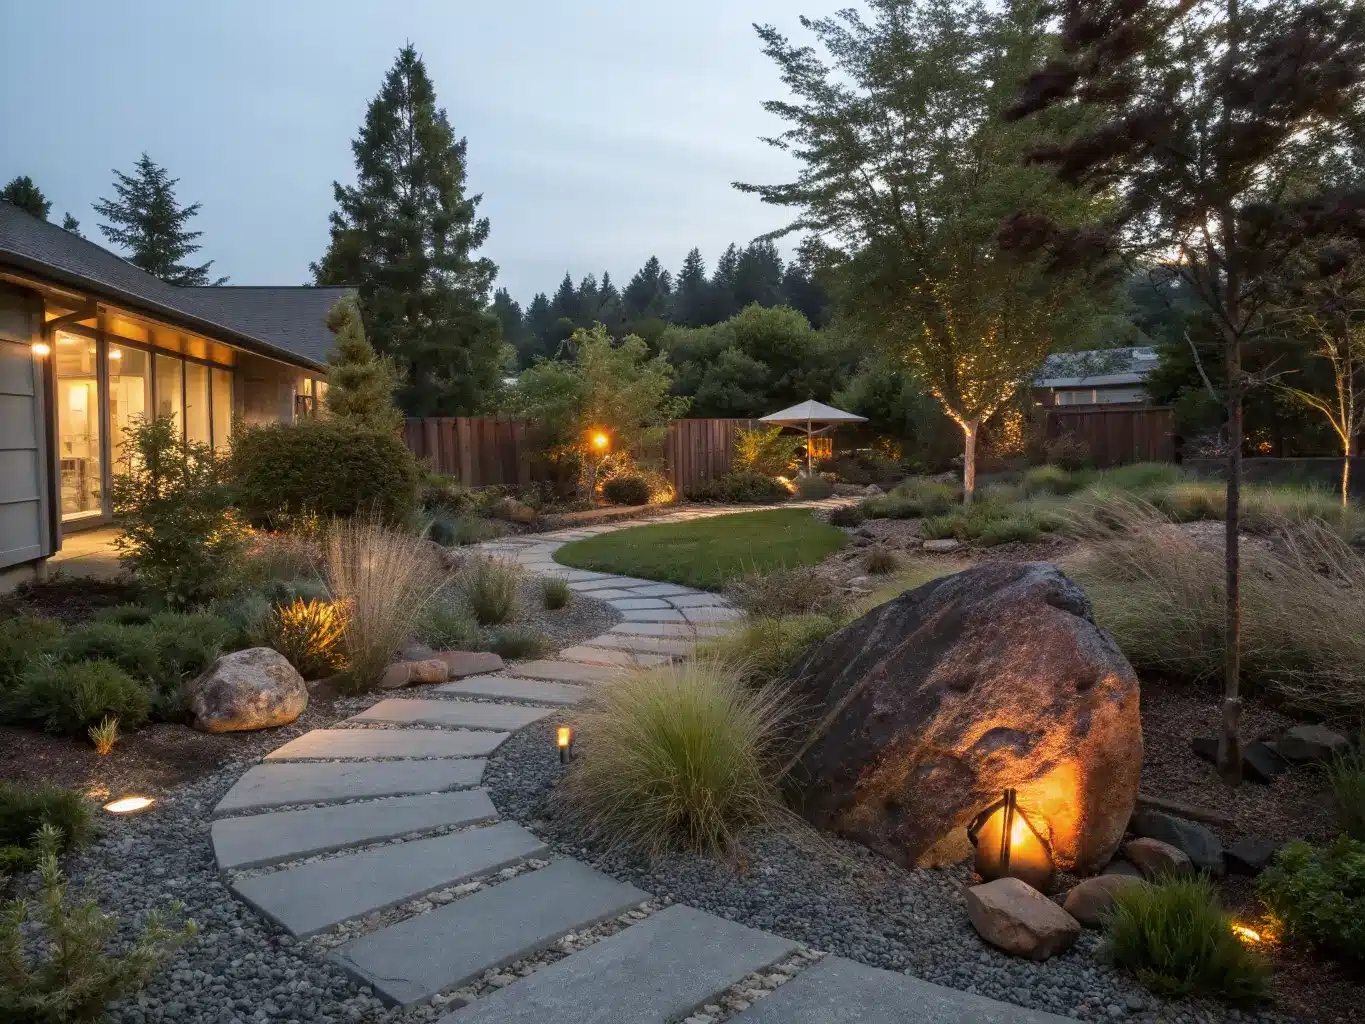
– An irregular stone path or stepping stones. Uneven spacing, gaps wide enough for moss to fill in. Skip the perfect grid — that reads formal, which is the opposite of what you want.
– A gravel bed in gray, tan, or decomposed granite. This is your quiet base layer under and around plantings.
– One focal point, and only one. A weathered boulder, a leaning tree, a stone basin, a simple water bowl. I use a chipped concrete birdbath I got for $12 at an estate sale — it’s got a hairline crack down one side and it’s my favorite thing in the yard.
– Aged clay or unglazed ceramic pots, mismatched on purpose. Don’t buy a matching three-pack.
– Weathered wood seating or edging — a reclaimed bench, rough timber border, whatever’s been sitting outside long enough to gray out.
– Native grasses, ferns, moss, and self-sowing perennials that still look good after they’ve bloomed and gone to seed.
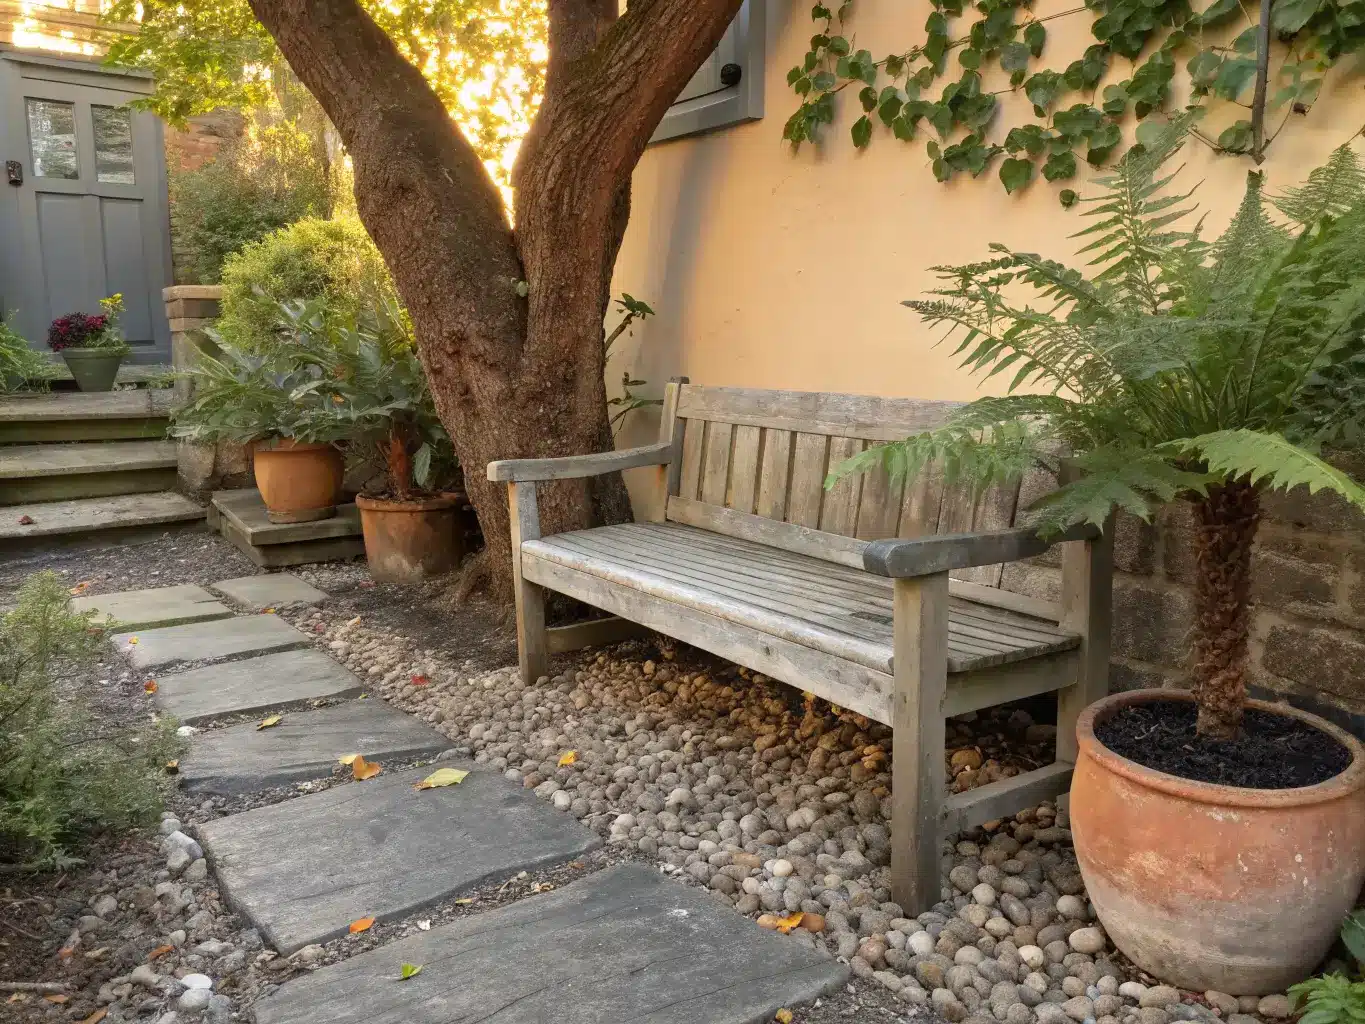
Optional Layers Worth Adding
Once the basics are in, these are the extras that deepen the look without cluttering it:
– Fallen leaves left under trees instead of raked bare
– Dried seed heads and faded allium stems left standing through winter
– Lichen-covered stone, driftwood, a simple branch trellis
– A little weathering steel for edging — let it rust, don’t fight it
– A shallow water basin for a still, reflective moment
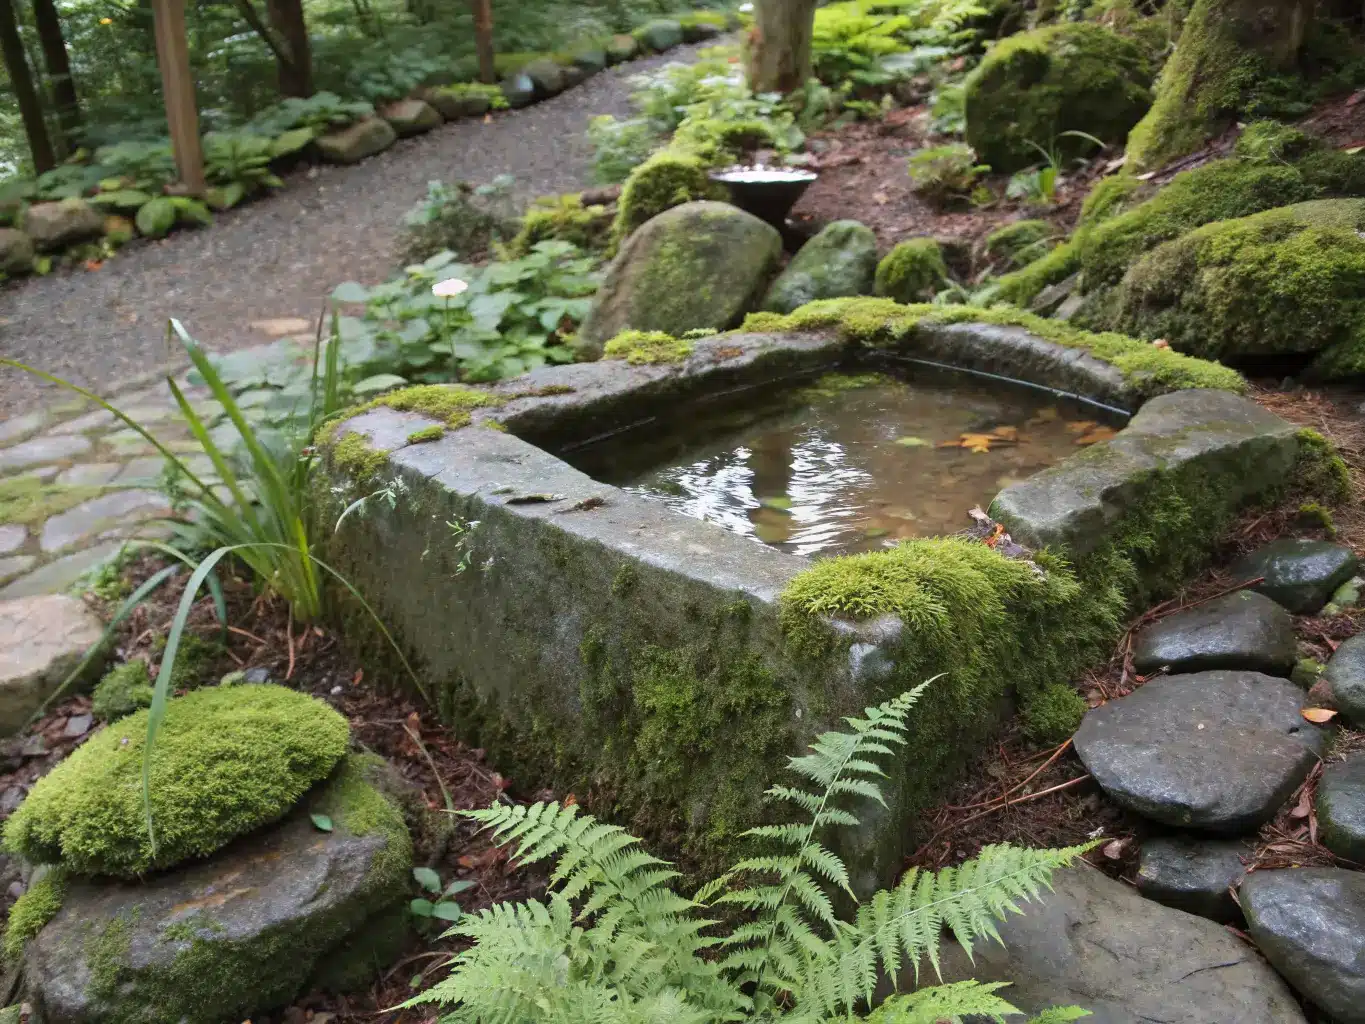
How to Actually Build It, Step by Step
1. Clear before you add anything. Pull out clutter, mismatched ornaments, anything plastic or overly polished. But don’t clear away character — cracked stone, an old timber post, existing moss patches are assets. Leave them.
2. Work with what’s already there. Before buying a single thing, map your space around the trees, shade patterns, drainage, and any paths that have naturally worn into the lawn. Wabi-sabi design responds to a site instead of overriding it.
3. Lay your grounding surface first. Gravel, stone, or mulch goes down before anything else. Then add a path or small stepping-stone cluster.
4. Place your biggest object next. Boulder, mature shrub, or specimen tree — whatever’s largest goes in first, and everything else gets arranged around it.
5. Plant in loose clusters, not rows. Native grasses, ferns, low shrubs. Let them lean into each other. Odd numbers — three, five — read more natural than pairs.
6. Finish with a few aged accessories. One pot, one bench, one basin. Stop before it feels decorated.
Mistakes I’ve Made (So You Don’t Have To)
Making it too styled. My first attempt at this garden had everything arranged just so — pots evenly spaced, stones placed with a level. It looked like a showroom. I had to mess it up on purpose: shift pots off-center, let one path stone sit slightly askew. Once I did, it finally looked like a place that had grown into itself.
Overusing decor. I bought three different lanterns before realizing one was already too many. Wabi-sabi wants restraint — one focal point per view, not a collection.
Forcing symmetry. Matching pairs of anything — pots, shrubs, edging stones — fight against the whole idea. If you catch yourself buying “a matching set,” stop.
Choosing high-maintenance showpieces. Big blowzy hydrangeas and rows of annuals that need constant deadheading don’t belong here. Pick plants that look good when left alone.
Removing every sign of age. This is the big one. Don’t power-wash the moss off your stones. Don’t rake every leaf. Don’t replace the cracked pot. The aging is the design.
Keeping It Cohesive Over Time
– Stick to your original palette — stone, clay, moss, bark, rust, muted green. Don’t introduce a new finish every season just because you’re bored.
– Repeat materials in different sizes rather than adding new ones. A bigger version of the same stone, a taller version of the same pot.
– Leave empty space alone. Negative space is doing real work here — a garden that’s breathing room, not packed corner to corner, is what reads as calm instead of cluttered.
Seasonal and Budget Refreshes
Seasonal tweaks: swap in a bundle of bare branches in winter, a bowl of seasonal cuttings instead of buying flowers, let seed heads stand instead of cutting them back in fall.
Budget moves: replace anything mass-produced with something salvaged. Secondhand wood benches, local stone yards selling “seconds” or irregular offcuts, gravel by the truckload from a landscape supplier instead of bagged from a hardware store — all of it costs less and looks more authentic.
Mixing it with other styles:
– Wabi-sabi + zen: lean harder into gravel and stone, pull back on planting
– Wabi-sabi + woodland: add moss, ferns, shade plants, and let leaf litter build up
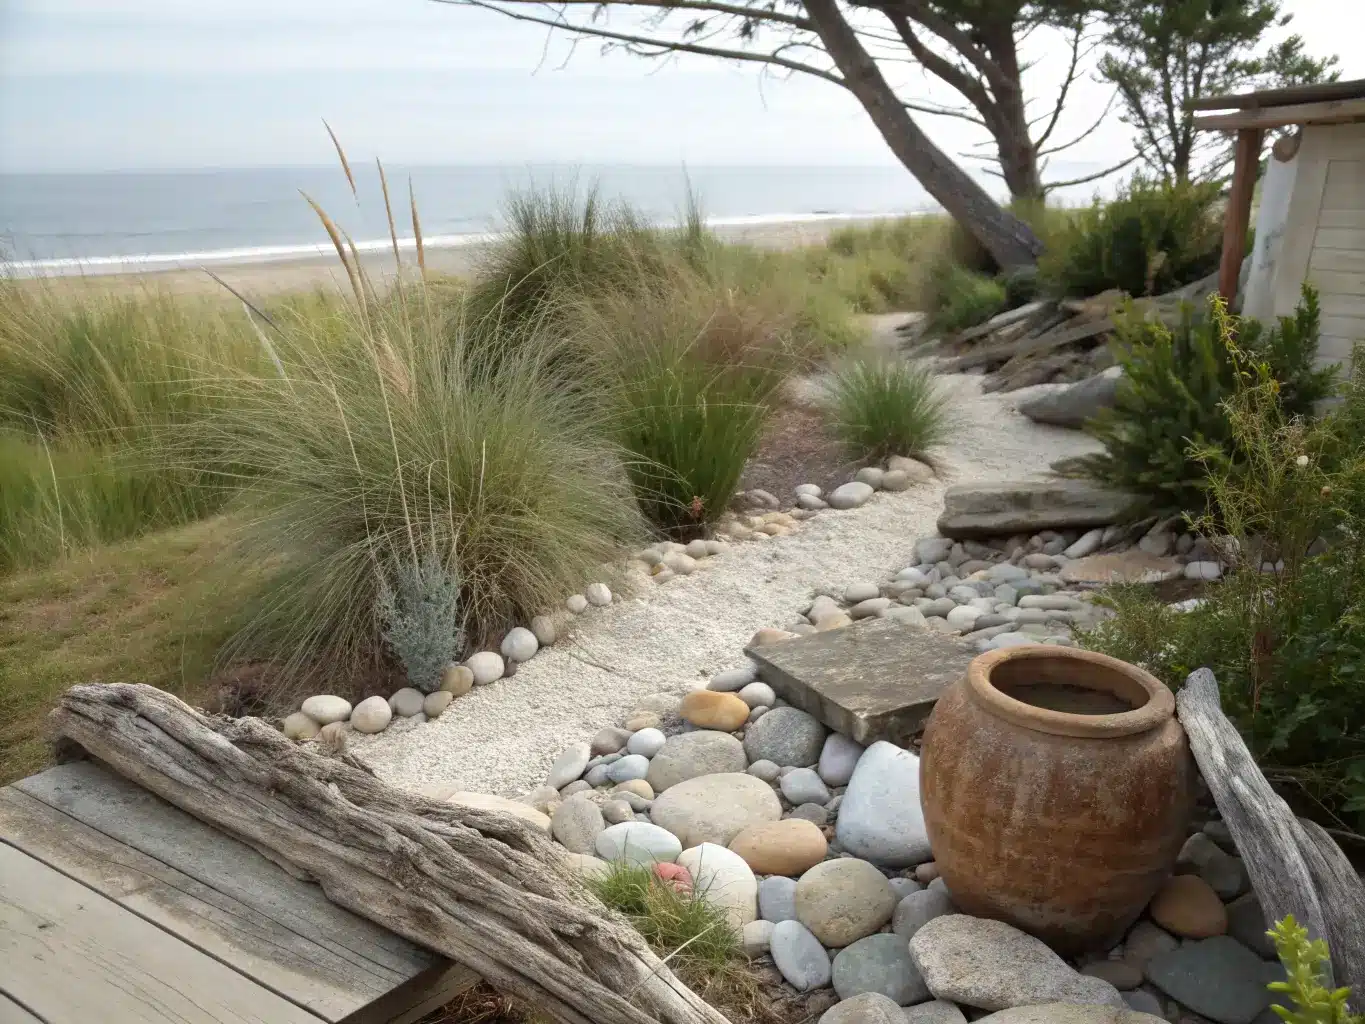
– Wabi-sabi + coastal: driftwood, shell-toned gravel, silvery grasses — just keep it muted, not beachy
A wabi-sabi garden isn’t something you finish. Mine’s been going for two years and I’m still moving stones around, still letting things crack and gray out instead of replacing them. That slow, unfinished quality is the whole appeal — a garden that looks like it’s lived, not staged.