Fall Coffee Table Decor: A Simple Styling Formula That Actually Works
My coffee table used to be a pumpkin graveyard every October. I’d buy six mini pumpkins at Trader Joe’s, scatter them next to some candles, throw a few leaves down, and call it done. It looked like a craft store threw up. It took me three fall seasons to figure out that fewer objects, placed with intention, always beats more objects piled on. Once I switched to a tray, a stack of books, one tall stem, and two or three good accents, people actually started asking where I got my “decorator” to style my living room. It’s not decorating skill. It’s restraint.
If you’re staring at your coffee table wondering why your fall decor looks more Dollar Tree than Anthropologie, this is the fix.
Who This Style Is For (And What It Actually Looks Like)
The look I’m describing sits somewhere between modern farmhouse, organic modern, and transitional — cozy, but not cluttered. Not the overflowing cornucopia your aunt puts out. Think rust, deep green, warm brown, cream, and a little brass, layered with real texture: wood, linen, ceramic, glass.
This works whether you’re in a 1,200-square-foot rental or a house with a sectional the size of a small boat. It’s especially good for:
– Renters and apartment dwellers who want seasonal change without committing to anything permanent
– Busy people who don’t have a free weekend for a full room refresh
– Small coffee tables, where a light touch is mandatory, not optional
– Anyone with kids or pets, since most of this can be done without an open flame near the dog’s tail
Time commitment: 15–45 minutes for a simple tray vignette. Give yourself 30–90 minutes if you’re also swapping books, layering in florals, and doing a full reset across a bigger table.
Budget: I’ve done this for $30 using a thrifted tray and grocery store pumpkins. I’ve also spent close to $150 on a proper wood tray, a ceramic bowl, and brass candlesticks that I still use every fall. Both versions work. Neither requires you to buy new pumpkins every single year, which — more on that later — is the actual secret to not overspending on this.
The worth having Pieces (Your Hero Items)
Every good fall coffee table I’ve seen, and every one I’ve built myself, comes down to the same six categories. You don’t need all of them to be new or expensive. You need one of each.
– A tray. This is your foundation and it’s non-negotiable. Wood, woven rattan, or matte metal all work. I use a $22 vintage-style wood tray from a thrift store that’s outlived three different living room layouts.
– A vertical element. A vase with dried wheat stalks, pampas grass, or a few branches. This is what keeps the table from looking flat.
– 2–3 books, stacked largest to smallest. These aren’t just filler — they’re a platform. Put your candle or a small object on top of the stack for extra height.
– Candles. Pillar candles, taper candles in a candlestick, or a glass hurricane. If you’ve got kids or a curious cat, flameless candles look identical from three feet away and nobody’s setting off the smoke detector.
– One seasonal accent. Mini pumpkins, a few gourds, a small dish of pinecones or cinnamon sticks. One category, not five.
– A texture piece. A ceramic bowl, a wooden dough bowl, or a brass object. This is the piece that makes the whole thing look “designed” instead of “assembled.”
How to Actually Put It Together
Here’s the sequence I use every single time, because doing it in order keeps you from overthinking it halfway through.
1. Clear the table completely. Start from zero. You’ll make better decisions with a blank surface than trying to edit an existing mess.
2. Place your tray. Centered, or off to one side if your table is rectangular and you want to leave room for feet-up lounging on the other end. This tray is now the boundary of your entire arrangement — nothing goes outside it except maybe one larger object like a vase.
3. Stack your books on the tray. This becomes your base layer.
4. Add your tallest piece — the vase with stems, or a candlestick — right next to the books, not on top.
5. Add one or two seasonal accents in the remaining space. A small pumpkin tucked next to the books. A tiny bowl of acorns near the base of the vase.
6. Finish with your texture piece. Set it slightly apart from the rest, maybe off the tray entirely, to create a second small visual moment on the table.
The rule that changed my whole approach: leave a third of the table empty. Not “somewhat clear” — genuinely empty. If you can’t set a coffee mug down without moving something, you have too much on there.
Stick to odd numbers. Three or five objects in a grouping reads as intentional. Two or four starts to look accidental, like you just haven’t finished setting up yet. I have no idea why this is true, but every time I’ve counted out an arrangement to an even number, something feels off, and adding or removing one piece fixes it instantly.
Limit your palette to two or three colors. My go-to is cream, rust, and brass. Some years I do deep green, warm brown, and ivory instead. I do not mix both palettes on the same table — that’s how you end up with the pumpkin-graveyard look again.
Where to Spend and Where to Save
Spend on:
– The tray — it’s the piece you’ll reuse for years and it touches everything else on the table
– One or two candlesticks in brass or a mixed metal, since cheap versions tend to look thin and tinny
– A ceramic bowl or vase with some actual weight to it
Save on:
– Pumpkins and gourds — grocery store or Trader Joe’s mini pumpkins for $1–3 each look identical to the $12 ones from a boutique
– Books — thrift stores and library sales are full of oversized hardcovers with decent-looking spines for a dollar
– Dried stems — a $6 bundle of dried wheat from the craft store lasts multiple seasons if you store it flat
Mistakes I’ve Made So You Don’t Have To
Buying too many pumpkins. I once had eleven mini pumpkins on one coffee table. Eleven. It looked like a display at a farm stand, not a living room. Two or three max, and only if they’re paired with other textures — otherwise it reads as a theme, not a style.
No height variation. My early attempts were all short objects sitting at the same level — a flat sea of candles and gourds. Nothing drew the eye. Adding one tall vase fixed this instantly.
Too many colors. I went through a phase of orange, red, yellow, AND deep purple on one table, because I found a purple velvet pumpkin I loved. It didn’t belong. I still have it, it just lives in a different room now.
Fragile pieces on a table that gets used. If your coffee table is also where your kid does homework or your dog rests his chin, skip the delicate glass hurricane and go with something sturdier — a wood or ceramic candle holder can take a bump without shattering.
Keeping the Look Fresh Through the Season
You don’t need to rebuild this from scratch every few weeks. Small swaps keep it feeling current:
– Early fall (September): Lean into greenery — eucalyptus, wheat, one or two pumpkins max. Keep candles neutral, not overtly “harvest.”
– Peak fall (October): This is when the deeper rust and gold tones come out. Add the cinnamon sticks, the extra gourd, the richer candle scent.
– Late fall / Thanksgiving: Swap in amber candles and lean harder into brass and wood tones. This is also when I add a linen runner under the tray for a little more warmth.
When it’s time to pack up, I keep everything sorted in one bin by season, which means next year I’m not starting over — I’m just re-assembling. That bin has saved me more money than any single purchase ever has.
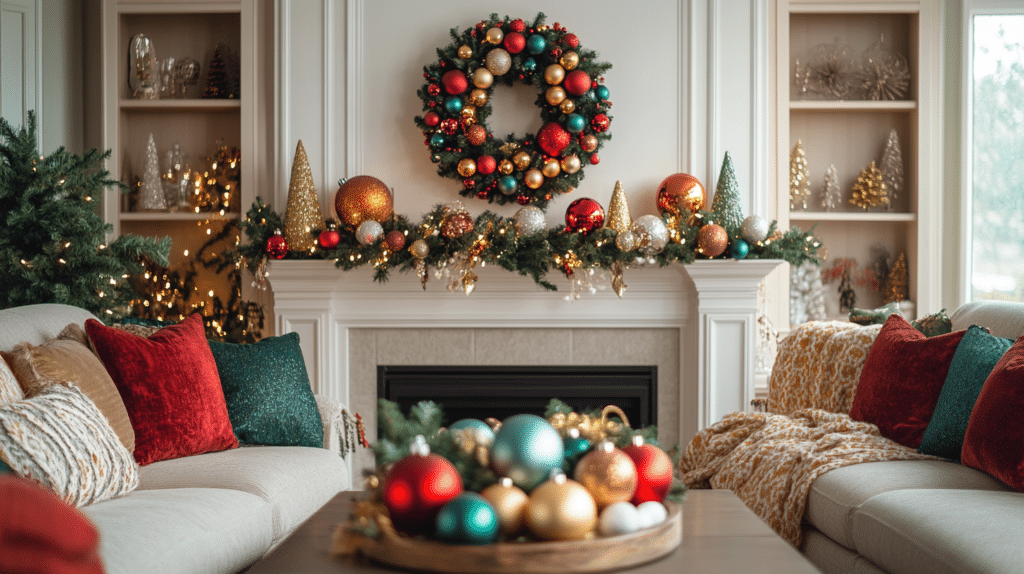
The whole point of this formula — tray, books, height, one accent category, one texture piece — is that it’s not really about fall. It’s a styling structure that works for any season. Swap the pumpkins for a bowl of ornaments in December, or greenery in spring, and the bones stay exactly the same.
New mom embracing the chaos and creativity! 💕 Sharing budget-friendly tips for cooking, DIY hacks, home decor, fashion, and making every moment stylish and affordable