Stock Tank Pool Bench: A DIY and Buying Guide That Actually Fits Your Pool
Every stock tank pool owner hits the same wall about two weeks in: the galvanized lip digs into the back of your knees, there’s nowhere to set a drink, and the whole setup still looks like a livestock trough in your yard no matter how many string lights you hang. A bench fixes all three problems at once. I built mine after a summer of perching on a cooler next to our 8-foot tank, and it’s the single upgrade that made the space feel like we planned it instead of just bought a tank off a pallet at Tractor Supply.
Here’s everything I learned putting one together, plus what I’d do differently.
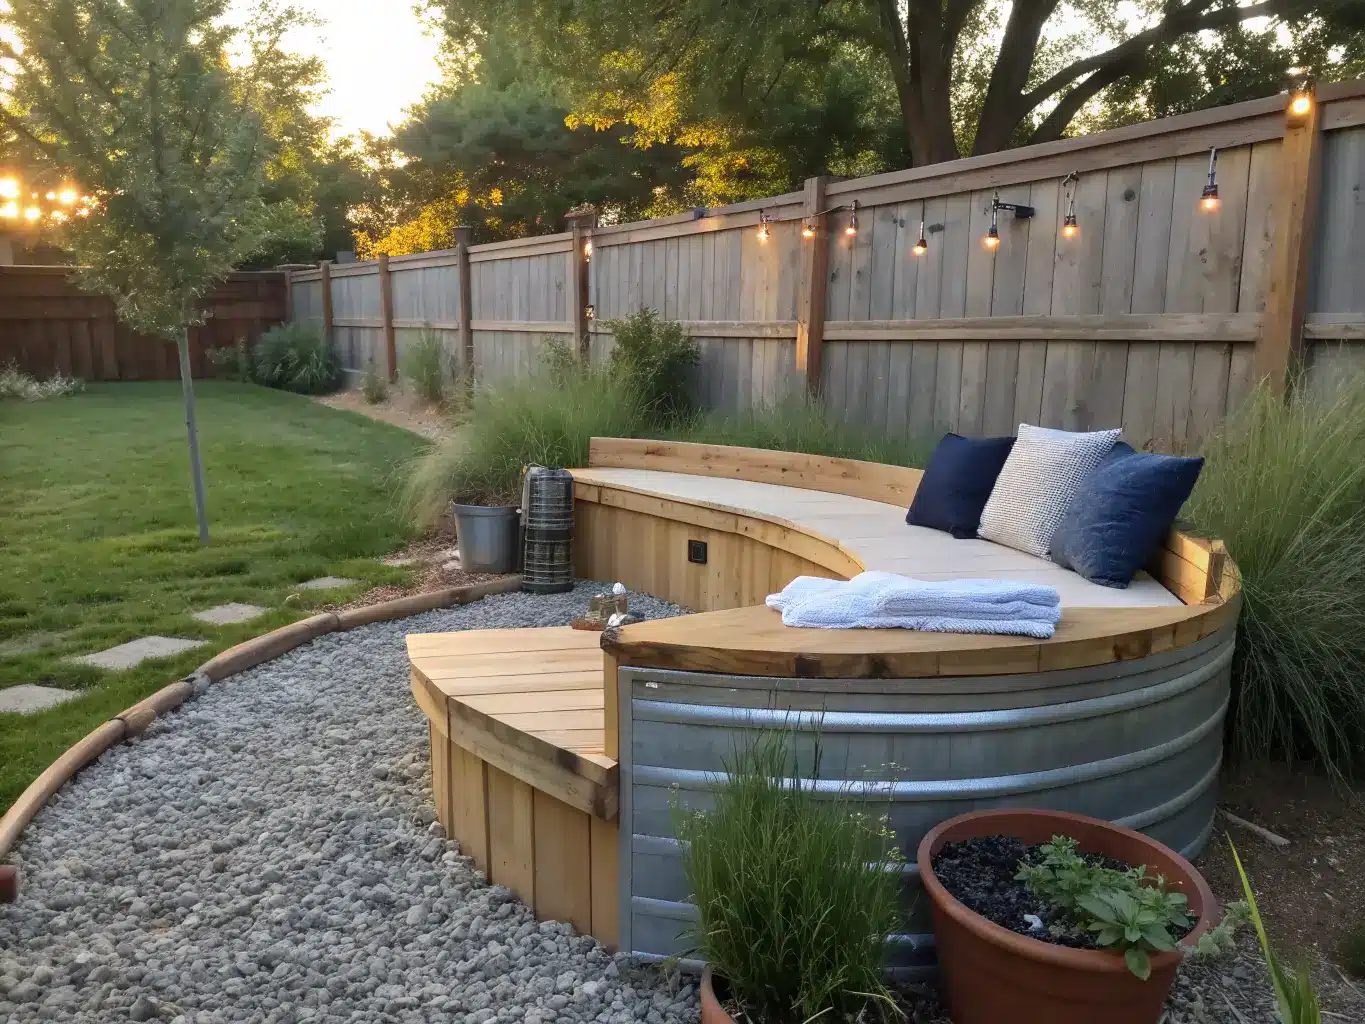
What a Stock Tank Pool Bench Actually Involves
Time: If your lumber is pre-cut, you can assemble a basic bench in a single afternoon. Curved wraparound benches or anything with a back rest are a full weekend project, minimum — the angle cuts alone ate half a Saturday for me. Custom builders sell finished pieces made-to-order if you’d rather skip the sawdust entirely.
Cost: DIY stays in the low hundreds — lumber, screws, brackets, stain, and sealant. I spent around $180 on mine using pressure-treated pine instead of cedar. Ready-made benches run considerably more: current listings show curved wood benches starting around $1,250, with back-rest versions closer to $2,500. That gap alone is reason enough to try the DIY route first.
Space: Most benches are built for 6- to 10-foot round tanks. If you’ve got an 8-foot pool and want one or two benches around it, plan for roughly 12′ x 12′ of usable yard. Measure before you buy lumber — I didn’t, and my first bench module sat two inches too close to our fence line.
Skill level: A straight bracket-mounted bench is a fair beginner project. Curved seating that follows the tank’s radius is intermediate to expert — you’re cutting compound angles to match a circle, and there’s no forgiving that with wood filler.
Season: Peak use is summer, obviously, but if you’re running a pool heater into fall, the bench earns its keep well past Labor Day.
The Design Style: Rustic Meets Backyard Resort
Stock tank benches live in a specific lane — modern rustic and farmhouse, with a DIY, found-object feel that matches the tank itself. Nobody’s going for polished pool-deck elegance here. The whole appeal is that galvanized steel plus raw wood looks intentional instead of improvised.
Materials that actually hold up outside:
– Western Red Cedar — naturally rot-resistant, ages to a soft silver-gray if left unsealed
– Pressure-treated lumber — cheaper, needs more upkeep but works fine if you’re staining anyway
– 2×4 framing for structure, 1×6 boards for the seat surface
– Exterior-rated screws (I used 2″ and 2½” — anything shorter backs out under weight within a season)
– Polyurethane, Polycrylic, or a spray-on protective coating
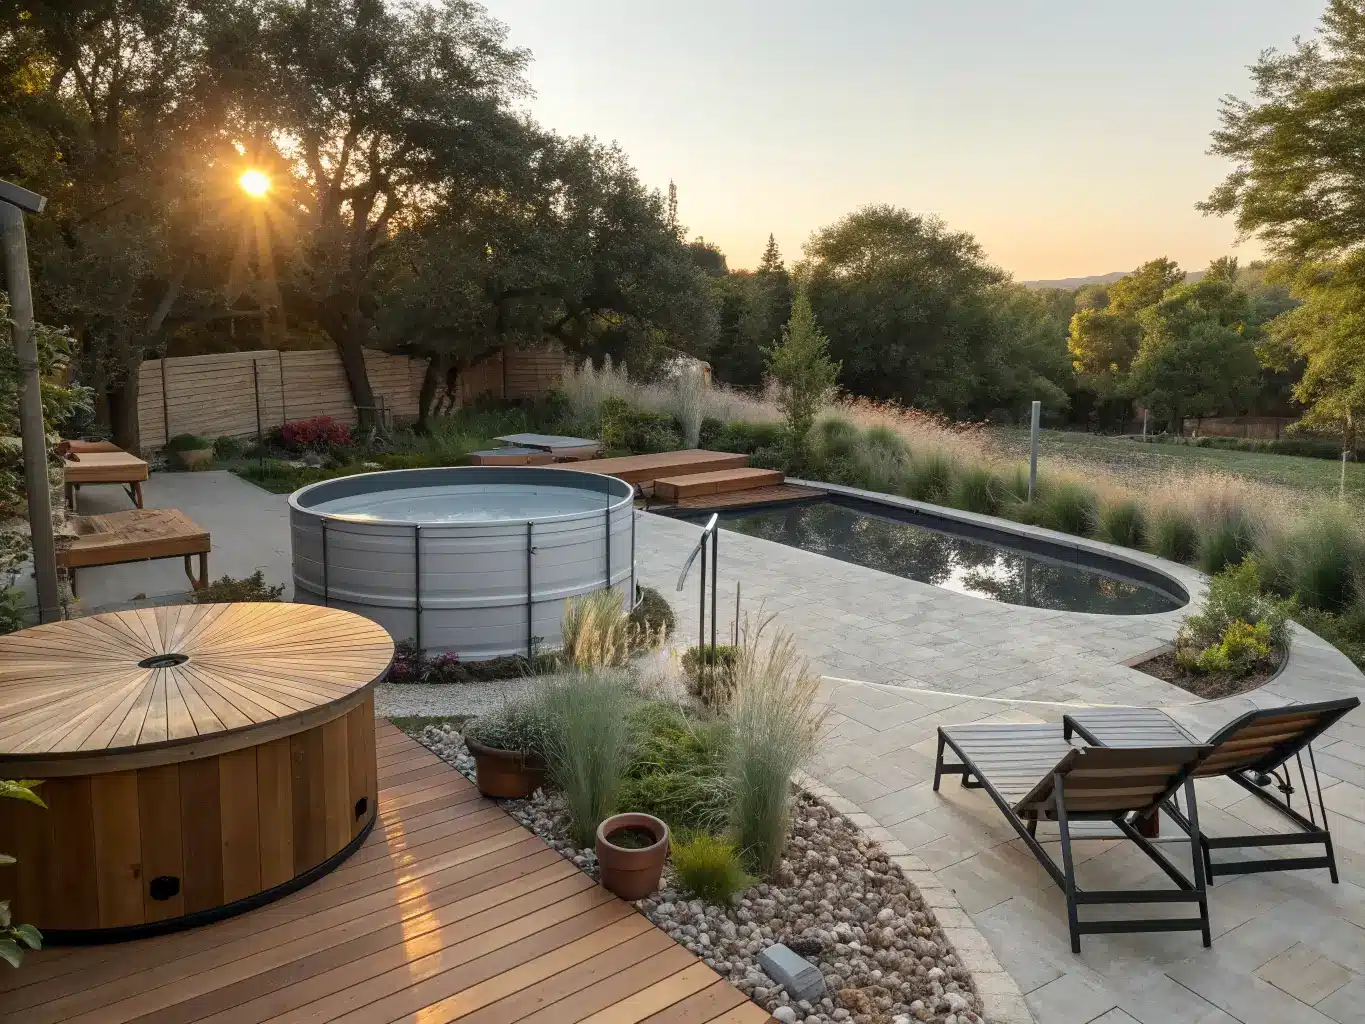
This setup is for anyone who wants their tank pool to look like a backyard upgrade rather than a farm supply purchase left in the yard. It works especially well on patios, deck edges, and any yard too small for a real in-ground pool deck.
worth having Pieces for the Look
The bench itself. Two main approaches:
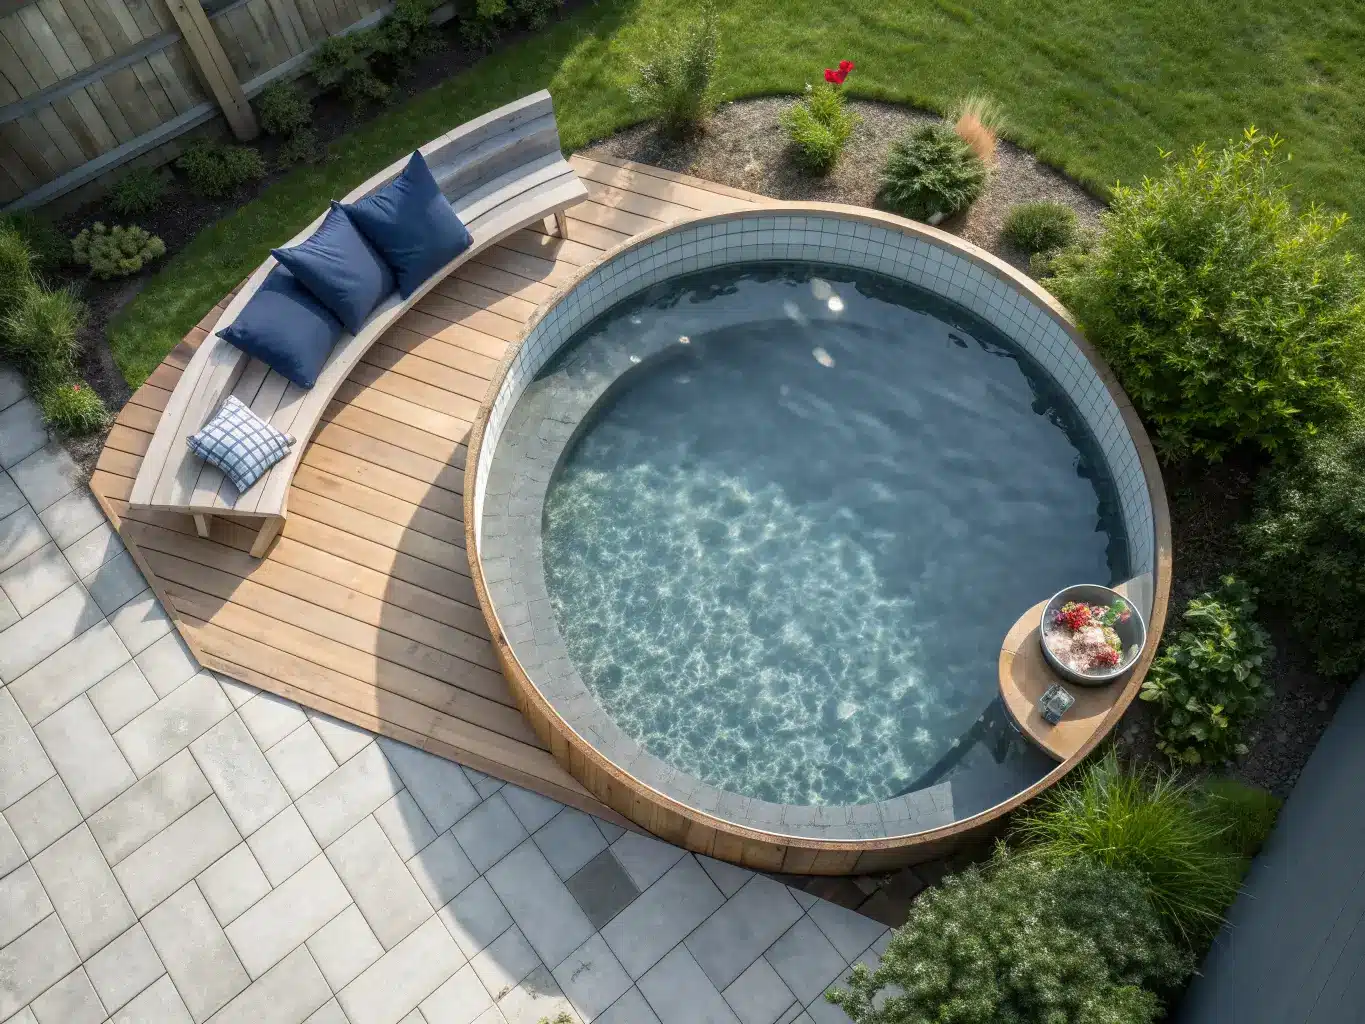
– Curved wooden bench that follows the tank’s edge — built for 6, 8, 9, or 10-foot tanks specifically. This is the built-in, custom look.
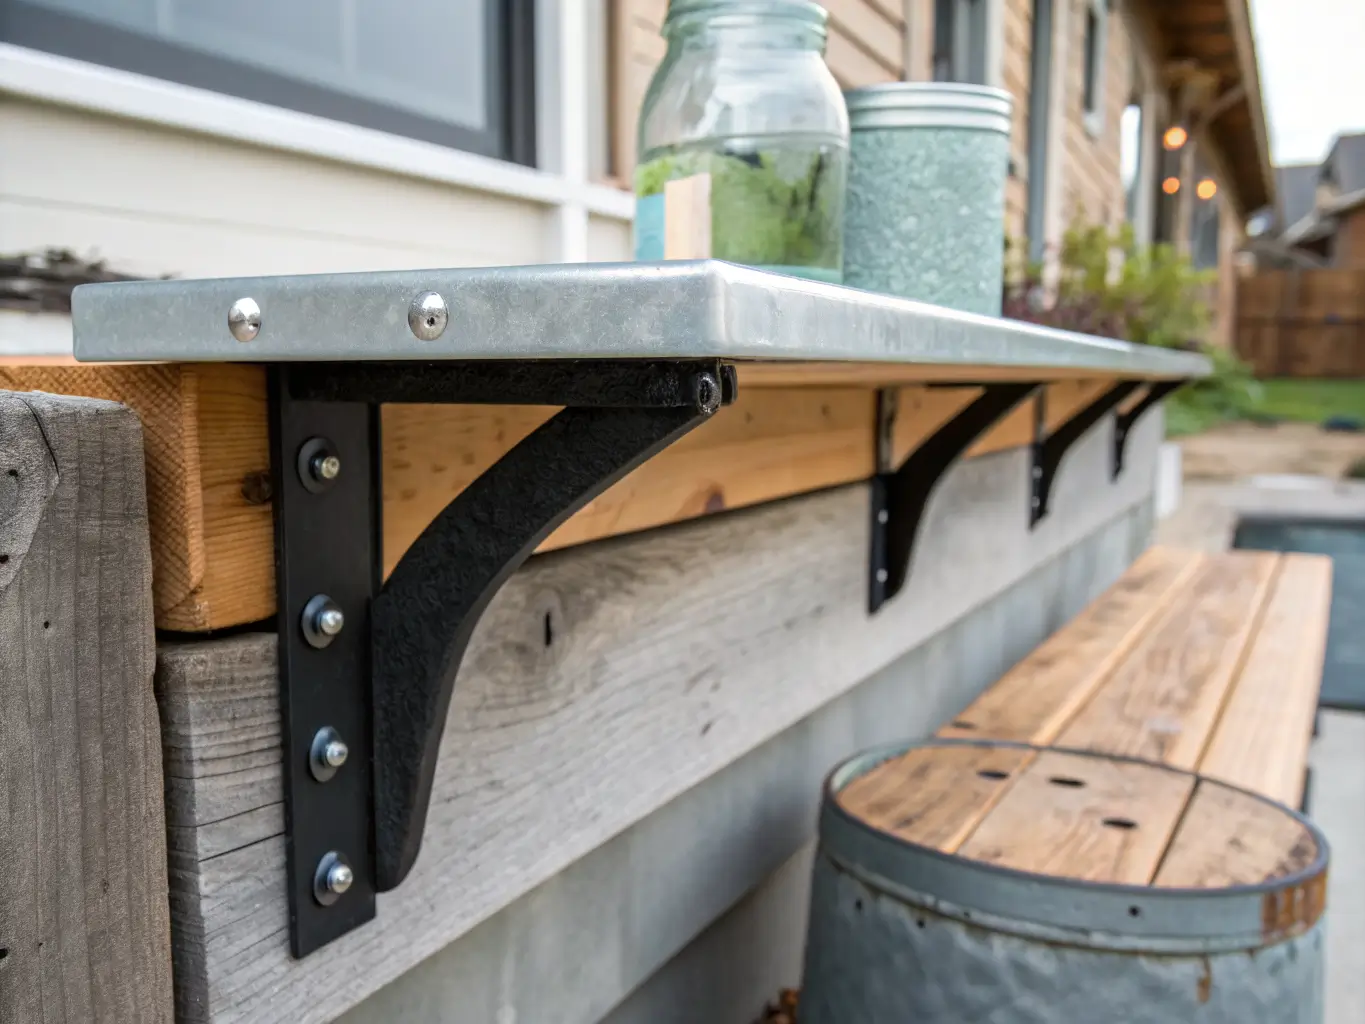
– Bracket-mounted straight bench using shelf brackets or door barricade brackets. Lighter, faster to build, and it reads as more casual/industrial than a curved built-in.
I went bracket-mounted the first time because I didn’t trust myself with curved angle cuts. Second bench, a year later, I did curved — it looks better, but I will not pretend it wasn’t humbling.
Materials list for a DIY build:
– 1×6 pressure-treated boards for the seat top
– 2x4s for supports and bracing
– Exterior screws (2″ and 2½”)
– Miter saw, tape measure, pencil, and a length of string (for tracing the tank’s curve if you’re going that route)
– Weather sealant — don’t skip this, more on that below
Optional Upgrades That Change the Whole Vibe
Once the basic bench is in, small additions do a lot of visual work:
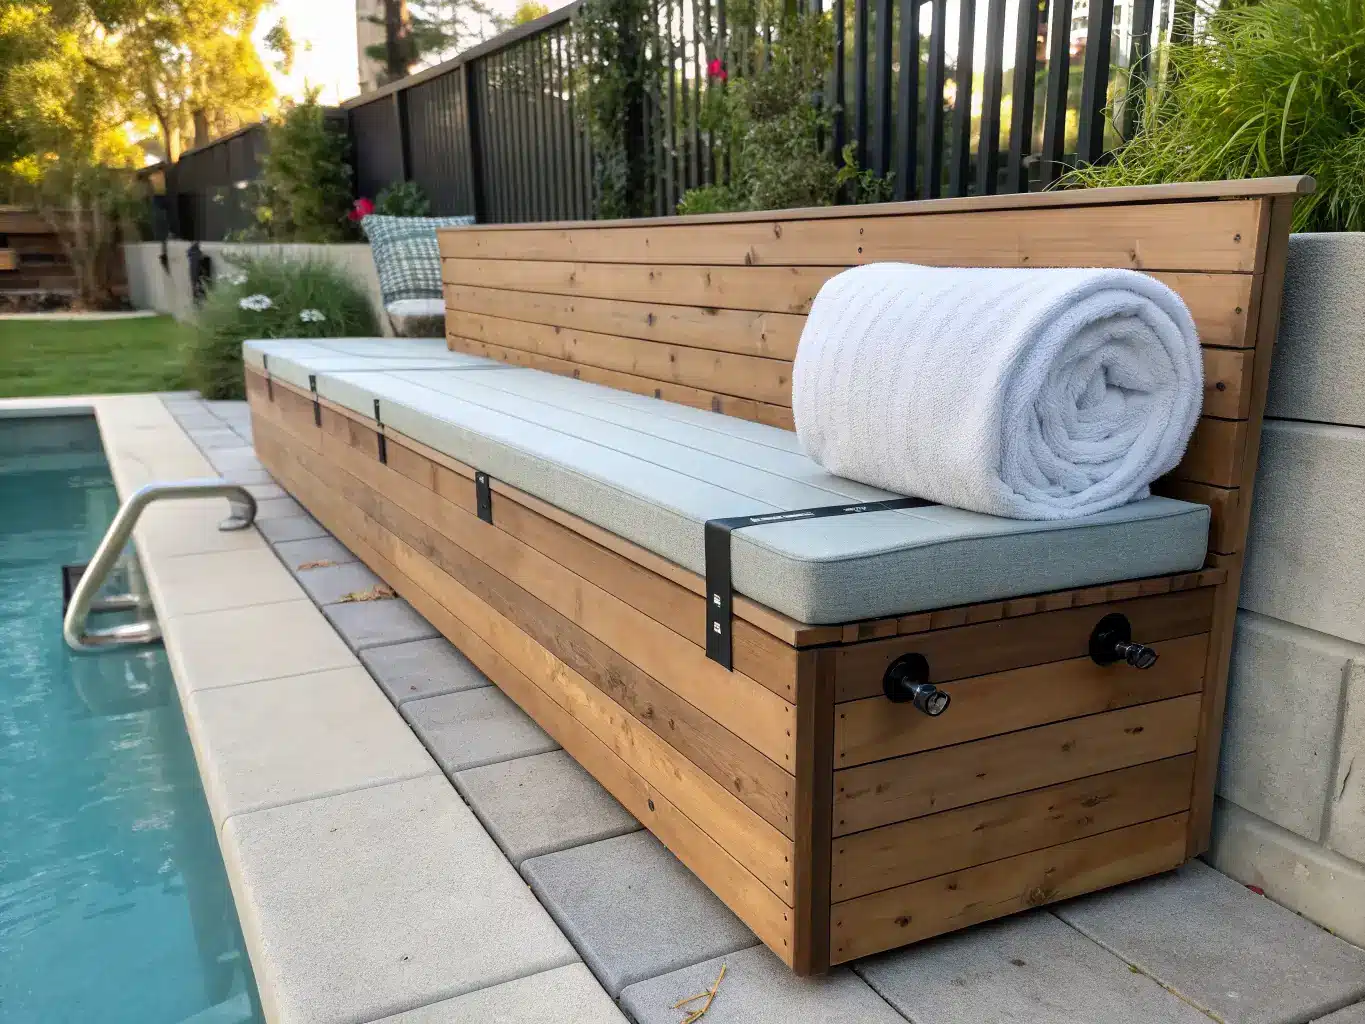
– A back rest. Turns a perch into an actual lounge spot. Current sellers list this as a separate, pricier product category for good reason — it changes the whole feel of the seating.
– Outdoor cushions or quick-dry pillows in muted neutrals or coastal blue-white. I use two navy pillows from a discount outdoor bin — they’ve faded slightly after two summers but still look intentional.
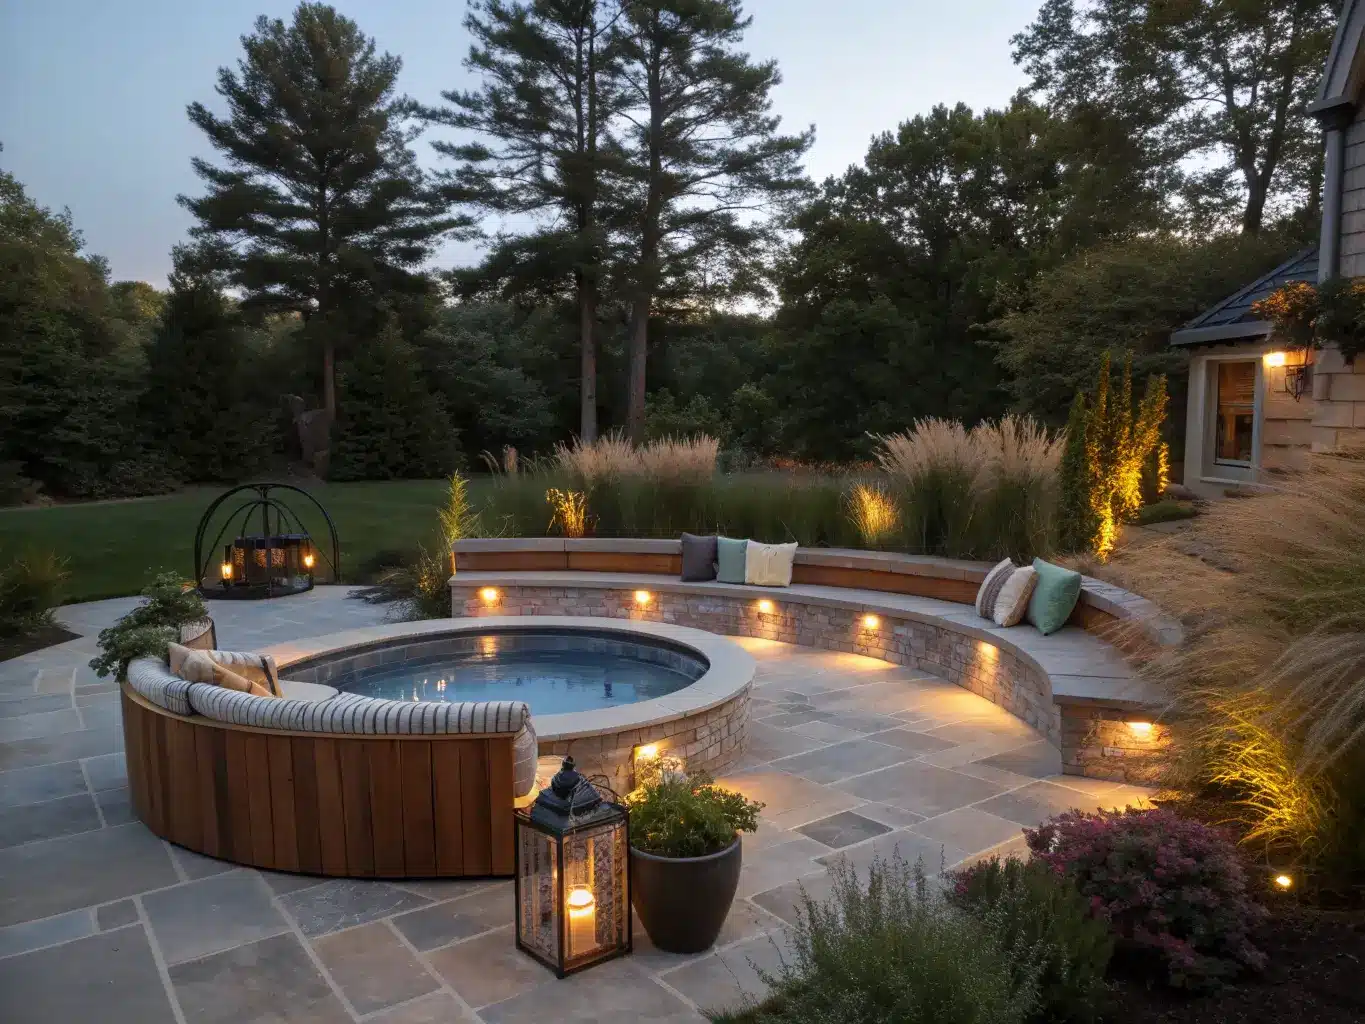
– Planters flanking the bench to frame the pool edge and push the whole area toward “resort” instead of “utility.”
– Contrast hardware. One DIYer I found used Rustoleum Wildflower Blue on the brackets against natural cedar — it’s a small move that reads as designed rather than accidental.
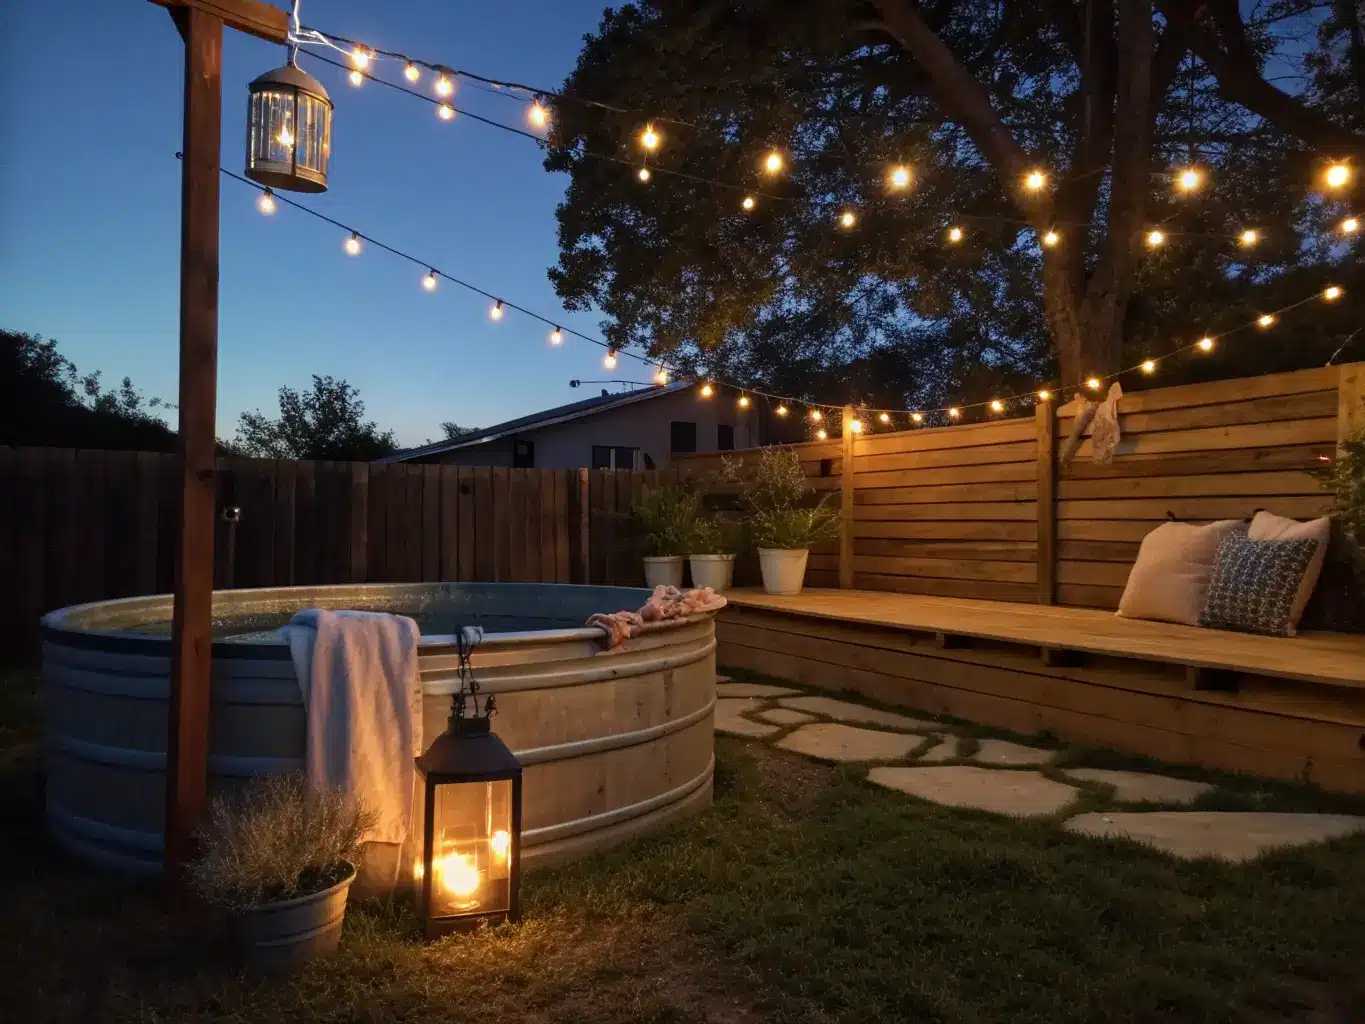
– Seasonal textiles — striped towels, a lantern or two, citronella candles in warm months.
How to Actually Put It Together
Confirm your tank size first. Everything else depends on it. A bench cut for a 6-foot tank will not fit an 8-foot one, and stock tanks aren’t always the exact diameter advertised — measure the actual tank, not the box it came in.
Level the ground. Stock tanks need level ground to begin with, and so does bench seating. I used paver base and a hand tamper before setting anything down; skipping this step is why my first bench rocked slightly for a month until I re-shimmed it.
Decide on placement: around the tank, beside it, or partially attached to the rim. Each changes your hardware needs and footprint. Attaching directly to the tank lip saves floor space but means you’re drilling into (or clamping onto) the tank itself — check that this doesn’t void any warranty first.
Building the seat, step by step:
1. Lay out your angles with string if you’re doing a curve — trace the tank’s actual edge, don’t eyeball it.
2. Cut sections on a miter saw, building each bench module separately rather than one continuous piece. Easier to transport and replace later if one section warps.
3. Frame with 2x4s, attach 1×6 tops, brace every 16–18 inches so it doesn’t flex under weight.
4. Seal immediately. Sanded wood delivered from a seller is explicitly not waterproofed — you need polyurethane or a comparable coating on before first use, not after the first rain.
Style it minimally. One or two pillows, a towel hook nearby, maybe a small side table for drinks. This is not a spot for six throw pillows and a rug — the bench should look clean against the water, not busy.
Mistakes I’ve Made (So You Don’t Have To)
– Skipping the sealant timeline. I let my first bench sit unsealed for four days waiting for a dry weekend. It cupped slightly on one board and I had to sand it flat before staining. Seal within 24–48 hours of building, dry weather or not — tarp it if you have to wait.
– Building too deep. My curved bench is 16 inches deep, which felt generous on paper and crowds the walking path around an 8-foot tank in practice. 12–14 inches is plenty for a simple perch bench; only go deeper if you’re adding a back rest and want lounge-style seating.
– Overdecorating the perimeter. My early instinct was lanterns, a side table, two planters, and a rug all crammed around one 8-foot tank. It looked like a garage sale. Pull half of it back — the tank and bench should have breathing room.
– Underestimating back-rest footprint. A back-rest bench adds real depth, sometimes 10+ inches beyond a standard seat. On anything smaller than a 9- or 10-foot tank, that eats your walking clearance fast. Measure the finished footprint, not just the seat width.
Keeping the Look Cohesive Over Time
Stick to one wood tone, one metal finish, one accent color. My mistake early on was mixing natural cedar with black brackets and then adding warm terracotta planters — it looked like three separate projects instead of one yard. I repainted the brackets a matte black that matched our patio furniture and it immediately felt unified.
Repeat the round shape everywhere you can: round planters, a round side table, even round string-light bulbs. The tank is a circle — let the rest of the space echo it instead of fighting it with square edges.
Seasonal refreshes that don’t require rebuilding anything:
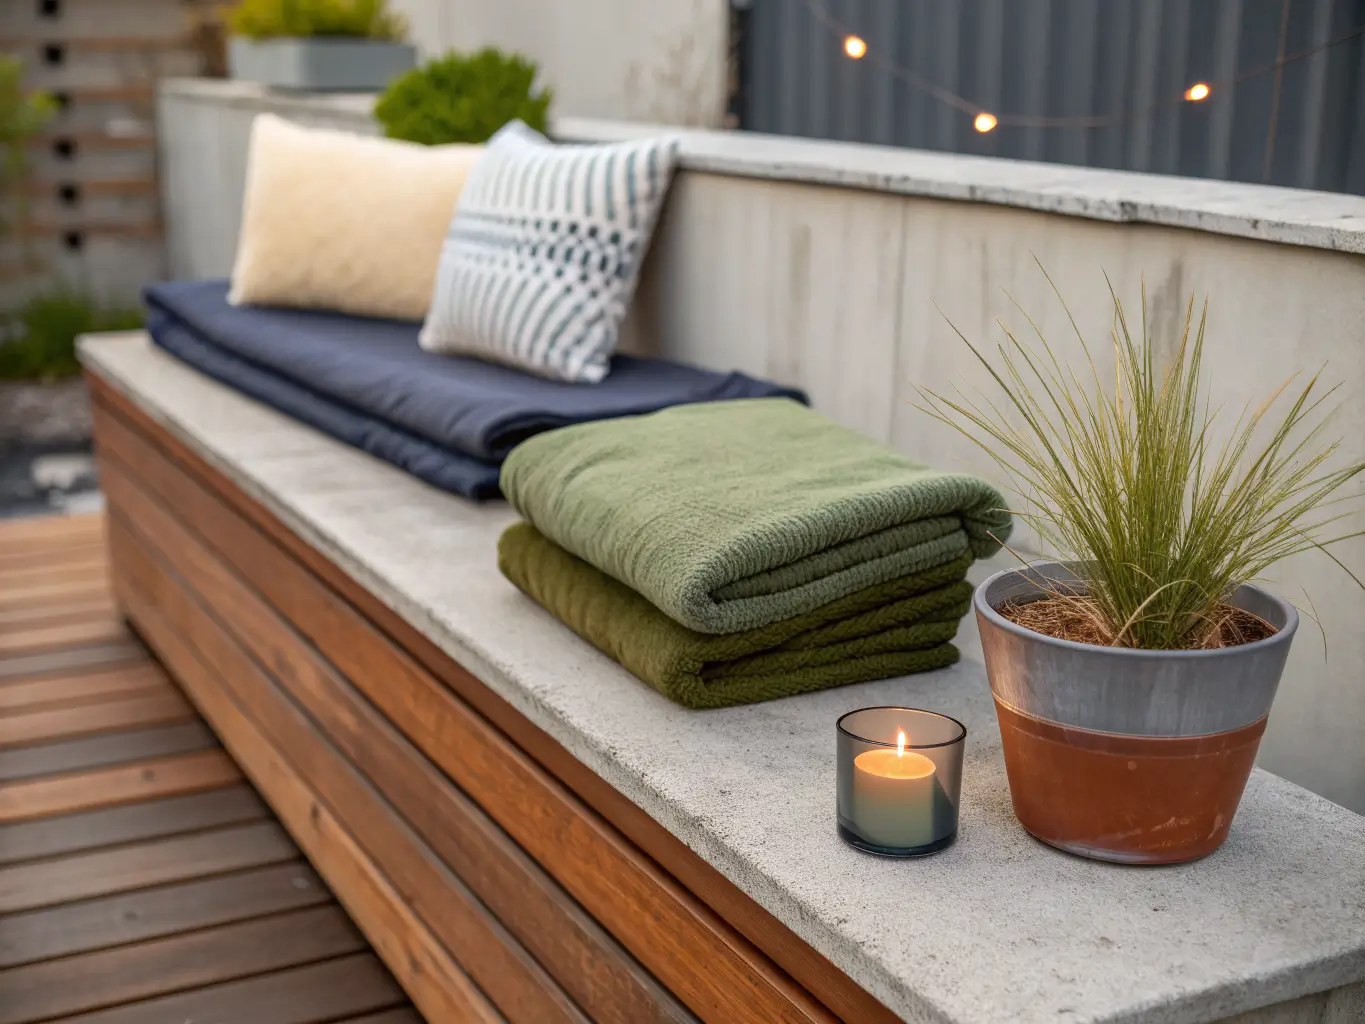
– Light neutral cushions and white towels in peak summer, swapped for olive or rust tones as the weather turns
– Solar lights or a couple of lanterns for evening use — cheap, and they change the whole mood after dark
– Potted ornamental grasses instead of flowering plants if you want lower maintenance around a wet area
Budget path if you’re starting small: build the basic frame first, skip the back rest, and add it later once you know how much you’re actually using the space. I did the reverse — built for a back rest I imagined we’d want, and it sat unused for a full season before we added cushions and finally got the lounge use out of it we’d pictured from the start. Start simple. Upgrade once you know your actual habits, not your Pinterest board.
More Ideas to Explore
Keep the momentum going: Fall Decor Pillows: A Room Refresh That Actually Works (Without Buying New Furniture) covers another angle worth a look.