Halloween Kitchen Decor That Doesn’t Look Like a Party City Exploded
Every October I make the same mistake before I fix it: I dump every black cat mug, plastic spider, and orange string light I own onto my counters, stand back, and think, this looks like a clearance bin. Halloween kitchen decor has a real problem that other seasonal decorating doesn’t — there’s no obvious edit. Christmas has ornaments and a tree to contain the chaos. Halloween just has… stuff. Bats here, pumpkins there, a skull mug wedged next to the coffee maker. It gets cluttered fast, and cluttered is the difference between “spooky-chic” and “clearance aisle.”
I’ve redone my kitchen for Halloween five years running, and the version that finally worked wasn’t the one with the most decor. It was the one with the most restraint.
What This Style Actually Is
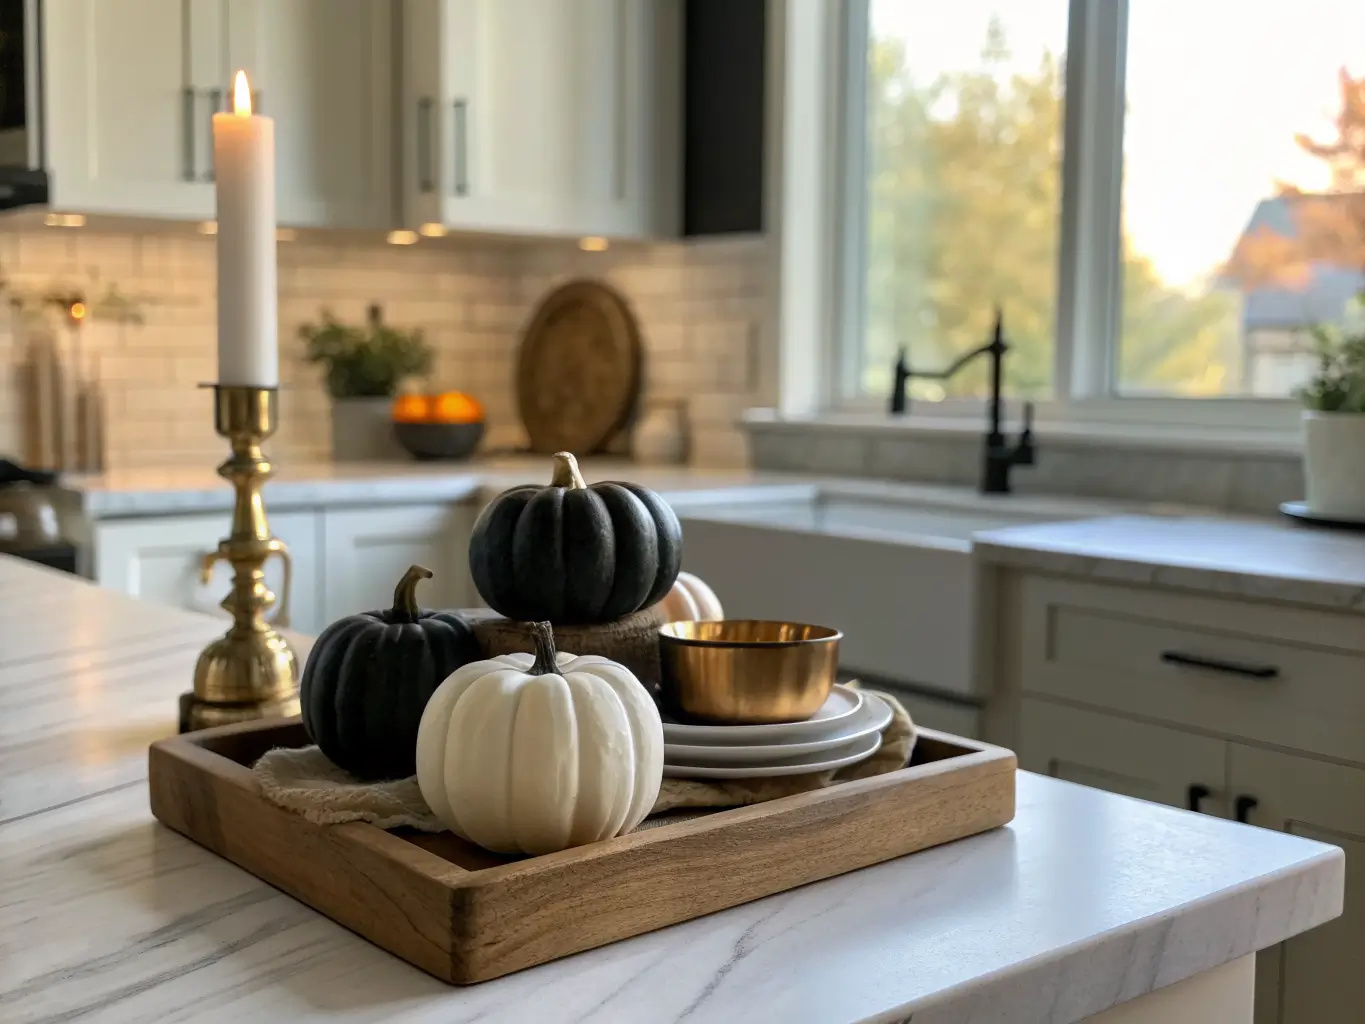
The look that works in a real, functioning kitchen sits somewhere between farmhouse fall, witchy gothic, and spooky-chic — not the inflatable-skeleton, strobe-light version. Think matte black ceramic pumpkins next to your existing white dishware, not a fog machine under the sink.
The palette that holds it together: black, orange, white, purple, gold, and silver. Pick from this list, don’t use all of it. My kitchen runs black, white, and one hit of orange — that’s it. Materials that make it feel intentional instead of costume-y: ceramic, glass, wood, brass, velvet, a little lace or cheesecloth for texture.
Who this is for: renters who can’t repaint, families who want the kitchen to feel festive without losing counter space, and anyone hosting friends for cider or a cookie swap in October. It works best in small to medium kitchens specifically because the whole approach is built around compact, swappable pieces — not furniture, not paint, not anything permanent.
Time and cost, honestly: A light refresh — towels, a runner, a few mini pumpkins — takes 30 minutes to an hour and runs $15 to $40. My first “real” version, with themed dishware, jars, a garland, and a proper centerpiece, took about half a day to source and style and landed around $120. You don’t need to spend more than that. I have.
The Pieces Worth Buying
Hero pieces — buy these first:
– Mini pumpkins (real or ceramic) in matte black, white, or a metallic gold finish — I use a mix of real mini pumpkins from the grocery store and three ceramic ones I’ve kept for years
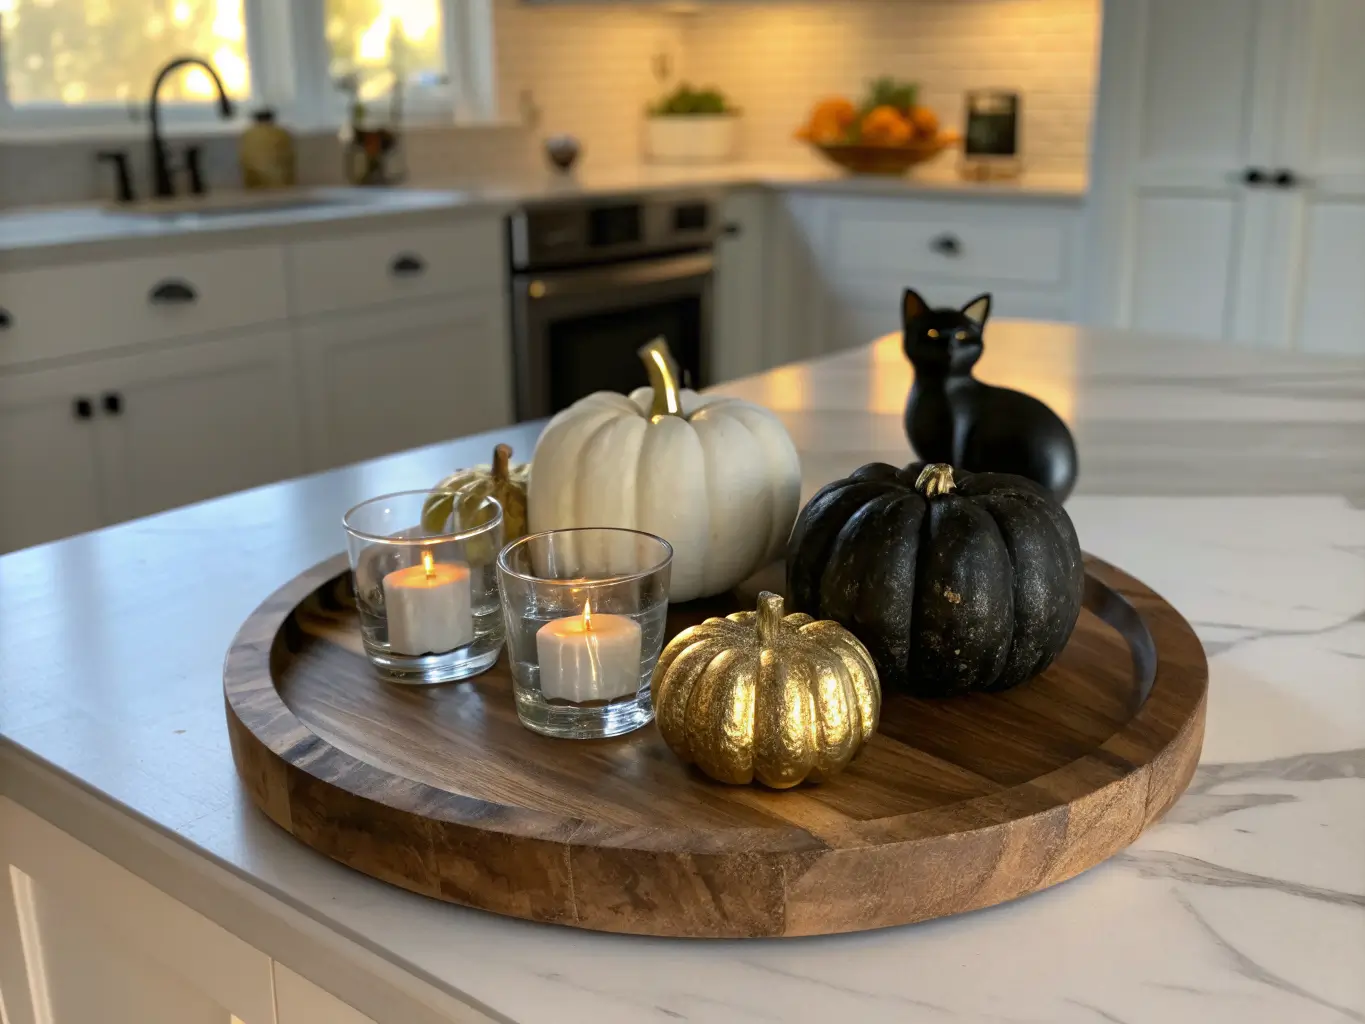
– One centerpiece for the island or table: a cluster of candles with a pumpkin or two, or a low bowl of dark florals
– A serving tray or cookie jar that pulls double duty as decor and something you actually use when people come over
Complementary decor — this is where the fast visual payoff lives:
– Dish towels, an apron, oven mitts in your chosen palette — this single swap changes the room more than anything else on this list, and it’s the cheapest
– Black candle holders or LED tealights (real flame candles near dish towels is asking for trouble — I learned this the hard way with a votive too close to a linen runner)
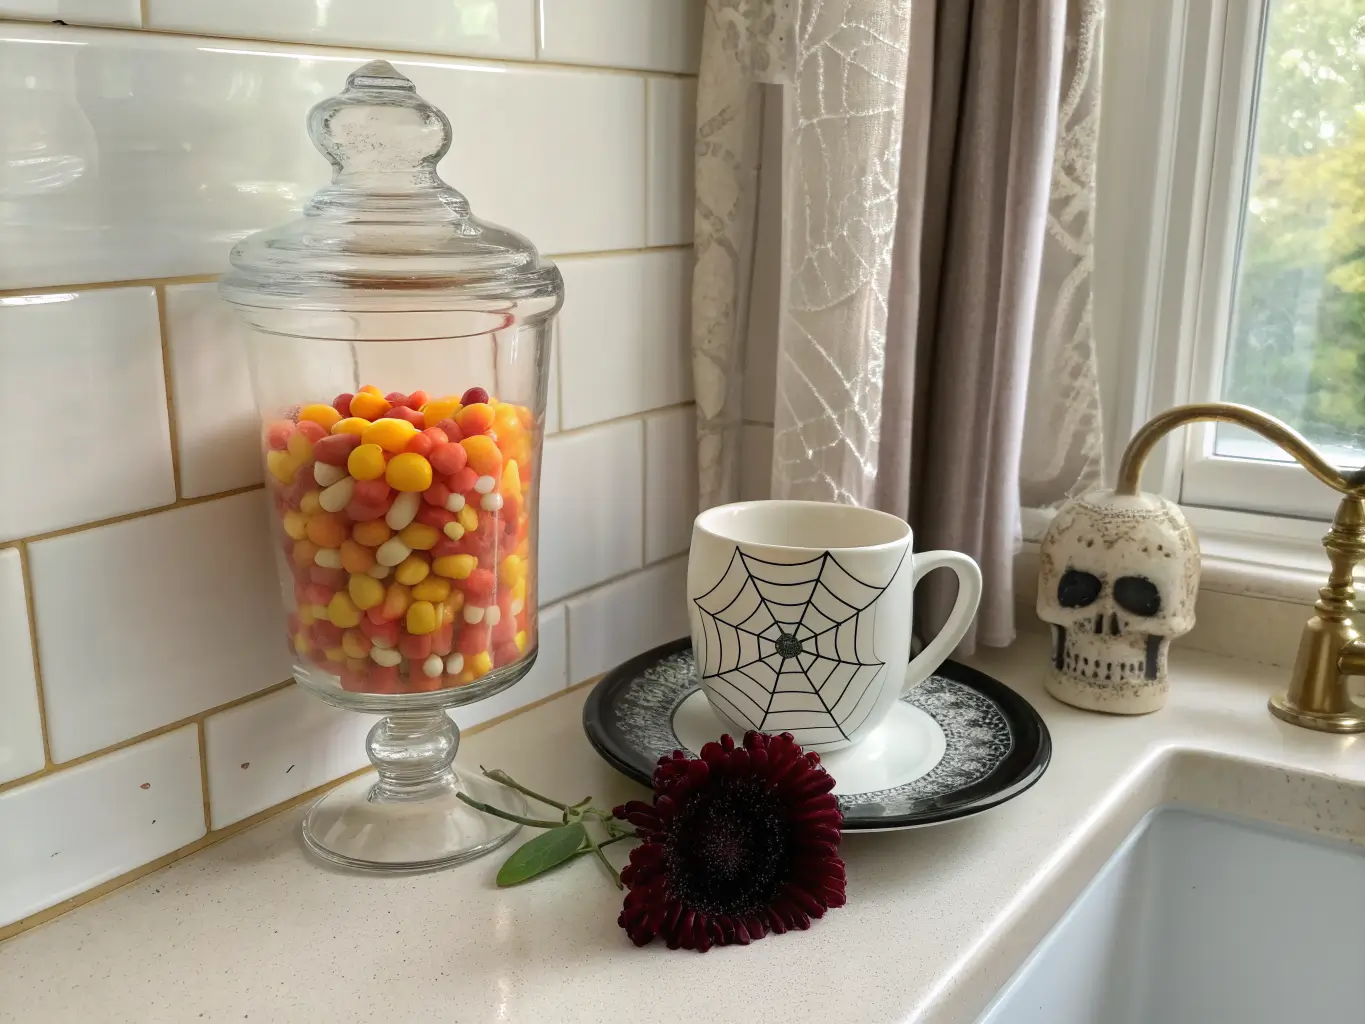
– Glass apothecary jars filled with candy corn or black jelly beans for a “witch’s pantry” shelf moment
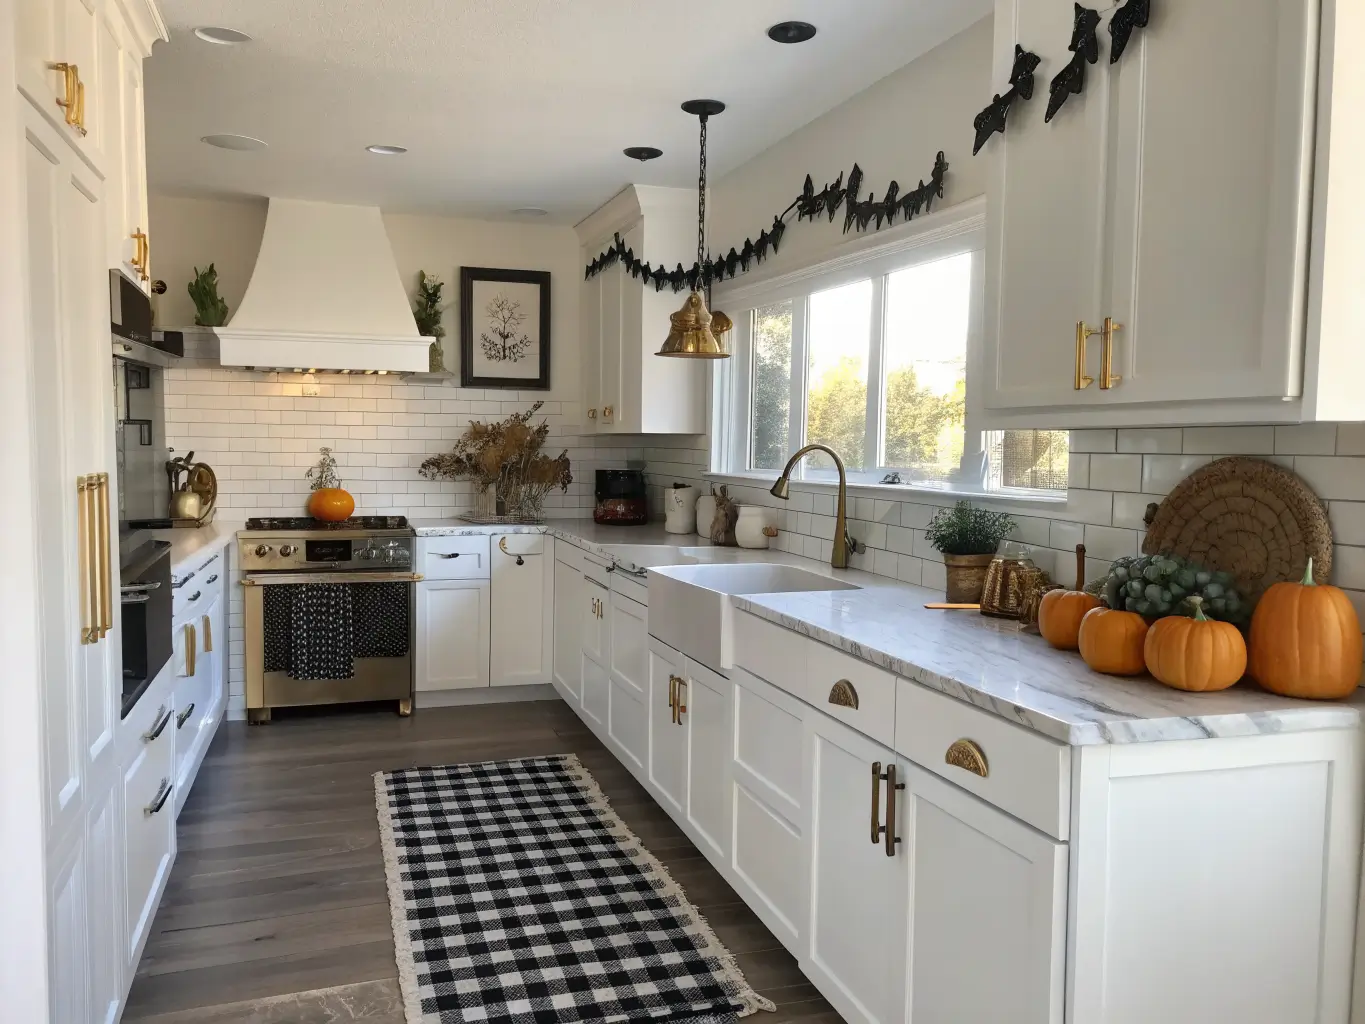
– One garland or banner — bats, ghosts, or candy corn — draped along a shelf edge, not stretched across the whole room
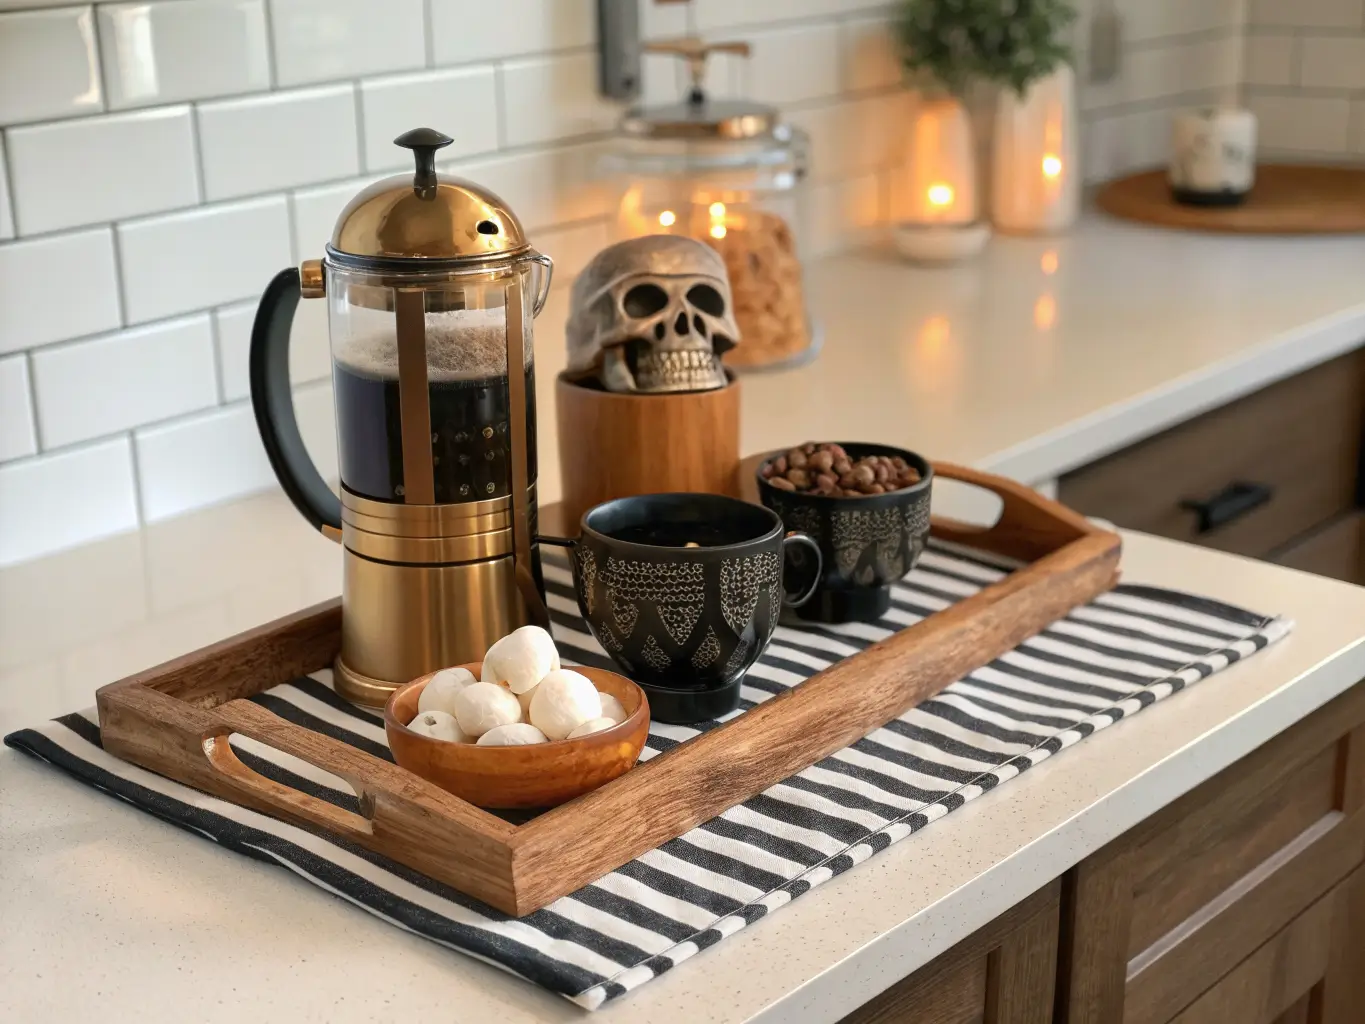
Signature accessories: skull mugs, a cauldron-shaped bowl, spiderweb-print plates, a couple of black cat figures. Pick two or three from this category. Not all of them. This is exactly where my early attempts went wrong — I owned every item on this list and used every item on this list, and it looked like inventory, not decor.
Optional Layers, If You Want to Push Further
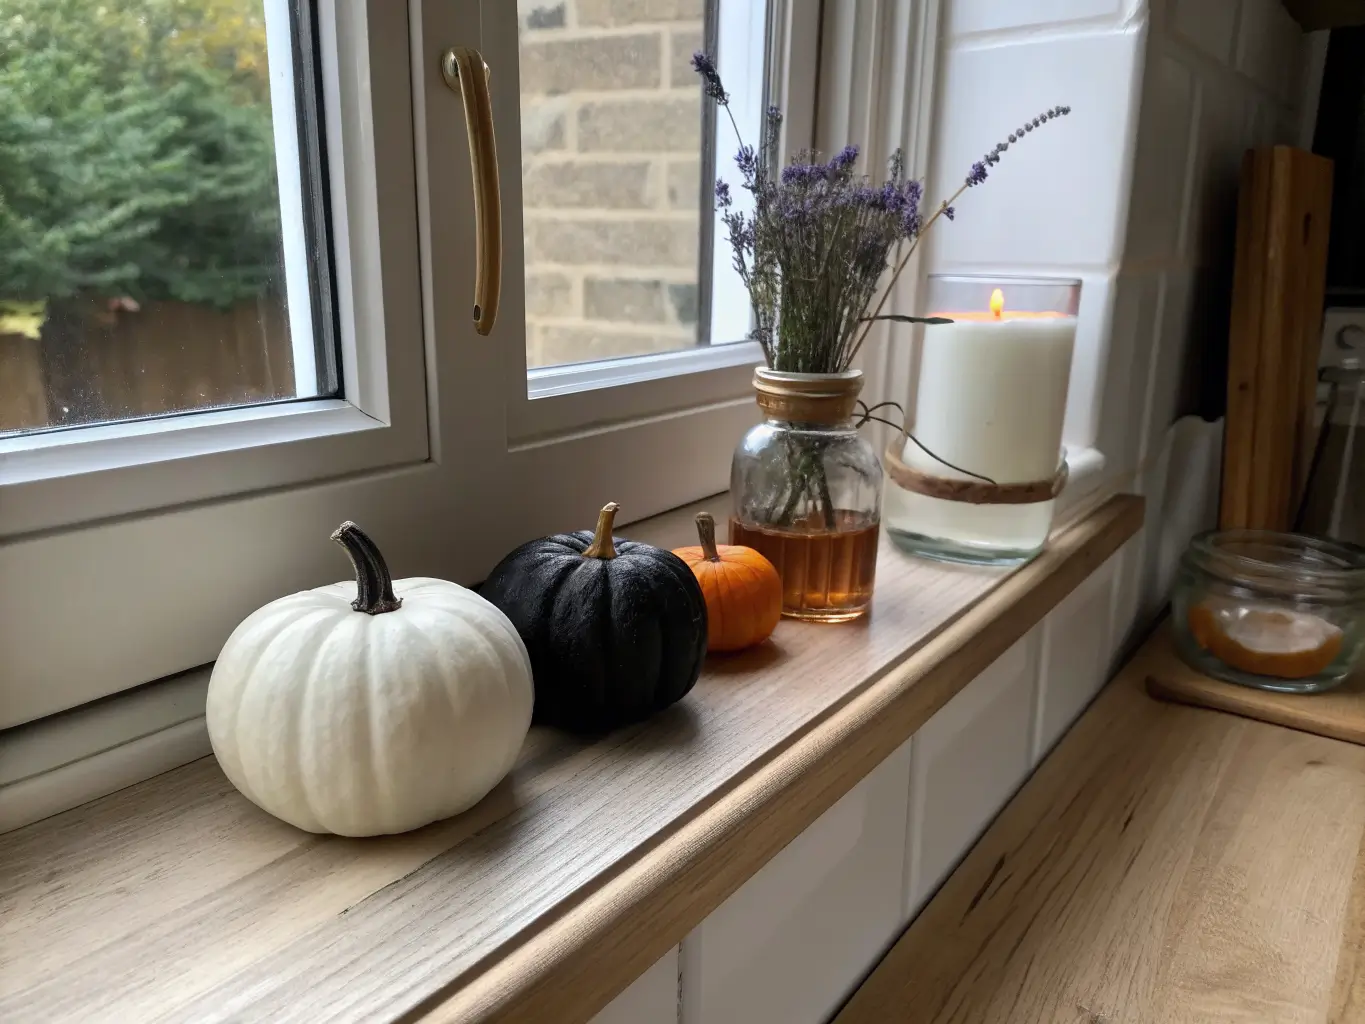
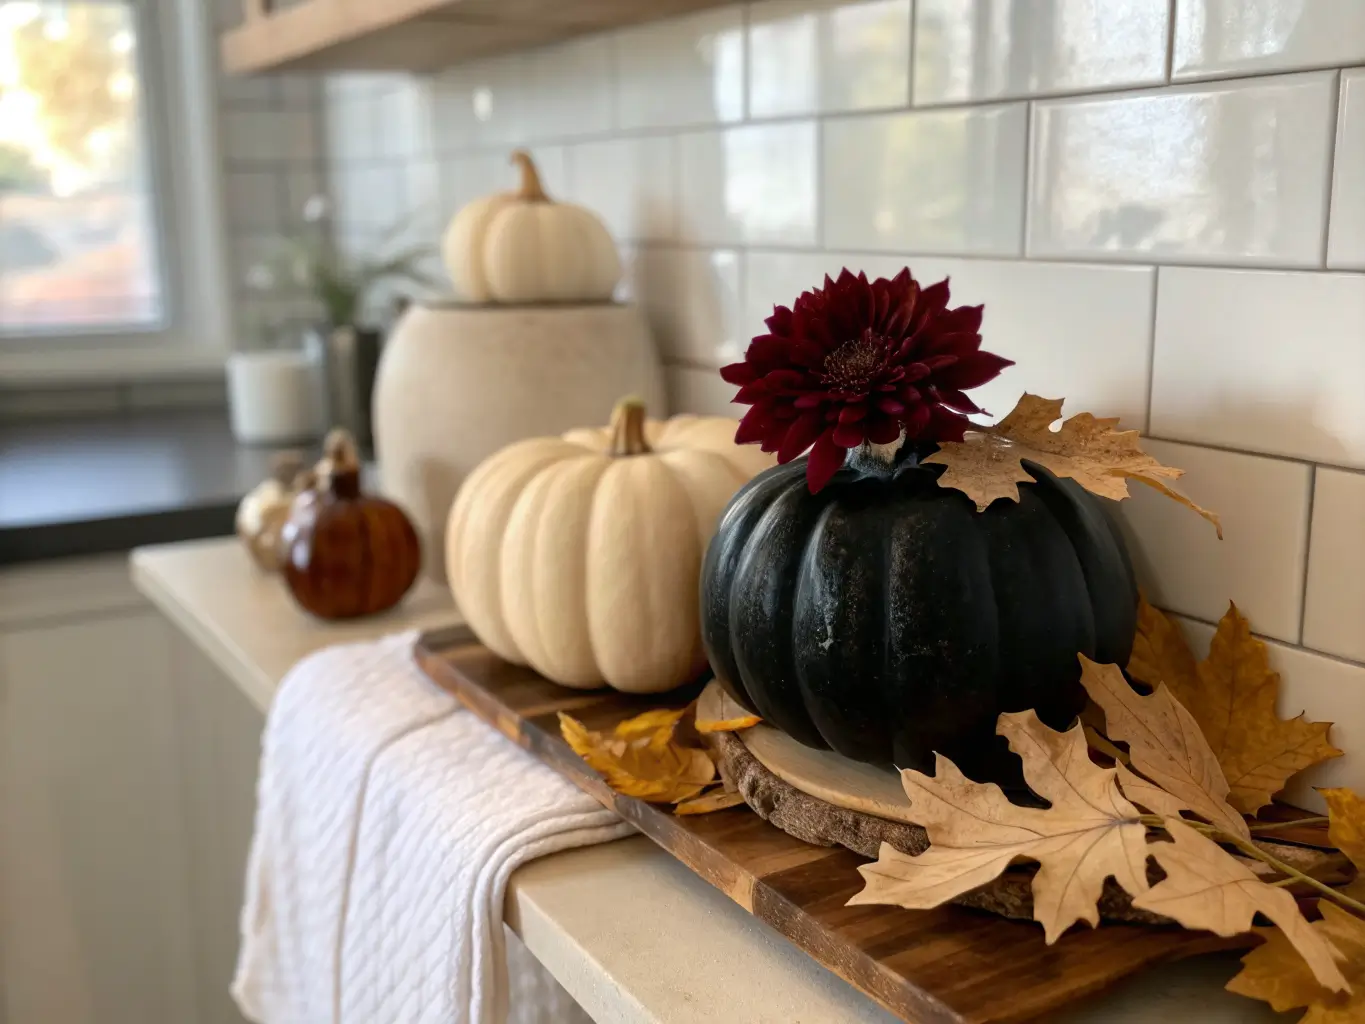
Real pumpkins and gourds on the counter or a wood tray ground the look and keep it from feeling like a costume shop. Dried leaves or a dark floral stem (deep burgundy dahlias, black-tipped roses) does the same thing. If you want to go more “luxe witch” than “kid’s party,” add gold or brass candle holders and one metallic pumpkin — the contrast against matte black is what makes spooky-chic actually read as chic.
A pumpkin-spice or cinnamon candle burning somewhere near the kitchen (not on the counter you’re actively cooking on) extends the mood into the whole room without adding a single visible object. Cheap plastic spiders and window silhouette decals are fine as a last 10% — add them after everything else is placed, not first.
How to Actually Put It Together
Start with a palette, not a shopping list. Before I buy anything, I decide: is this year black-and-white-with-orange, or black-and-purple-witchy? Pick one. Every item you buy after that gets filtered through it.
Pick one focal zone. Don’t decorate the whole kitchen evenly — decorate the island, or the open shelving, or a little coffee-and-cider station on one end of the counter. My focal zone is always the island, because it’s the first thing anyone sees walking in, and it means I only need to style one surface well instead of five surfaces badly.
Build in this order:
1. Textiles first — towel, runner, apron. Fastest change, lowest cost, sets the palette.
2. Hero object second — your pumpkin cluster or centerpiece, placed on the island or table.
3. Small props last — jars, mugs, a sign, a few decals. These fill gaps; they shouldn’t be the whole plan.
The rule of one: one pattern (a bat-print towel), one texture (a matte ceramic pumpkin), one organic element (a real mini gourd). When I stick to this, the counter looks styled. When I ignore it — which I did for three years — it looks like a bin got knocked over.
Keep prep space clear. This sounds obvious but it’s the mistake I see most in kitchen decor generally, not just Halloween: people decorate the counter they cook on. Style the edges, the shelves, the windowsill, the back corner of the island. Leave your actual workspace alone or you’ll be moving a ceramic pumpkin every time you need to chop an onion, and within four days it’ll end up in a drawer.
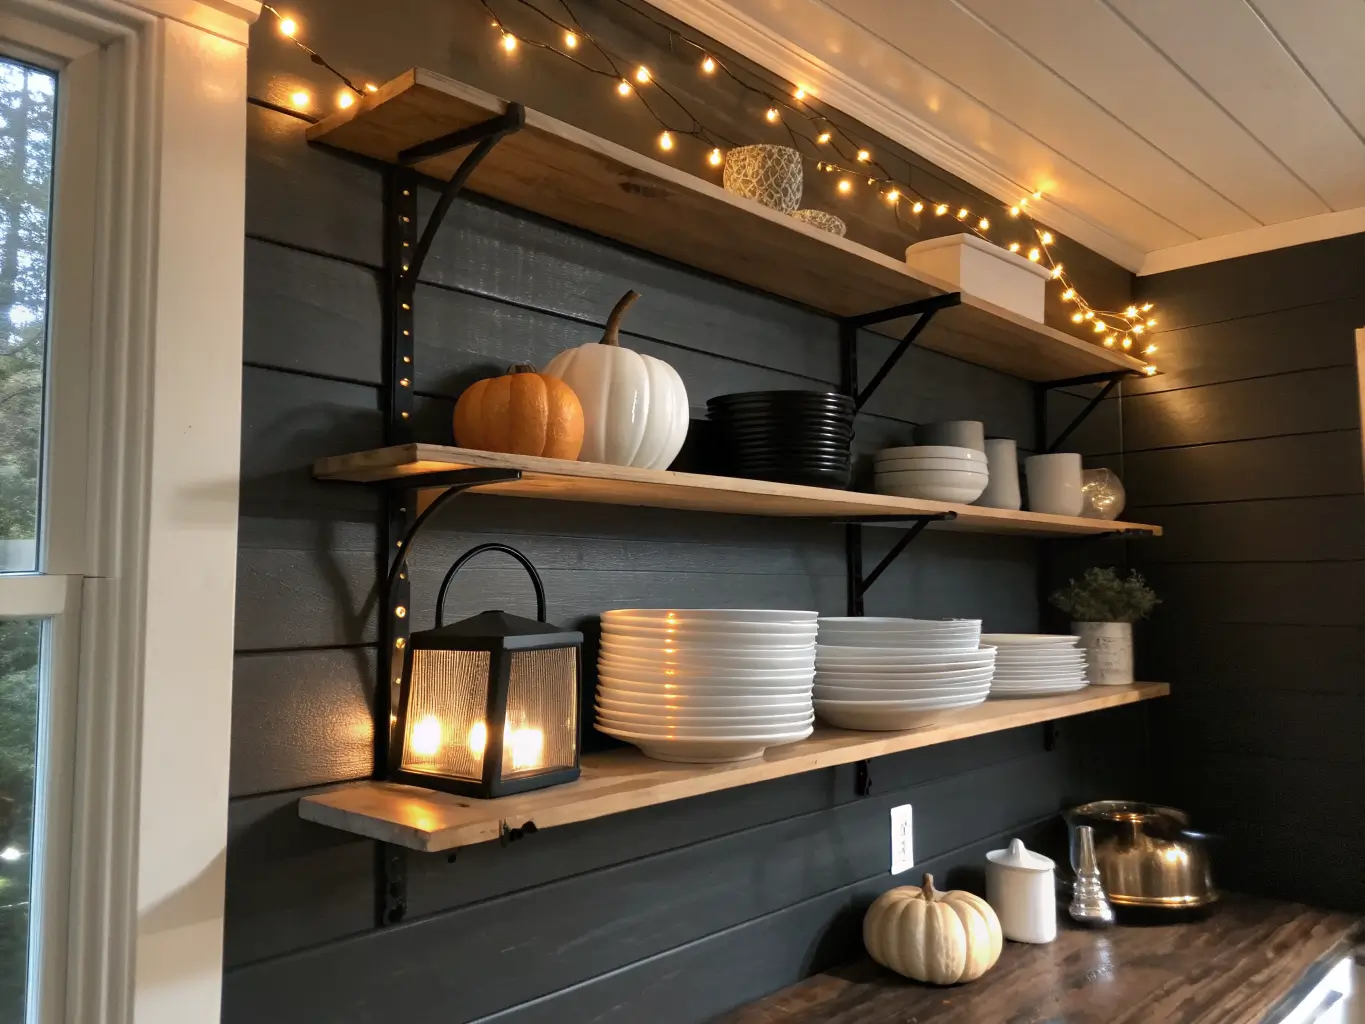
On open shelving: mix decorative pieces with dishware you actually use. A stack of white plates with one black ceramic pumpkin on top looks curated. An entire shelf of Halloween tchotchkes looks like storage.
Lighting Is the Thing Everyone Skips
I didn’t add lighting to my Halloween kitchen setup for two years and always felt like something was missing. It’s this. A strand of warm white string lights along a shelf edge, or three LED tealights inside glass jars, does more for the “finished” feeling than another object ever will. Real candles look better but I don’t trust myself around linens and kids — LED flicker candles get you 90% of the ambiance with none of the risk.
Common Mistakes (I’ve Made All of These)
– Overcrowding the counters. Fix: move decor to shelf edges, windowsills, and the perimeter. Keep the counter you actually cook on empty.
– Mixing too many motifs at once. Pumpkins plus skulls plus witches plus ghosts plus bats plus candy, with no shared color story, reads as chaos. Pick a lane.
– Skipping lighting entirely. Covered above. Don’t skip it.
– Buying oversized pieces for a small kitchen. A giant plastic cauldron does not belong on a 24-inch counter run. Mini pumpkins, shallow trays, and small-scale everything work better in real kitchens that aren’t styled for photos.
Keeping It Fresh Through the Season
Stick to 2–4 colors for the whole run of October, and repeat the same metal finish (I use brass) throughout so nothing feels random. Every week or so, swap one or two items instead of adding more — move the pumpkin cluster, switch out the towel, refill the candy jar. It keeps the display feeling intentional instead of accumulated.
Moving from Halloween into fall is just subtraction: pull the skulls, bats, and anything overtly spooky, keep the pumpkins, leaves, candles, and dark florals. I do this the first week of November and it takes fifteen minutes.
On a tight budget, don’t replace everything — swap the towels, the runner, and one centerpiece item. That’s 80% of the visual change for maybe $30.
A few directions to take it, depending on your taste:
– Farmhouse Halloween: wood trays, galvanized metal accents, neutral (not orange) pumpkins, simple black lettering signs
– Witchy modern: black ceramics, glass apothecary jars, brass candle holders, almost no signage at all
– Family-friendly and playful: orange and purple together, candy jars front and center, ghost mugs, a cookie display for the kids to raid
I run witchy modern with one farmhouse element (a wood tray under my candle cluster) because that’s what matches the rest of my kitchen. Your version should match yours — that’s the actual point of all this editing. The goal isn’t to look like every other Halloween kitchen on Pinterest. It’s to look like your kitchen, for one month, wearing a costume that still fits.
More Ideas to Explore
Keep the momentum going: Halloween Bedroom Decor Without the Cliché covers another angle worth a look.