Quick Style Snapshot
Time: A windowsill herb setup or microgreens tray takes 30 minutes to 2 hours. A tiered shelf, small living wall, or hydroponic station takes 2–6 hours, mostly because you’re drilling, arranging, and figuring out your watering routine.
Cost:
$15–$40 for a basic windowsill setup using recycled jars or a simple herb kit
$40–$120 for a proper tiered shelf with matching pots and soil
$150–$600+ for LED grow lights, a hydroponic system, or a multi-tier indoor garden
Space: You don’t need a sunroom. A kitchen windowsill, one empty wall, a bathroom shelf, or a stretch of hallway all work. I’ve grown scallions on a north-facing bathroom windowsill just from the humidity and bounced light off a white wall.
Skill level: Herbs, microgreens, sprouts, and terrariums are beginner-friendly — genuinely hard to mess up if you get light and water right. Vertical gardens, kokedama (moss-wrapped root balls), and hydroponics are intermediate — worth trying once you’ve kept a basil plant alive for a full season.
Season: Year-round, but indoor gardening earns its keep most in winter, when outdoor beds are dormant and a grow light becomes the difference between a limp windowsill and an actual harvest.
Design Identity: What Look You’re Actually Going For
Indoor gardening isn’t one aesthetic — it bends toward whatever style you already have. But four directions keep showing up, and for good reason:
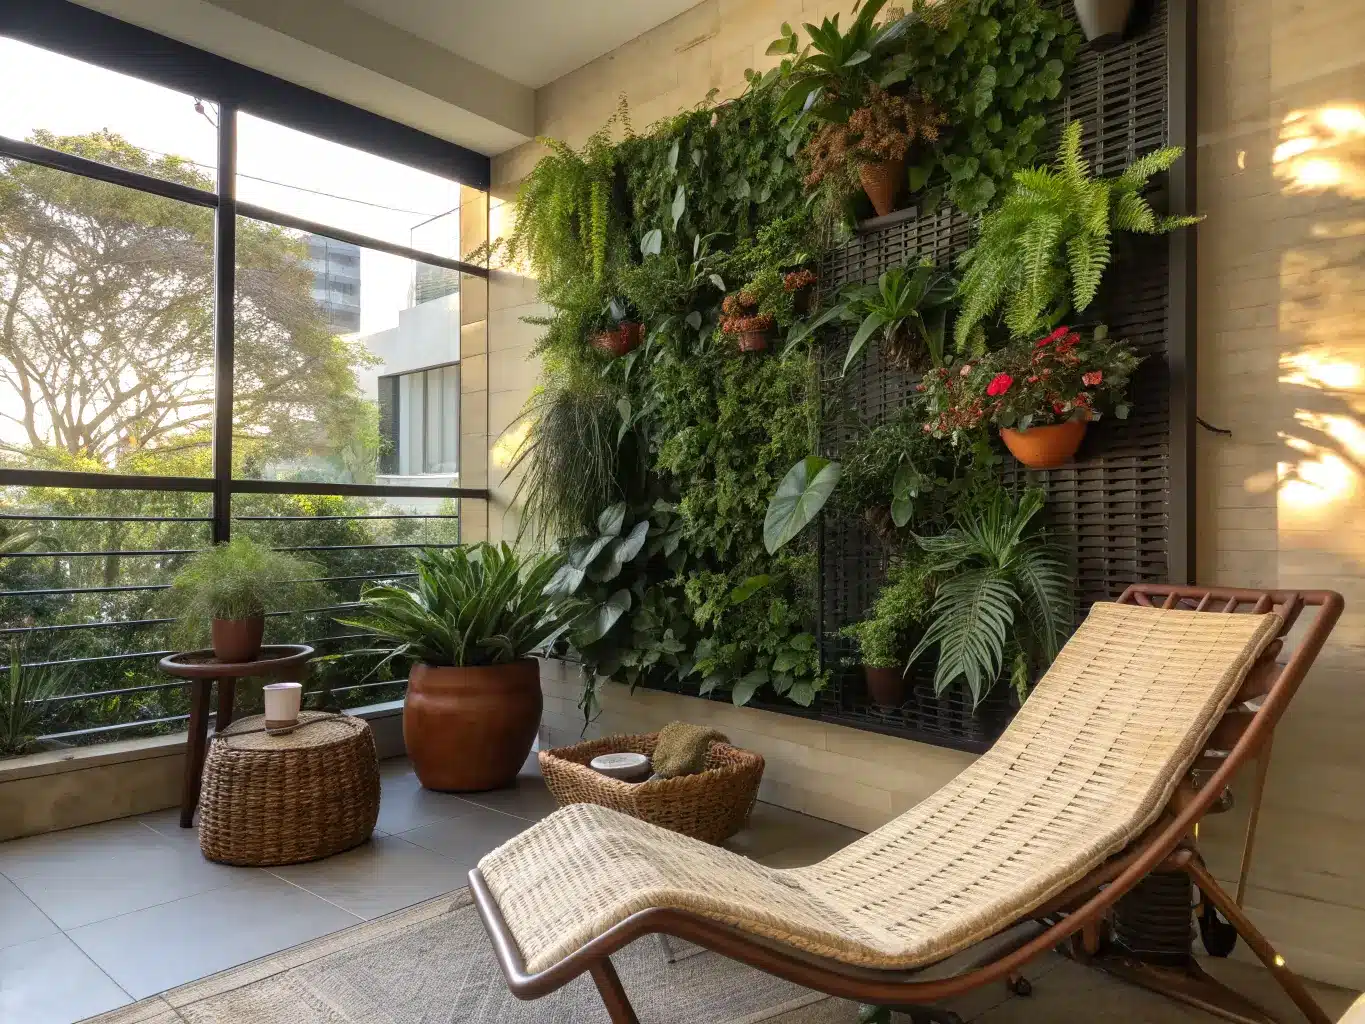
Biophilic modern — clean lines, lots of green, plants treated like architecture
Japandi-inspired — quiet, restrained, natural materials, nothing fussy
Urban jungle — dense, layered, plants stacked on plants
Functional kitchen garden — herbs and greens styled to look good AND get used
Materials that actually read well together: matte white ceramic, warm wood, moss green accents, terracotta, black metal shelving, clear glass jars, rattan baskets, galvanized steel trays. Pick two material families, not five. I learned this after my kitchen shelf had terracotta, chrome, wicker, and a neon plastic seed tray all fighting for attention. It looked like a garage sale, not a garden.
This works for renters, apartment dwellers, people who cook a lot, plant collectors, and honestly anyone who wants decor that also feeds them. It works best in kitchens, humid bathrooms, bright living room corners, bedrooms with soft indirect light, and hallway shelves that otherwise sit empty.
Must-Have Items to Start With
You don’t need everything on this list. Pick one hero piece and build out from there.
Hero pieces (choose one to start):
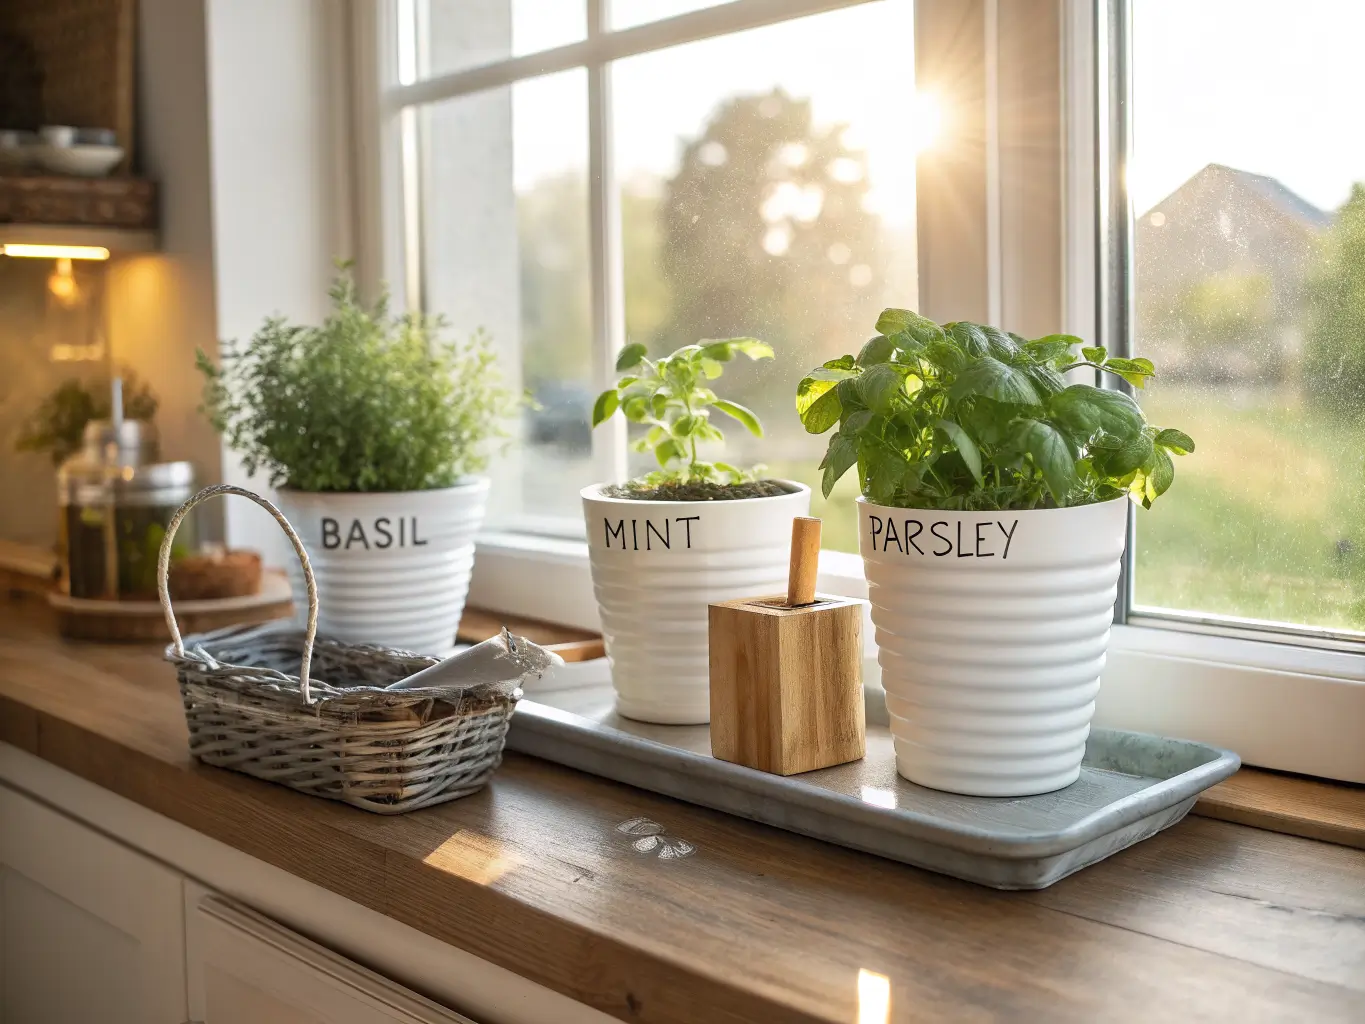
A row of pots on a sunny windowsill
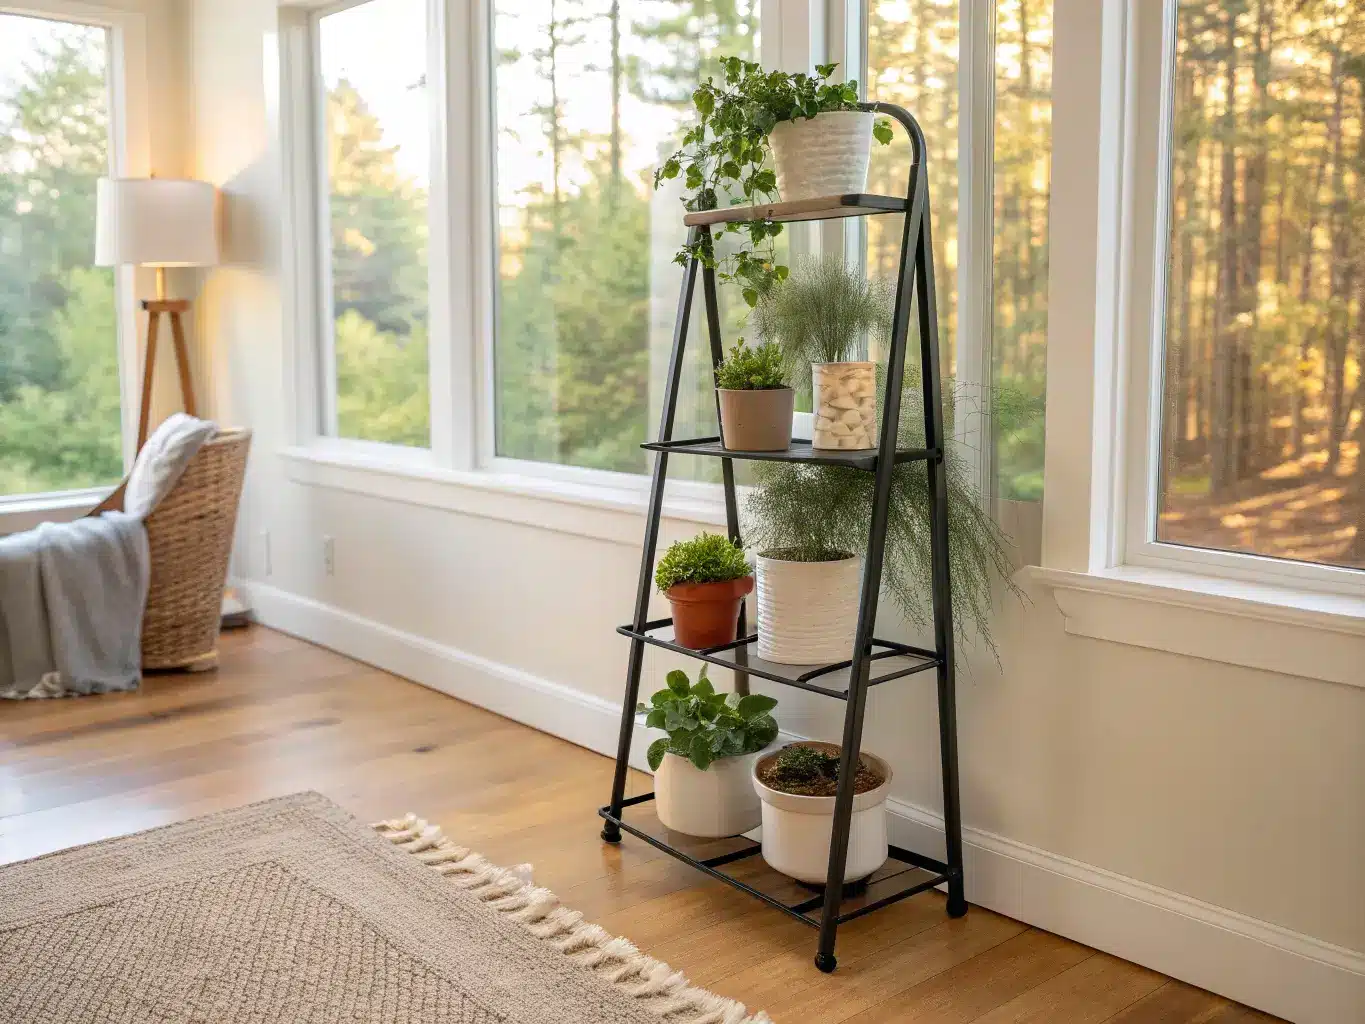
A tiered plant stand ($30–$80)
A compact LED grow-light shelf ($100–$300)
A vertical wall planter
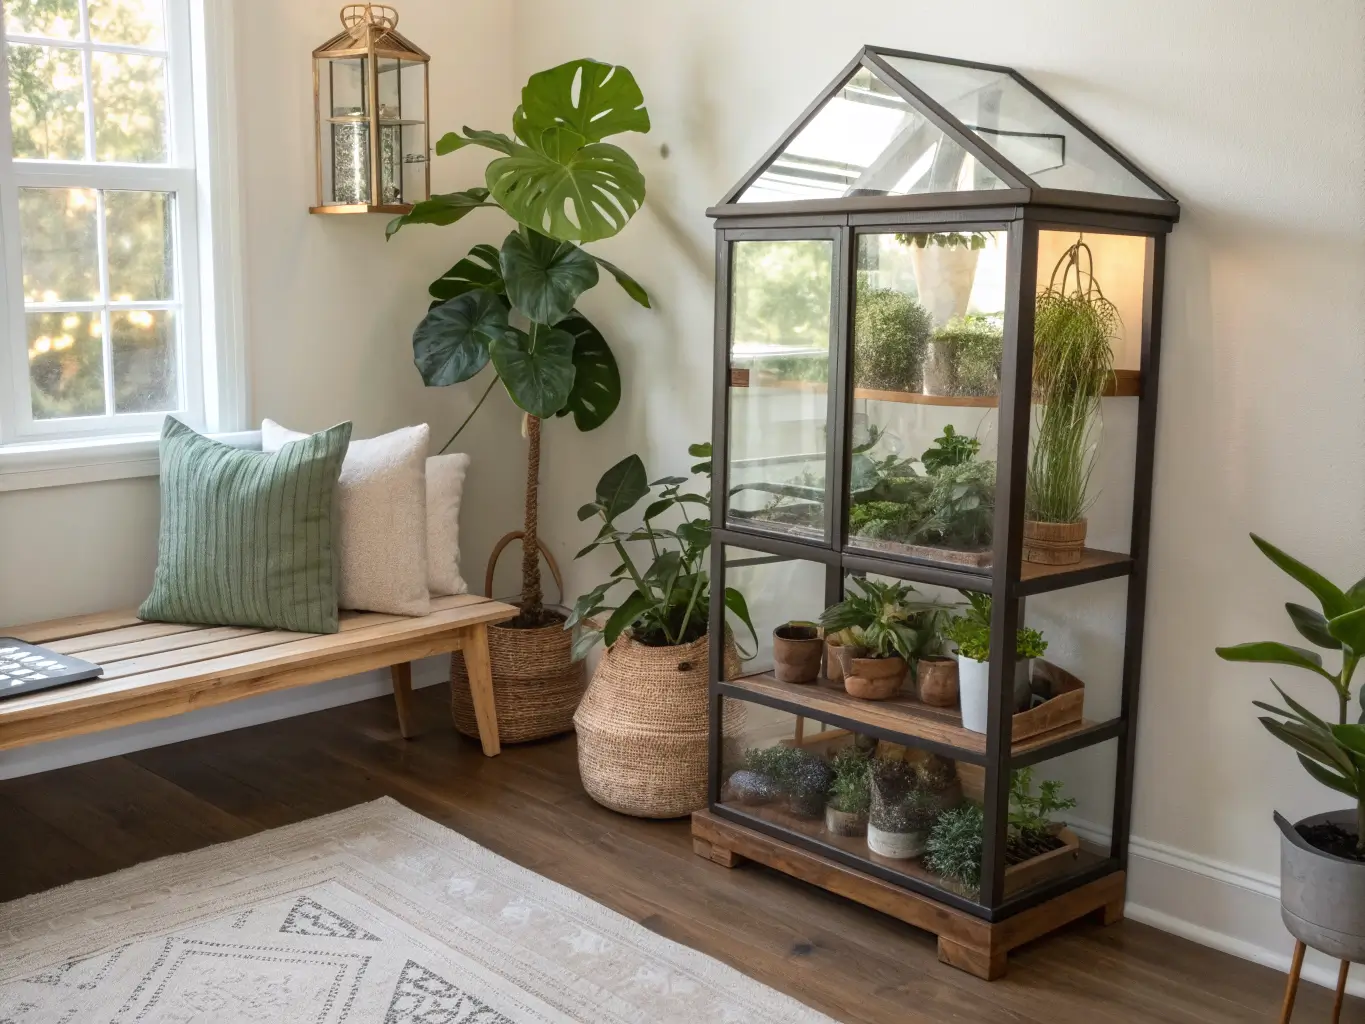
A glass cabinet turned mini greenhouse
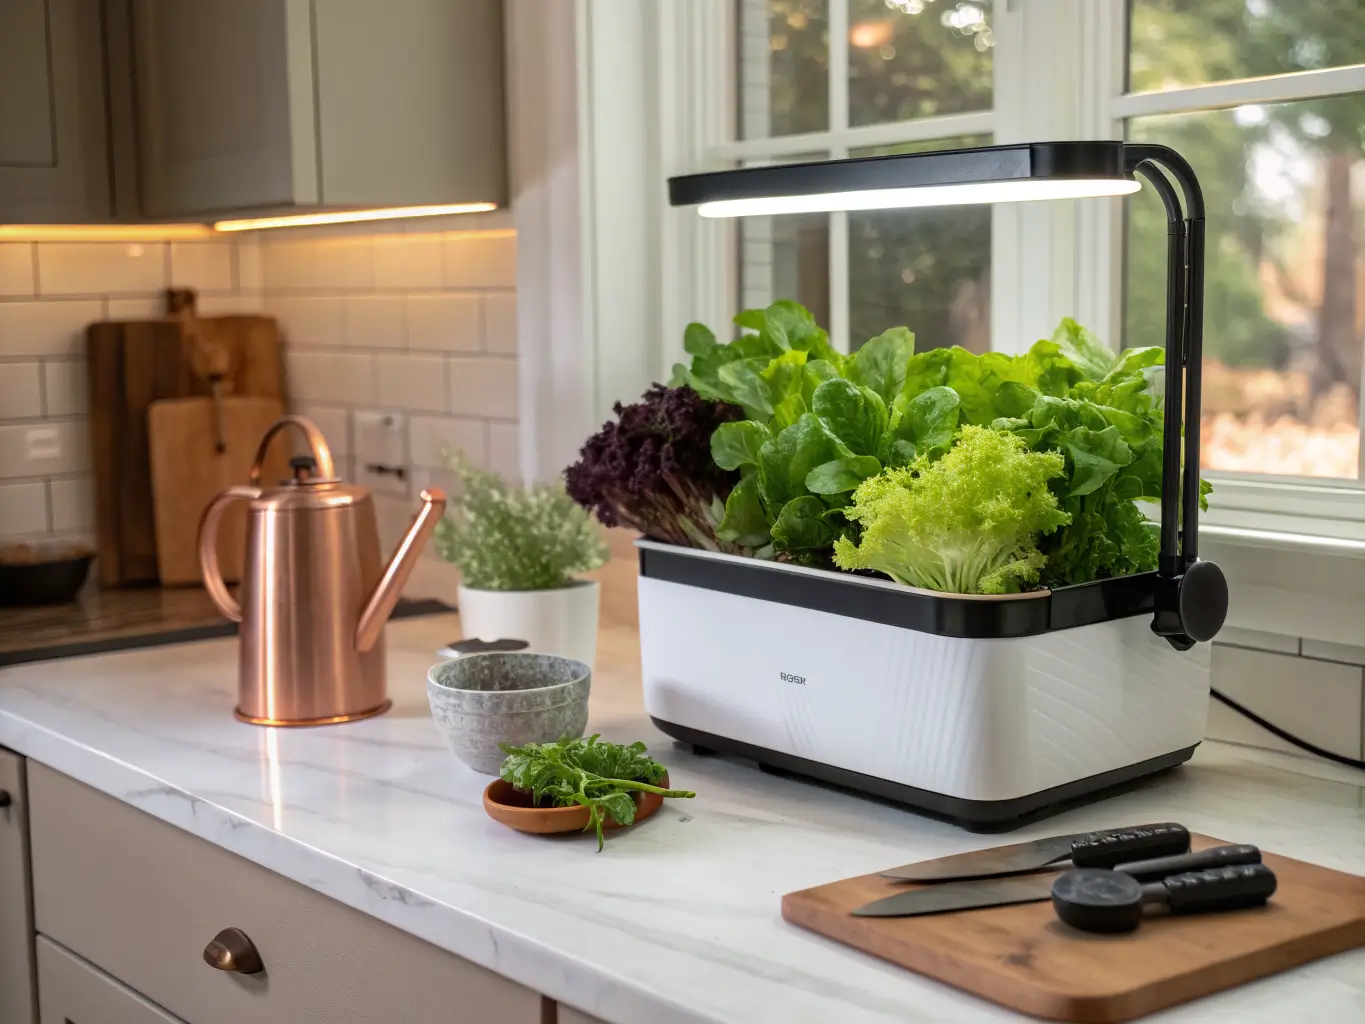
A countertop hydroponic system like an AeroGarden ($90–$200)
Supporting decor:
Small ceramic pots with matching saucers
A woven basket for hiding ugly plastic nursery pots
Plant labels (wood or slate — cheap and instantly makes things look intentional)
A watering can you’ll actually enjoy using
Shallow trays for grouping pots so they read as one display, not scattered clutter
Signature small-space accessories:
Mesh sprouting lids for jars (sprouts in 4–6 days, no soil needed)
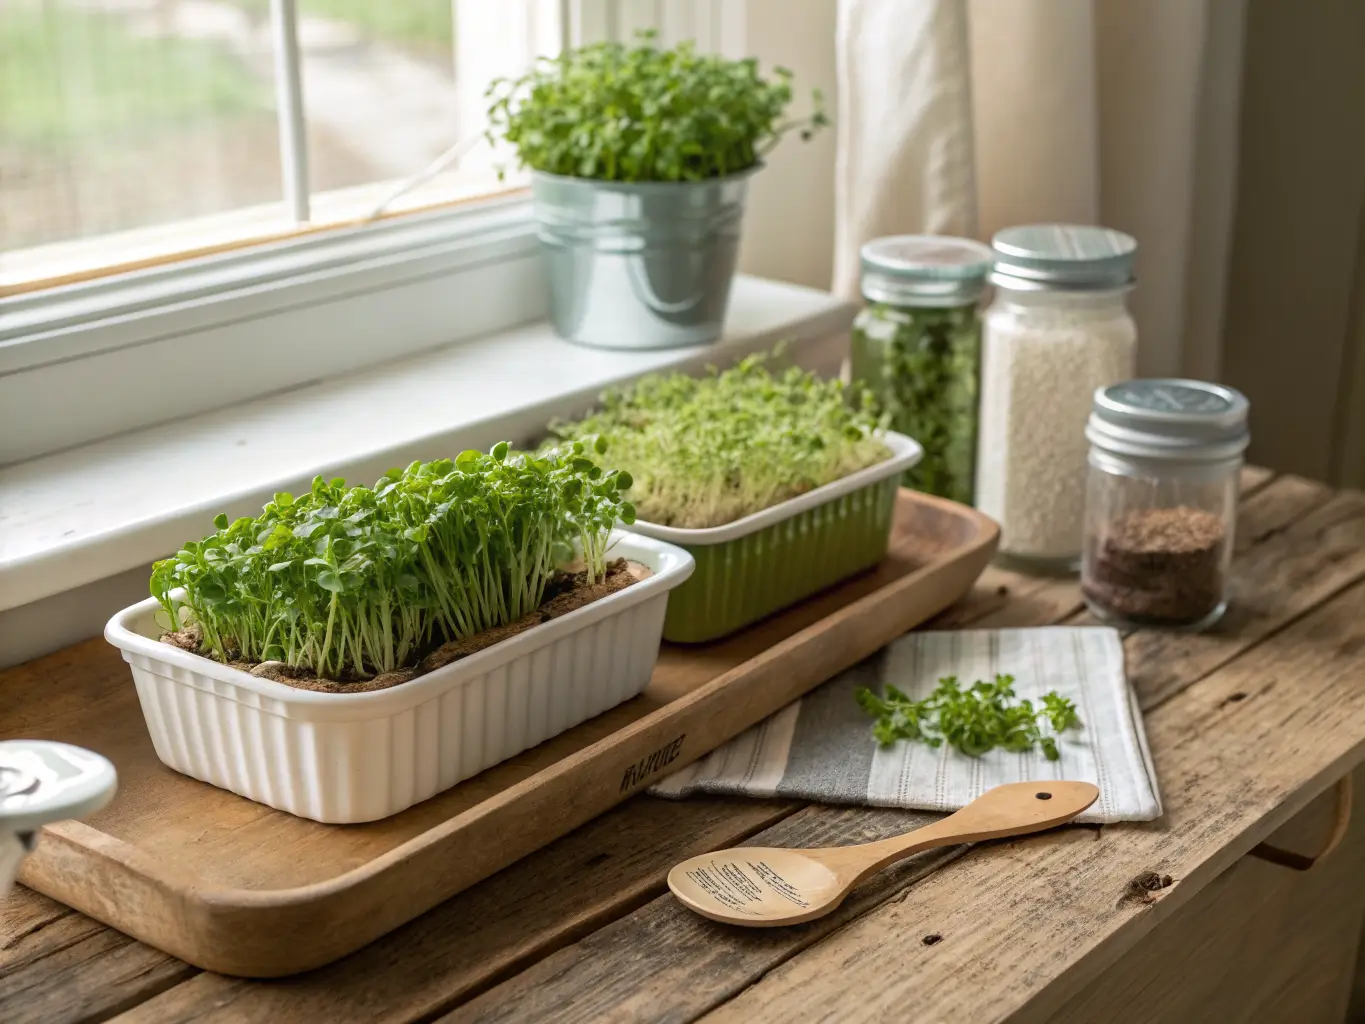
Shallow bowls or trays for microgreens
Kokedama moss balls for a hanging, soil-free look
Terrariums for low-light corners
Hanging planters to get plants up and off counter space
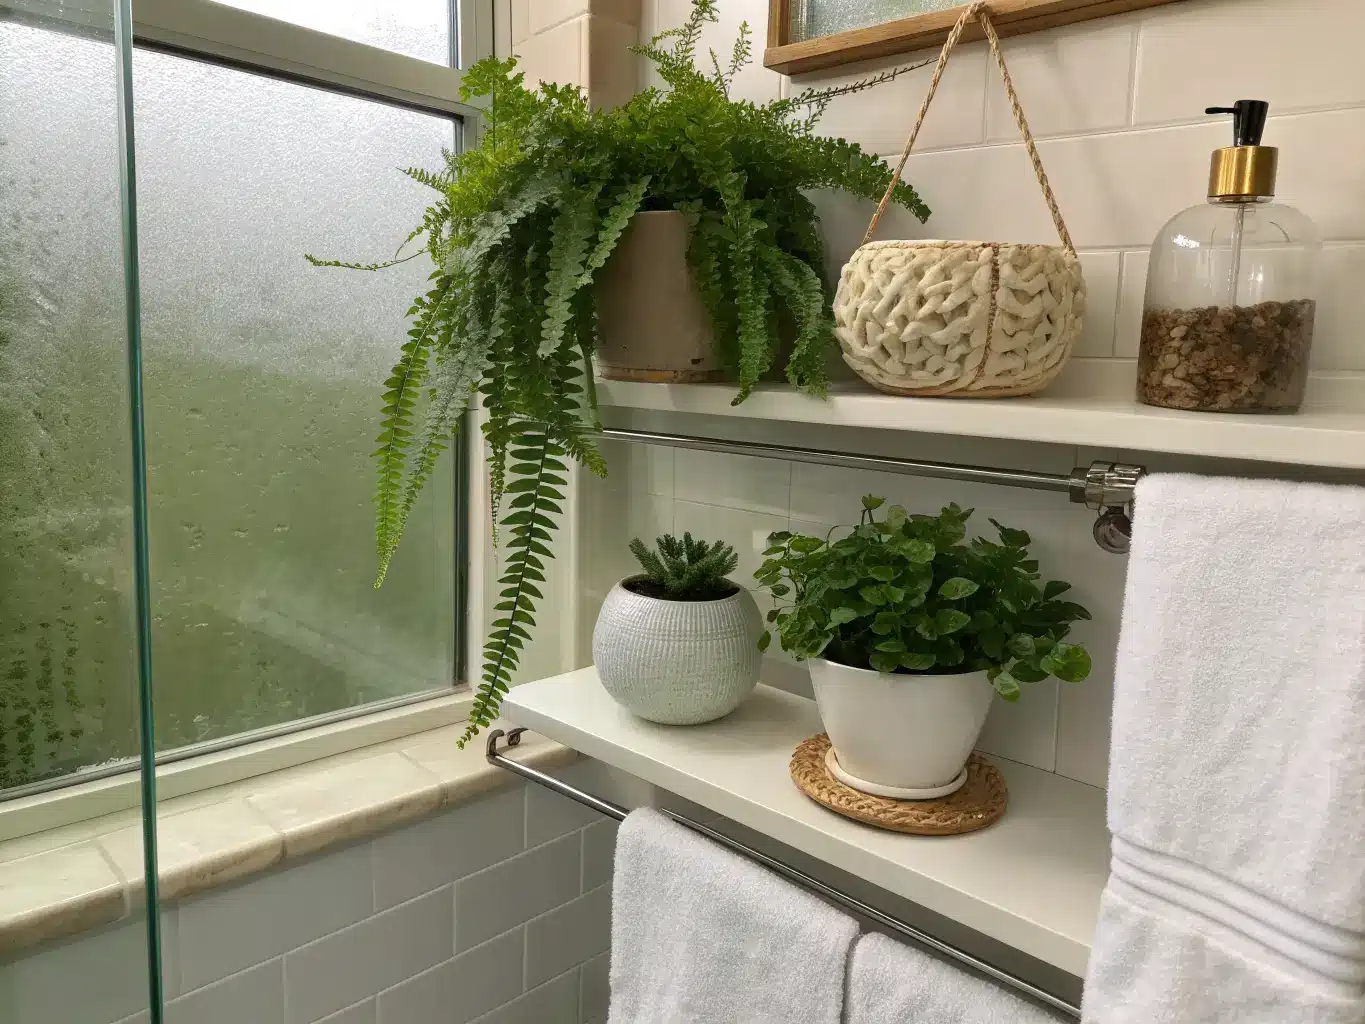
Plants worth growing right now: basil, mint, rosemary, oregano, parsley, scallions, lettuce, radishes, microgreens, sprouts, chili peppers, plus succulents and trailing vines for the purely decorative side, and humidity-loving tropicals like pothos or ferns for bathrooms.
One warning: mint will take over anything it’s planted near. Keep it in its own pot, always. I put mine in with basil once and the basil didn’t stand a chance.
Optional Enhancements Once You’ve Got the Basics Down
Once your core setup is working, these add polish without much effort:
Seasonal swaps: winter herb cuttings, spring bulb kokedama, summer microgreens, fall-toned planters
Organic texture: a layer of pebbles under pots, live moss on top of soil, worm castings mixed in, raw wood shelving instead of painted
Metallic accents: black steel shelving, brass pot feet, a copper watering can — these push a setup toward “designed” rather than “thrown together”
Bigger design moves: a glass cabinet display, a small living wall, or mixed-height arrangements that create a collected-over-time look
Pro Styling Tips That Actually Change How a Setup Looks
Vary the height. Use shelves, hanging planters, and windowsills together so plants sit at different levels. A flat row of same-height pots reads as a display case. Staggered heights read as a garden.
Repeat your containers. Pick one pot material or color family — all white ceramic, or all terracotta — and stick with it. This is the single fastest way to make a random plant collection look curated instead of accidental.
Mix textures deliberately. Glossy leaves against matte ceramic, soft moss against structured black shelving. Too much of one texture goes flat.
Pick one focal point. A living wall, a terrarium cluster, or one large potted tree — then let smaller plants support it instead of competing with it.
Group by light and water needs, not just looks. My biggest early mistake was grouping plants by how good they looked together, which meant I had a moisture-loving fern next to a rosemary plant that wanted to practically dry out between waterings. One of them was always unhappy.
Setup and Execution: Getting It Right From Day One
Scene Prep
Find your actual brightest spot before buying anything. South- or west-facing windows suit most herbs and vegetables — they need 6+ hours of direct light. East- or north-facing spots work fine for lower-light houseplants like pothos, snake plants, or ferns, but don’t expect to harvest much basil there.
Decide upfront: is this garden for eating, looking at, or both? That answer determines your whole setup. Pure decor means you can lean into low-light tropicals and skip grow lights entirely. Edible production means you need real light — natural or supplemental — and containers with drainage holes, no exceptions. Skipping drainage is the fastest way to root rot.
If your space is dim, get a grow light in the 5,000–6,500 Kelvin range putting out roughly 2,500 lumens or more. That range mimics daylight closely enough that herbs and greens actually respond to it, rather than just surviving.
Styling in Action
1. Start with your biggest piece — the shelf unit or largest planter — then layer in medium and small pots around it.
2. Build a practical mix: herbs for cooking, microgreens for a fast payoff (ready in 7–14 days), one or two purely decorative plants for softness.
3. Match container to plant: shallow trays for microgreens, small 4–6 inch pots for herbs, grouped jars or terrariums for anything decorative and small-scale.
4. Finish with a repeating detail — matching labels, one pot color palette, uniform saucers. This is the 10% effort that makes the other 90% look intentional.
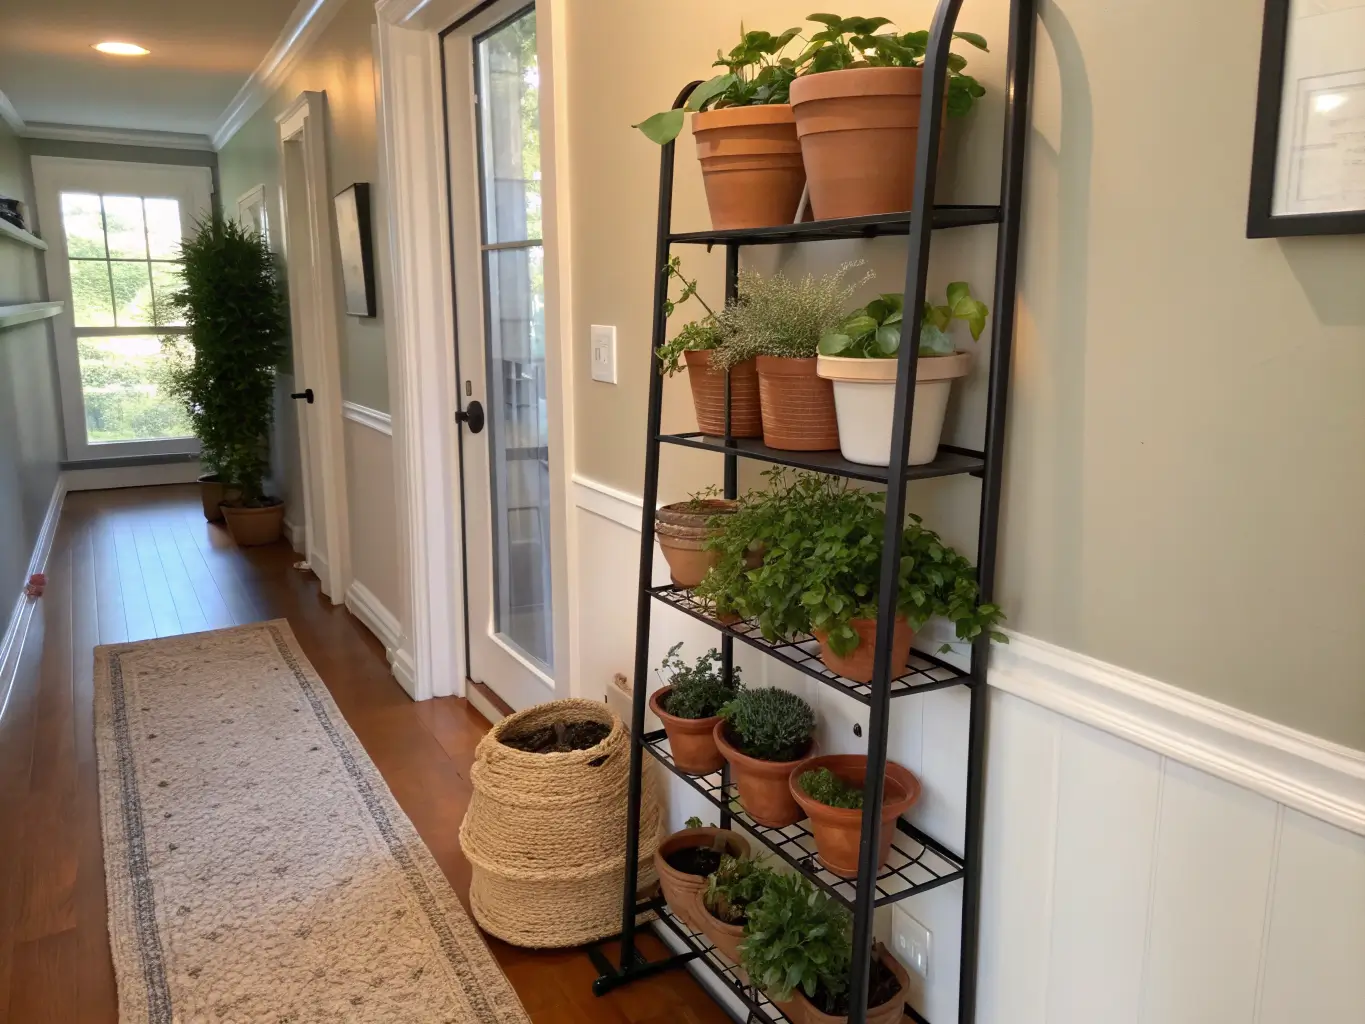
5. On vertical setups, keep heavy pots low and trailing plants high. A top-heavy shelf is both a styling problem and a genuine tipping hazard — I learned this when a top-shelf ceramic pot came down during watering because I’d put it above eye level and couldn’t see it was overfilled.
Common Mistakes to Avoid
Putting sun-loving herbs in low light without a grow light backup — they’ll get leggy and stop producing
Overwatering, or using pots with no drainage holes — root rot shows up fast and it’s often not reversible
Crowding too many species into one small shelf or windowsill — plants need airflow, not just space
Ignoring humidity mismatches — a fern in a dry hallway or basil in a steamy bathroom both struggle
Forgetting maintenance access — if you can’t easily reach a plant to water or trim it, it will get neglected no matter how good it looks on day one
Keeping It Fresh Without Starting Over
Stick to one or two material families. Ceramic plus wood, or metal plus glass. This is the fastest fix if your current setup feels chaotic — audit what materials you actually have and remove anything that doesn’t fit the pair.
Pick a lane: warm and natural, or clean and contemporary. Mixing every style at once is what makes a plant shelf look like leftovers instead of a display.
Edit regularly. Pull weak plants, trim leggy herbs, rotate pots toward the light every week or two so growth stays even. This takes five minutes and it’s the maintenance step everyone skips.
Seasonal and Budget Refreshes
Swap seasonal herbs and cuttings in and out rather than rebuilding the whole shelf
Use propagation jars, thrifted shelving, or repurposed glass jars and lanterns as free or near-free upgrades
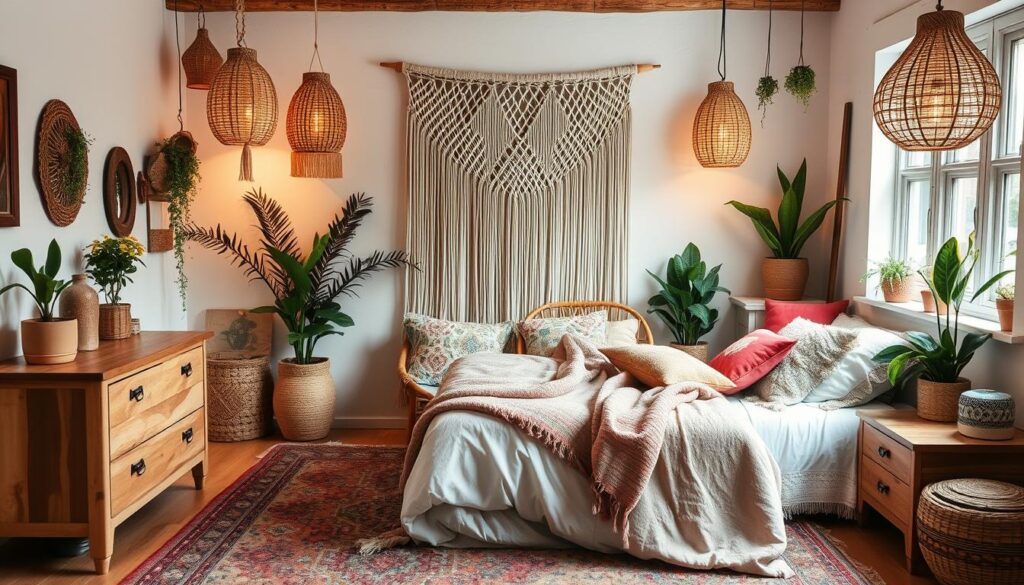
Try style combinations that are working well right now: boho + urban jungle, japandi + herb garden, modern farmhouse + vertical kitchen garden
For a bigger refresh without starting over, add a second shelf, a grow light bar, or a small hydroponic unit to your existing setup instead of replacing it
Common Questions
What are the easiest indoor plants for beginners? Mint, scallions, pothos, and snake plants. Mint and scallions regrow from scraps you’d otherwise toss.
Do indoor herb gardens need grow lights? Not if you have a genuine south- or west-facing window with several hours of direct sun. Everywhere else, yes — a basic grow light solves 90% of leggy-herb problems.
What vegetables grow indoors year-round? Lettuce, radishes, scallions, and microgreens are the most realistic. Tomatoes and peppers can work but need serious light and space.
How much light do indoor plants actually need? Fruiting and herb plants want 6+ hours of direct or strong light daily. Foliage houseplants can get by on bright indirect light with no direct sun at all.
Are microgreens easier than herbs? Yes — they’re ready in 7–14 days, don’t need much light infrastructure, and there’s no long-term care commitment. Best starting project if you want a quick win.