I’ve killed more plants than I want to admit trying to get my backyard to look like it belonged to a farmhouse instead of a 1980s split-level in the suburbs.
The thing nobody tells you is that farmhouse garden design isn’t about buying rustic stuff — it’s about restraint. I learned that the hard way after a spring where I bought every galvanized planter Hobby Lobby had and ended up with something that looked like a prop closet, not a garden.
If you’ve typed “how to make my backyard look farmhouse” into Google at 11pm, this is everything I wish someone had told me before I started digging.
What You’re Actually Signing Up For
Time: A weekend gets you a real refresh — new mulch, a couple of planters, some lighting. A full backyard overhaul with beds, paths, and structure runs 2 to 6 weeks of actual work. But here’s the part people skip: shrubs, trees, and perennial borders need seasons, not weeks, to look established. My hydrangeas took two full years before they stopped looking like sad twigs.
Budget: This scales hard depending on ambition.
– $200–$1,000 covers a budget refresh — mulch, a few planters, solar lights, repurposed decor you already own or thrift.
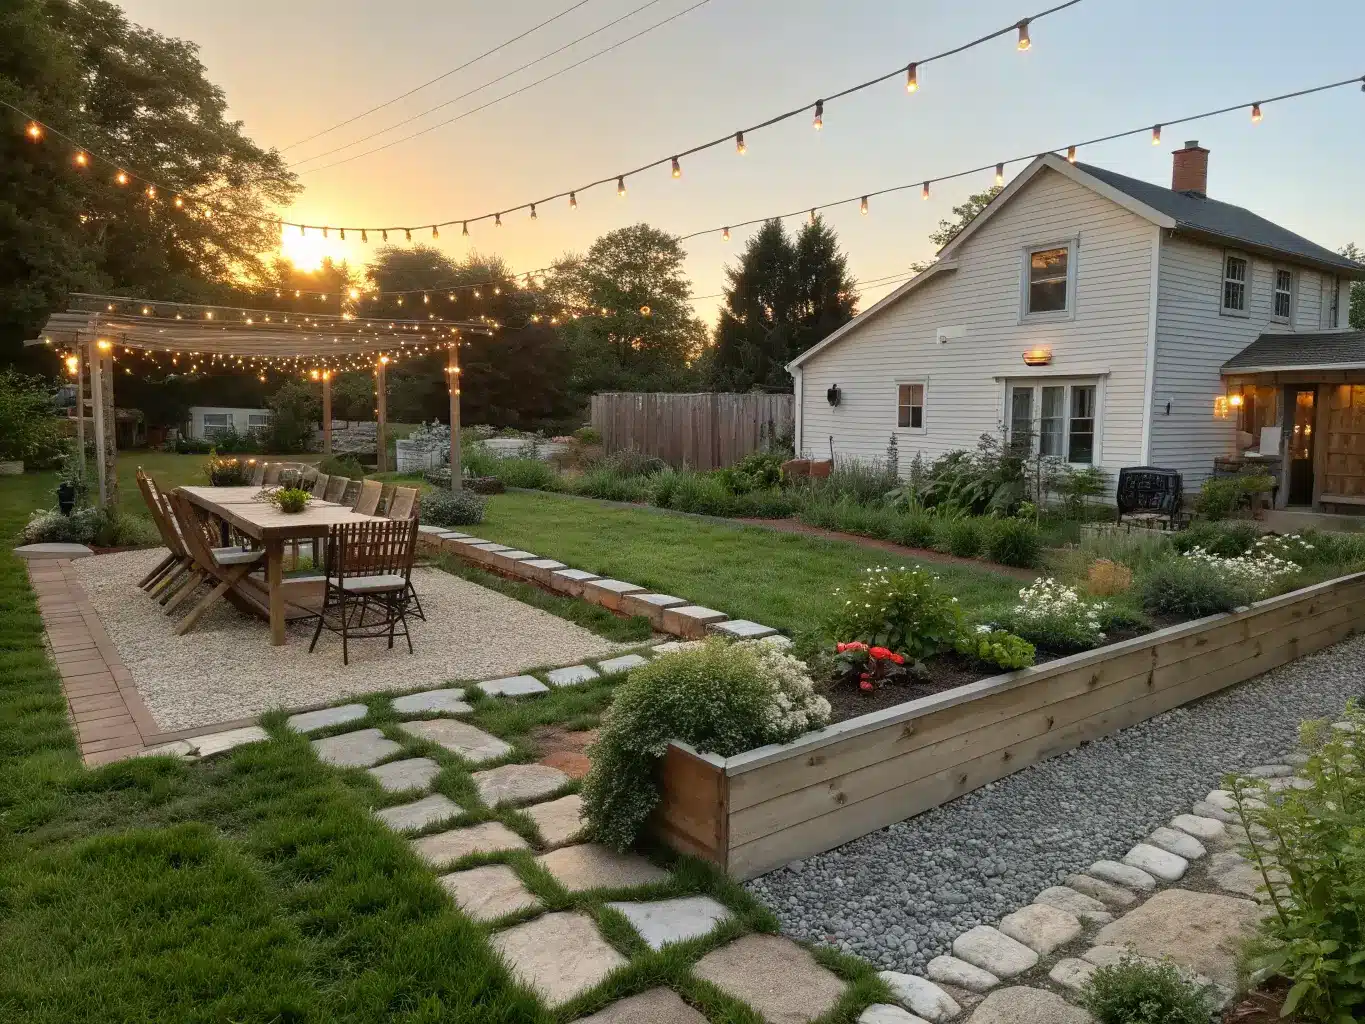
– $1,500–$8,000 gets you raised beds, gravel paths, a cedar trellis or small pergola, and real plantings.
– $8,000+ is full landscape territory — stonework, drainage, seating areas, irrigation, orchard or kitchen-garden zones.
Space: Works on a small patio just as well as a rural five acres, as long as you think in zones instead of trying to decorate the whole yard as one flat space.
Skill level: Styling, container groupings, mulch, and simple gravel paths are beginner-friendly. Pergolas, stone walls, drainage, and irrigation are where you either call a contractor or accept a very long Saturday.
Seasonality: This look holds up year-round because it’s built on structure — wood, stone, evergreens — with color layered in seasonally through flowers and edibles. That’s the whole secret to why farmhouse gardens don’t look dead in February.
The Design Identity: What “Farmhouse” Actually Means Here
Farmhouse garden style is relaxed and functional first, pretty second. It’s supposed to look like the garden earns its keep — herbs by the kitchen door, a table long enough for people to actually sit at, plants that were chosen because they grow well here, not because they matched a mood board.
Color palette: Soft cream, beige, faded pink and yellow, white, light blue, sage green, sand, soft gray, warm neutral tones, charcoal, with a little muted terracotta thrown in. Nothing saturated. Nothing neon.
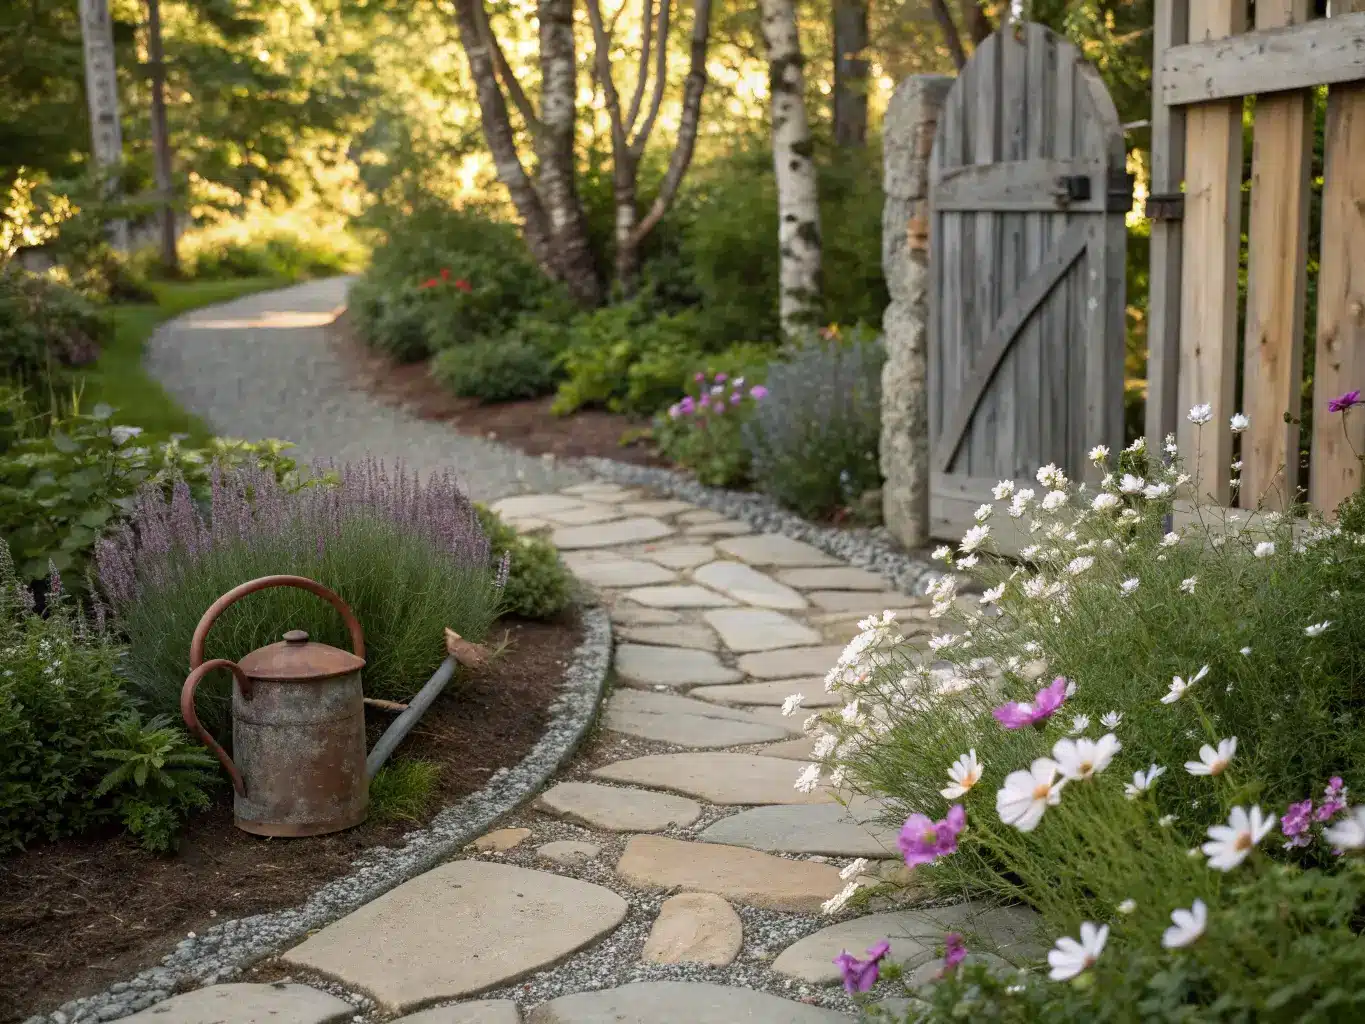
Material palette: Natural stone, reclaimed wood, cedar, gravel, weathered timber, galvanized metal, wicker or rattan, and repurposed containers — old barrels, troughs, feed buckets.
This style is built for people who want a yard that produces something — herbs, tomatoes, cut flowers — and who’d rather have a garden with character than one that looks professionally maintained. It works in backyards, side yards, front entries, porch-adjacent beds, and kitchen-garden edges. It’s especially good if your lot has any natural slope, mature trees, or a view worth framing instead of fighting.
The worth having Pieces
Every farmhouse garden I’ve seen that actually works has some version of these:
– A long wooden dining table — doesn’t need to be fancy, but it needs to seat more people than your household. Mine’s a reclaimed door on trestle legs I built for about $180.
– Gravel or stone paths instead of poured concrete. Concrete reads suburban HOA. Gravel reads farmhouse instantly.
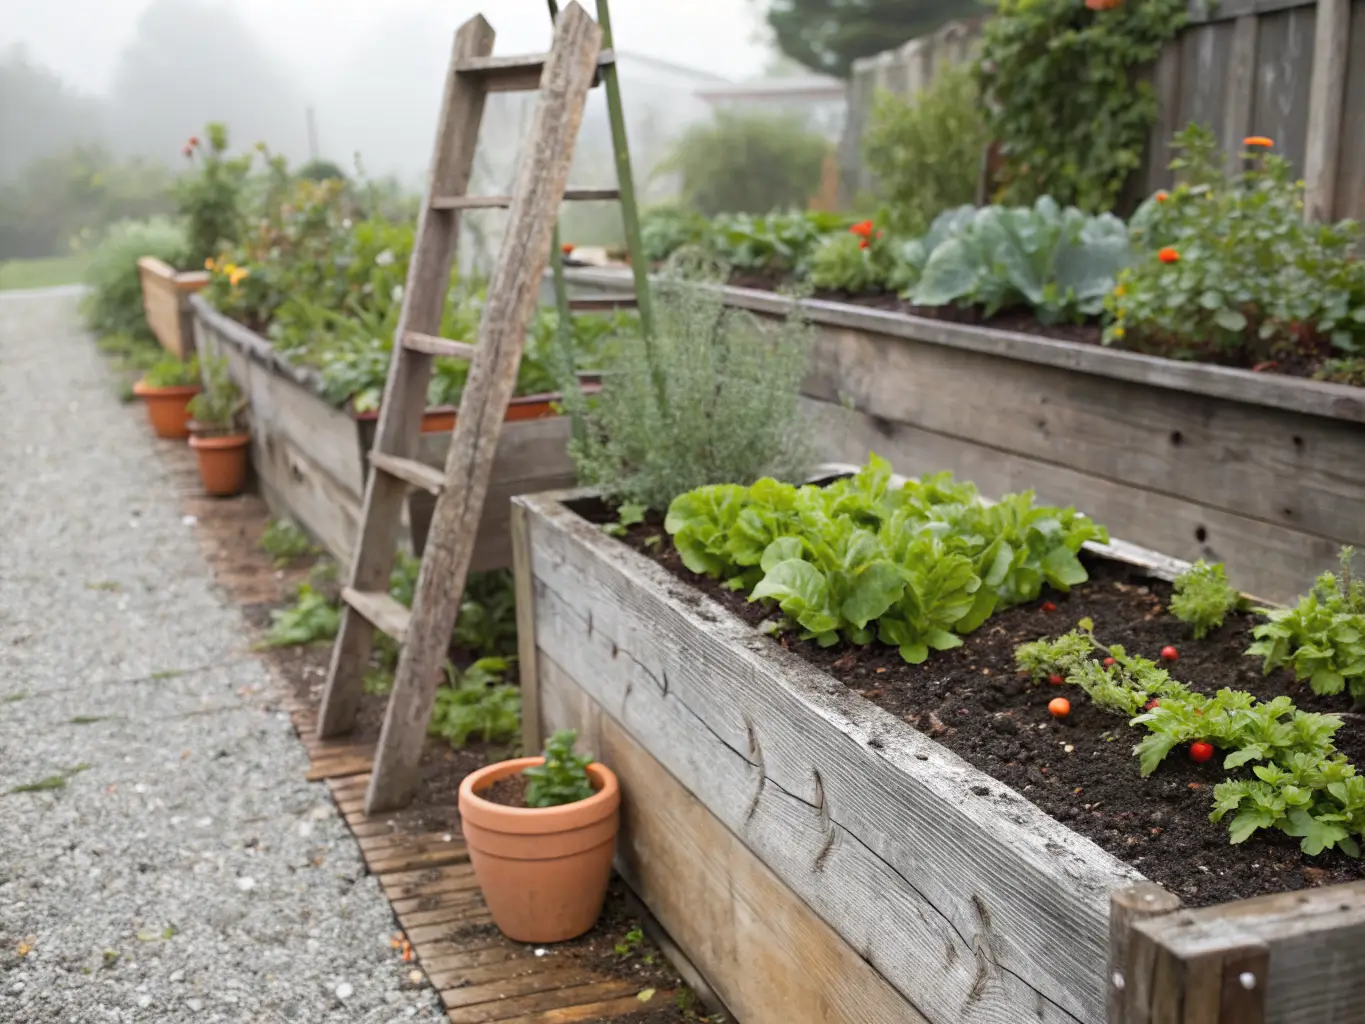
– Raised herb and vegetable beds in cedar or reclaimed wood — even two 4×8 beds change the whole feel of a yard.
– Native shrubs and perennial borders for the “this has always been here” look.
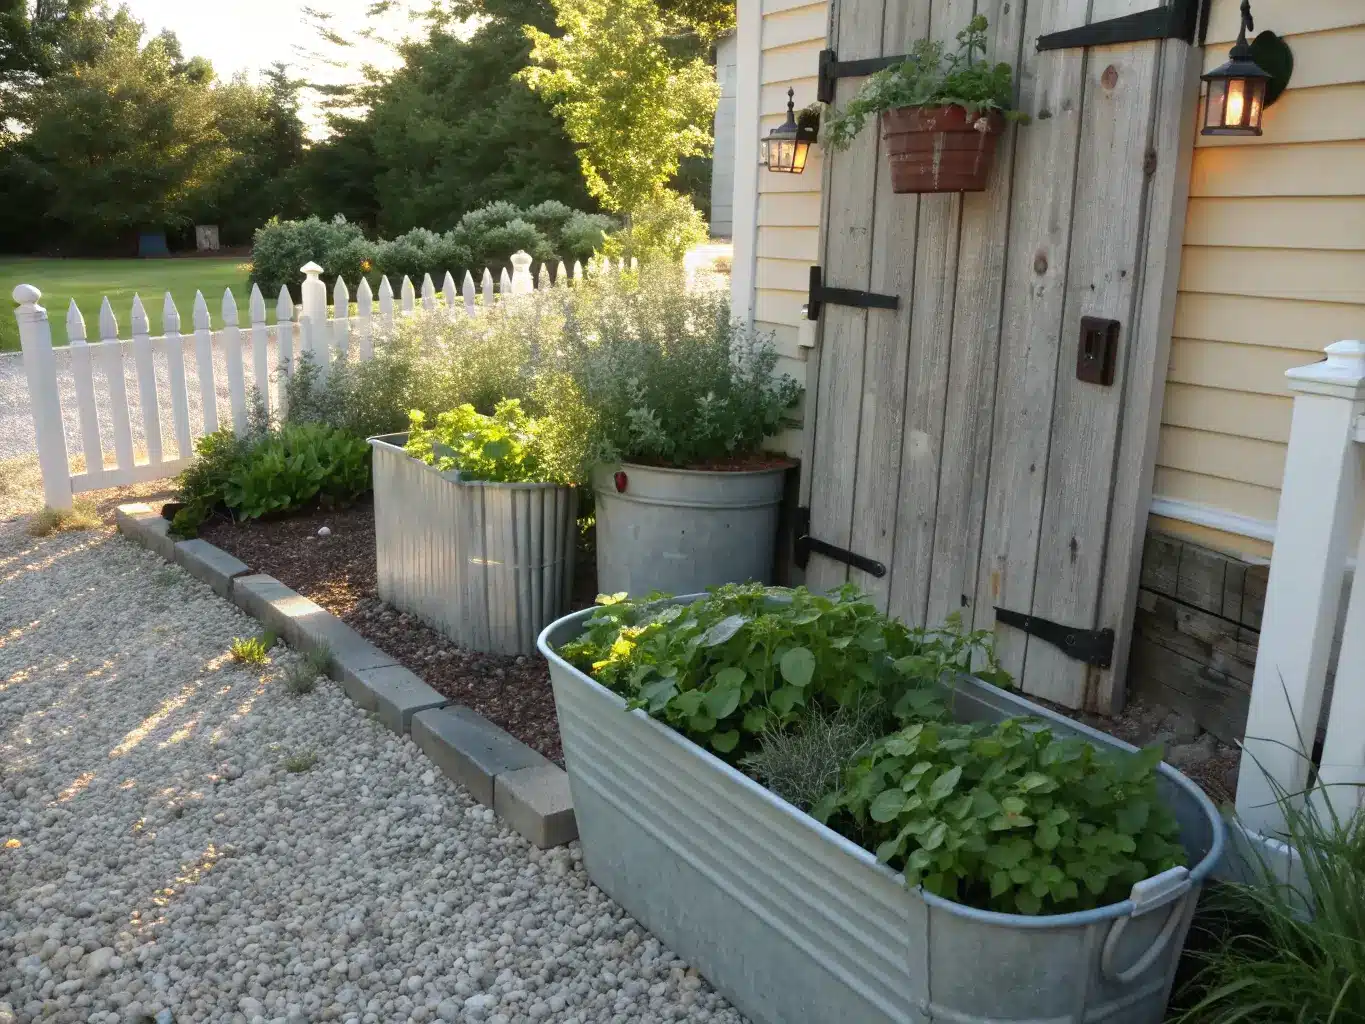
– Galvanized trough planters for herbs and greens near the kitchen door.
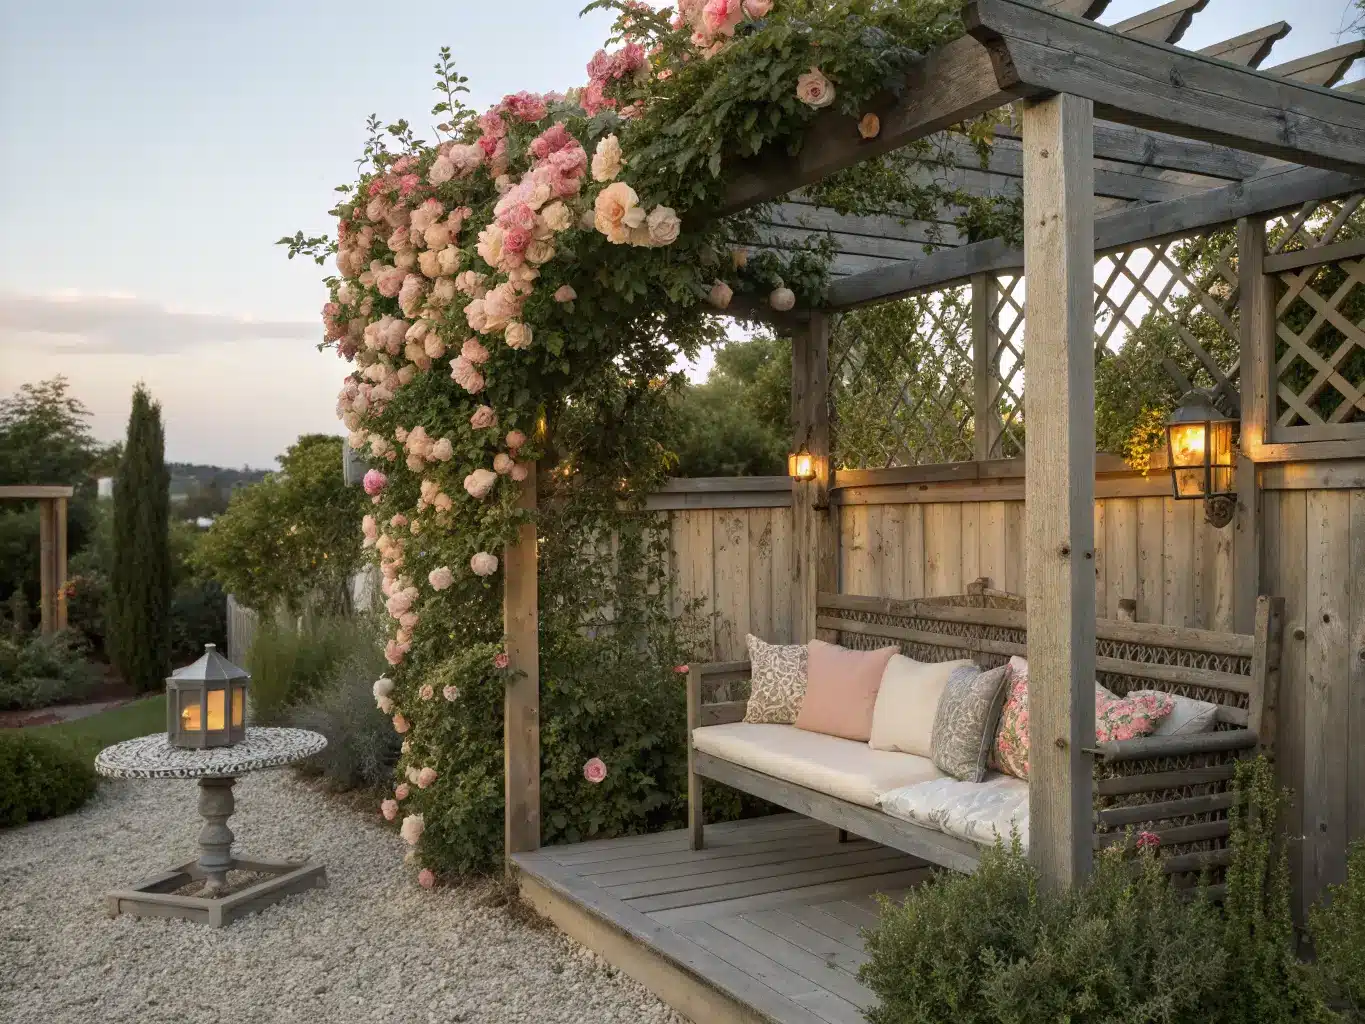
– An arbor or pergola in natural timber, ideally with something climbing it — I’ve got a rambling rose that’s slowly eating mine, which is exactly the point.
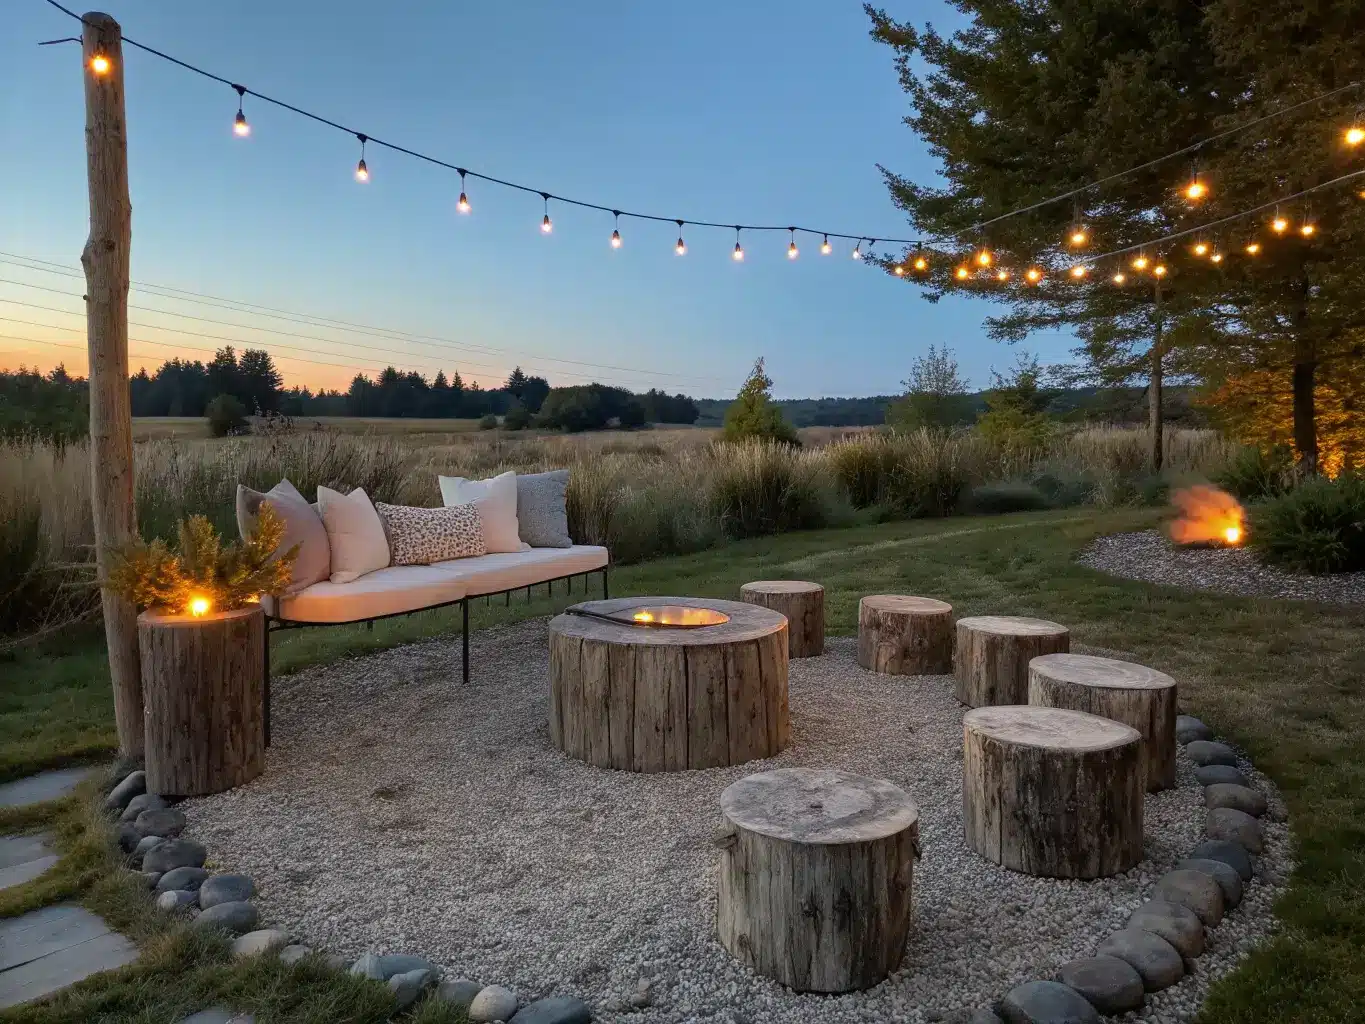
– Vintage-style lanterns or string lights for evening.
– Repurposed decor — watering cans, an old ladder used as a plant stand, a barrel planter by the door.
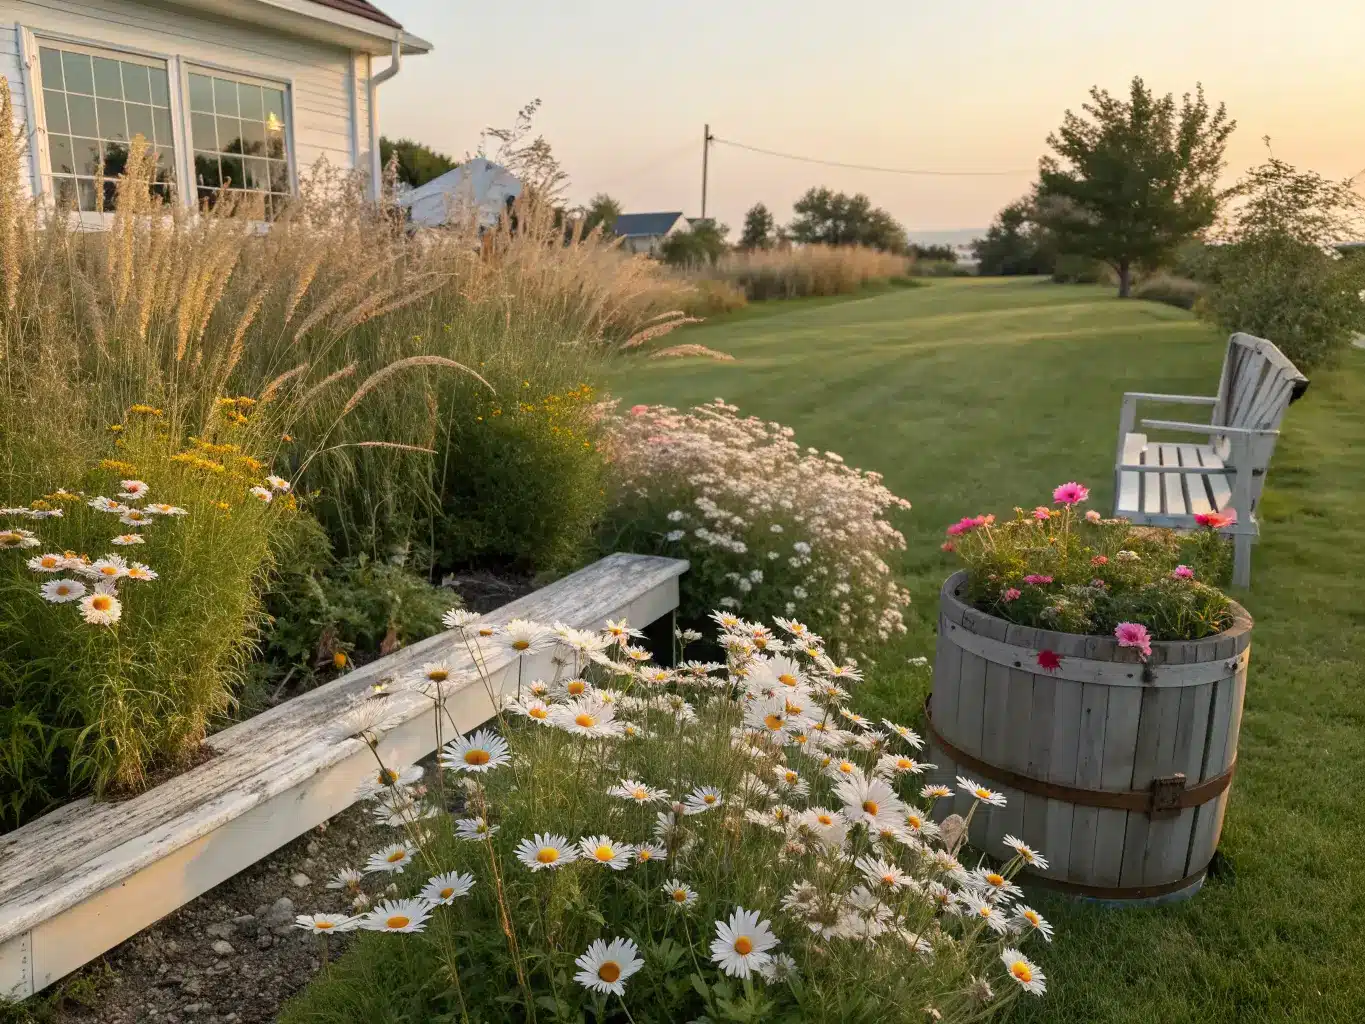
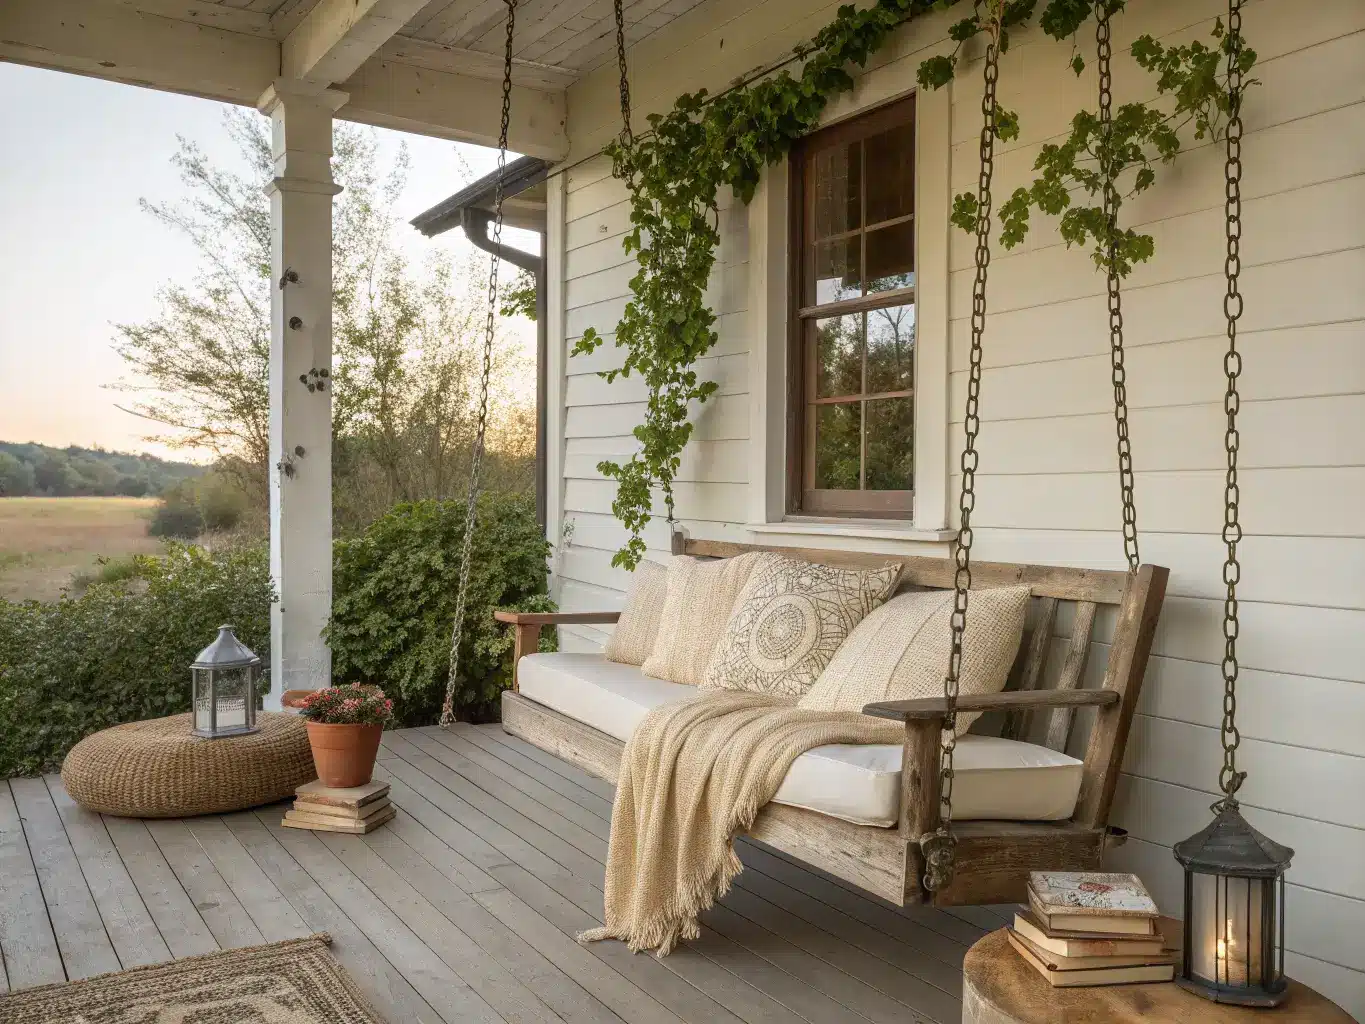
– Rustic seating — Adirondack chairs, a built-in bench, or a cushioned wood bench that’s seen some weather.
Optional Layers Worth Adding
Once the bones are in, these push the look further without feeling try-hard:
– Low white picket fencing around a bed or two — not the whole property, just enough to frame something.
– A wildflower patch left semi-wild at the edge of the lawn. Mine started as “I forgot to mow this corner” and is now my favorite part of the yard.
– A fire pit if you want the space to double as a hangout spot.
– A hammock or porch swing for the lived-in factor.
– Mulch, compost, and mossy stone — these aren’t just practical, they add texture and age to the look fast.
– Matte black or aged galvanized metal accents instead of anything chrome or shiny. Shiny hardware is the fastest way to make a farmhouse garden look like a garden center display.
– Seasonal rotation: pumpkins and mums in fall, herbs and white blooms in summer, evergreen boughs and lantern candles in winter.
Pro Tips for Making It Look Designed, Not Decorated
Function before decor, every time. Figure out where people will actually eat, sit, and walk before you buy a single planter. I decorated first once — beautiful pots, no clear path between them — and spent a whole summer rearranging around furniture I should have placed first.
Curves beat straight lines, except in the vegetable rows. Curved bed edges, plant drifts, and irregular stone placement read as natural. Rigid symmetry reads as landscaped-by-committee.
Repeat your house’s materials. If your siding is cedar-toned, echo it in your planters and fence. If your roofline is dark, repeat that in your pergola stain. This is the single biggest thing that makes a garden feel connected to the house instead of dropped onto the lot.
Keep contrast low and let plants do the color work. Warm neutrals as your base, greenery and flowers as your accent. If your hardscape and furniture are already colorful, the garden competes with itself.
Odd numbers, varied heights. Group three pots, not two. Mix a tall trellis planting with a low ground-hugging one nearby.
One focal point per zone. The pergola owns the seating area. The trough cluster owns the kitchen garden. Don’t make every corner compete for attention.
Go native where you can. It’s not just an aesthetic choice — native plants are what actually survive without babying, and a farmhouse garden with a 40% plant mortality rate isn’t rustic, it’s just sad.
How to Actually Build This, Step by Step
Prep the space first
Walk your property and mentally map zones: entry, seating/dining, kitchen garden, maybe an orchard corner, and a lower-maintenance wild edge. Clear clutter. Decide where your main path goes. Mark where beds will live with stakes or spray paint before you buy anything. Do this before you shop — I bought a pergola kit before I’d decided where the patio was going, and it sat in the garage for three months.
Pick your material palette now — stone, gravel, cedar, galvanized metal — and commit. Switching materials halfway through a project is how yards end up looking like three different Pinterest boards stitched together.
Build in this order
1. Paths first. Gravel, stone, mulch, or stepping stones define how people move through the space before anything else goes in.
2. Structure second. Pergola, fencing, raised beds, one seating area. These are your permanent anchors.
3. Plant the backbone. Native shrubs, small trees, perennial borders, herbs near the kitchen door. This is the layer that takes longest to mature, so get it in the ground early.
4. Add utility decor. Trough planters, watering cans, barrel planters, galvanized or clay pots.
5. Layer in the soft stuff last. Outdoor pillows, lanterns, string lights, seasonal touches.
Highlight what the space is actually for. If you’re growing food, put the raised beds somewhere visible, not tucked behind the garage. If it’s for entertaining, the table or fire pit should be the first thing you see walking out the back door.
Aim for intentional imperfection — enough structure that it reads as designed, loose enough that it doesn’t feel formal. That’s the line the whole style lives on.
Mistakes I’ve Made (So You Don’t Have To)
– Going too symmetrical. My first attempt had matching planters on either side of every path, and it looked like a hotel entrance. Softened the edges, mixed up the planting, immediately better.
– Buying too much decor. There’s a point where charming becomes cluttered. If you can’t see the plants for the decorations, pull half of it back out.
– Using shiny or plastic materials. Plastic edging, glossy metal — these break the spell instantly. Stick with stone, wood, and anything with a weathered finish.
– Planting without checking conditions. I put lavender in a spot that stayed wet all spring and lost the whole row. Match the plant to the sun, shade, and drainage you actually have, not the ones you wish you had.
– Skipping the structural plants. Without shrubs, small trees, or evergreens, your garden looks great in June and dead in November. Build the backbone first, add flowers after.
– Ignoring maintenance math. Group plants with similar watering needs together, and use mulch generously. A high-maintenance layout will stop looking good the first month you get busy.
Keeping It Looking Right Long-Term
Stick to your 2–3 core materials — for me it’s cedar, gravel, and galvanized metal — and repeat them everywhere. That repetition is what makes a yard feel like one cohesive space instead of a collection of separate purchases.
Leave room to breathe. Not every square foot needs a planter or an accent piece. Some of the best-looking farmhouse gardens have long stretches of simple lawn or gravel between the interesting parts.
Let the plants carry the color story — flowers, herbs, foliage — and keep your hardscape neutral and durable. Stone and timber age well; trendy decor items don’t.
Seasonal and Budget Updates
Cheap seasonal refreshes: swap outdoor pillow covers, change what’s in the lanterns, rotate potted plants by season. Keep the structural stuff — pergola, beds, paths — exactly as is.
Budget the project in phases. Add one bed this year, a pergola next year, a focal planter grouping after that. Trying to do it all in one season is expensive and exhausting, and honestly the phased approach looks more authentic anyway — real farmhouse gardens accumulated over years, not one Home Depot trip.
Cross-style directions worth trying:
– Farmhouse + cottage: lean into flowering borders, softer and more romantic planting.
– Farmhouse + modern rustic: keep the neutral base, sharpen it with matte black hardware and cleaner lines.
– Farmhouse + edible garden: push the kitchen-garden beds, herb patches, berry bushes, and a fruit tree or two to the front of the design.
Plant in the right order for maturity: trees, vines, and shrubs go in first because they take the longest. Flowers and furniture come later, once the bones of the garden have had a season or two to settle in. My biggest regret is not planting my two apple trees the first year I had the space — they’d be producing fruit by now instead of just getting started.
More Ideas to Explore
Keep the momentum going: Modern Garden Design: A Complete Guide to Clean, Low-Maintenance Outdoor Spaces covers another angle worth a look.