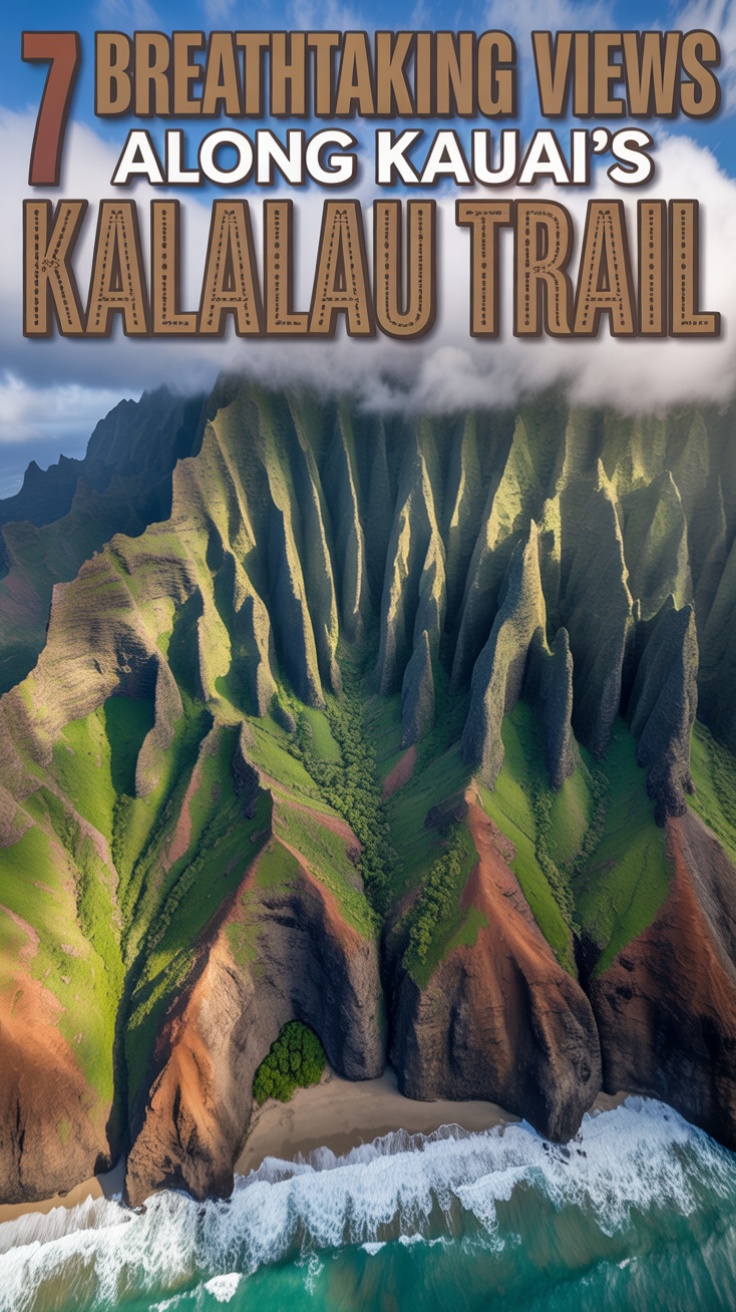
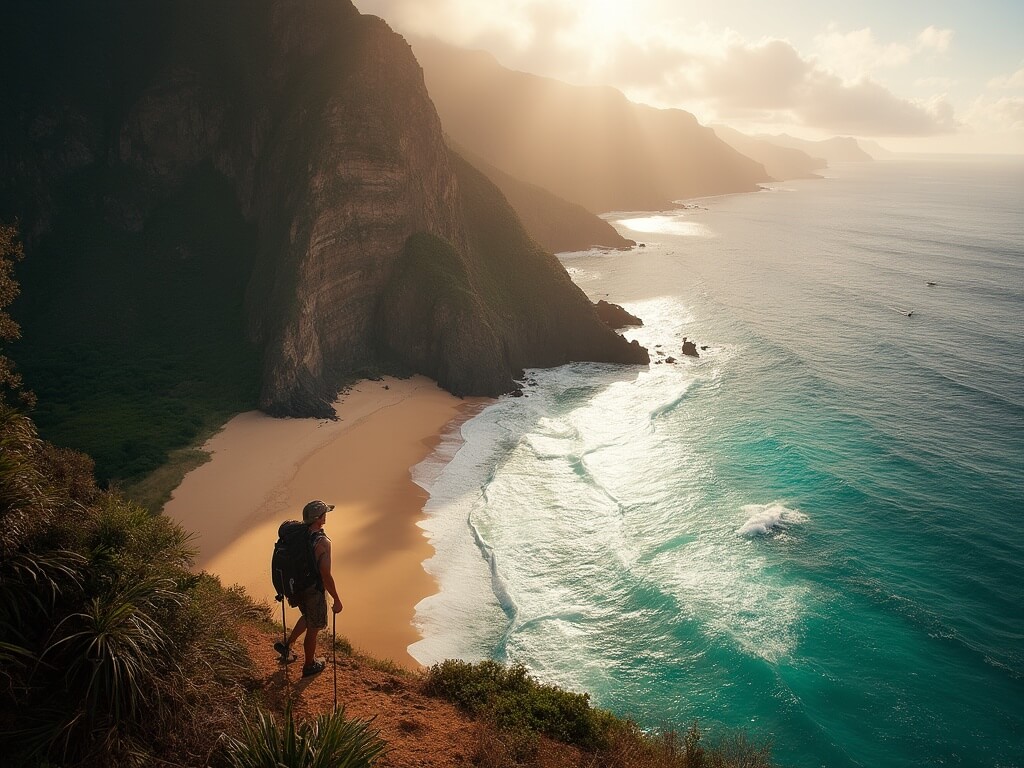
You’ve probably seen those jaw-dropping photographs of Kauai’s Nā Pali Coast somewhere online. Towering sea cliffs the colour of rust and emerald. A ribbon of golden sand stretching along an impossibly remote beach. Maybe you’ve wondered how anyone actually gets down there.
The answer is the Kalalau Trail.
And here’s what most people don’t realise: this 11-mile trek from Ke’e Beach to Kalalau Beach isn’t just a nice hike with a view. It’s genuinely dangerous. People die on this trail. Not often, but it happens. And that’s not meant to scare you away—it’s meant to prepare you for what you’re actually signing up for.
I’m going to walk you through everything you need to know about hiking the Kalalau Trail on Kauai, because there’s a world of difference between admiring it from a distance and actually stepping foot on it.
What Actually Is the Kalalau Trail—And Why Should You Care?
The Kalalau Trail sits on the North Shore of Kauai, running along the Nā Pali Coast. It’s the only land-based route to reach the most remote and pristine section of coastline in the Hawaiian islands. No roads lead here. No boat services operate regularly. The only way in is on foot.
The trail stretches 22 miles roundtrip, though most people approach it as either a day hike to Hanakapi’ai Beach or a multi-day backpacking expedition to Kalalau Beach itself. And when I say “most beautiful and dangerous,” that’s not hyperbole—it’s genuinely how hiking publications and rescue services describe it.
Here’s the thing: this wasn’t some modern trail development project. It was built in the late 1800s, following paths that ancient Hawaiians used for centuries when they actually lived in these remote valleys. Those old stone footpaths still exist beneath your boots today, which means you’re hiking on genuine cultural history.
The trail pulls in thousands of hikers each year—from complete novices to seasoned mountaineers—which creates a peculiar tension. Everyone wants to see Kalalau Beach and Kalalau Valley. But not everyone has the fitness, experience, or frankly, the good judgment to safely complete what amounts to climbing up and down multiple mountains whilst navigating narrow cliff edges.
The Route Broken Down: What You’ll Actually Be Walking
Ke’e Beach to Hanakapi’ai Beach (2 miles)
This first section is where most casual hikers stop, and honestly, that’s the smart call for people who aren’t serious backpackers. It’s accessible as a day hike with only a reservation—no camping permit required. The terrain is steep but manageable, and you’ll get a genuine taste of what makes this coast special. Views open up quickly, and by the time you reach Hanakapi’ai Beach, you’ve seen Cathedral Cliffs and ocean vistas that justify the effort alone.
Here’s a critical warning though: Hanakapi’ai Beach has killed people. Strong rip currents, sudden wave sets, and deceptively powerful surf claim lives most years. Swimming here without local knowledge is genuinely risky.
Hanakapi’ai Beach to Hanakoa Valley (6 miles)
This segment is where the Kalalau Trail transforms from “challenging hike” into “serious backpacking expedition.” The elevation gain hits roughly 800 feet, and the terrain becomes genuinely technical in places. You’re climbing out of one valley system and into another, which means constant ups and downs that absolutely demolish your legs.
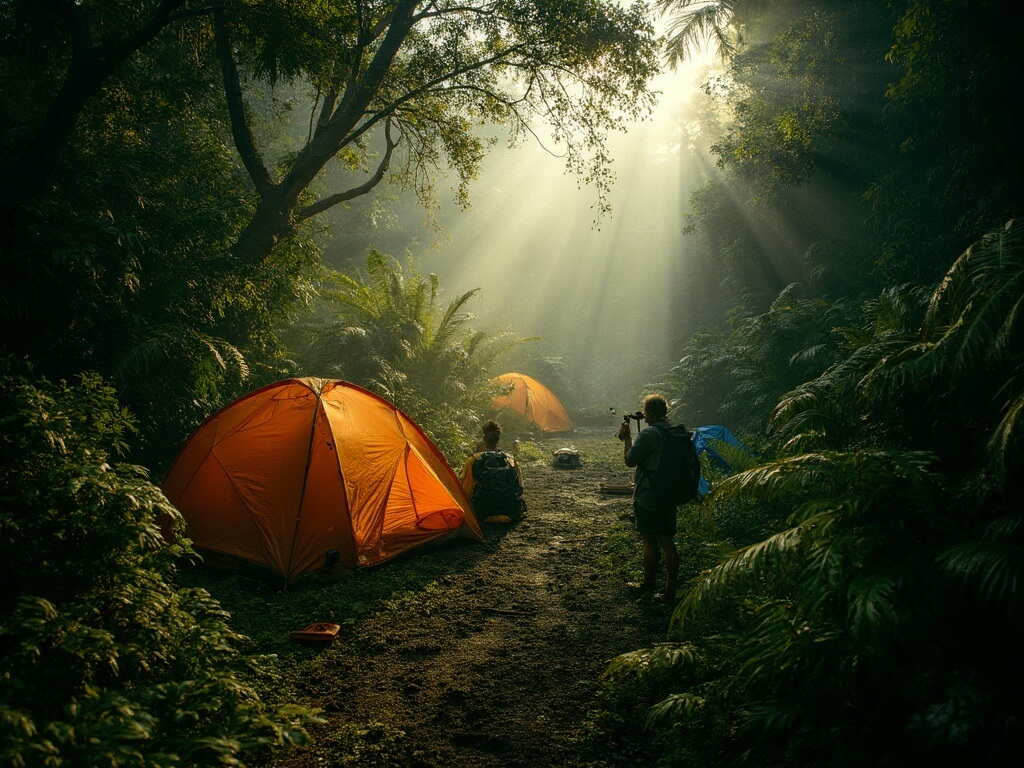
Hanakoa Valley is the only official camping site between Hanakapi’ai and Kalalau, and camping permits are required. The valley itself is lush and forested, but here’s something most guidebooks don’t mention: it’s buggy. Really buggy. Mosquitoes thrive in the shade and moisture, and the lack of ocean breeze means you’re basically hiking through a cloud of insects for several hours.
There’s also no ocean view from Hanakoa Valley—you’re nestled in dense vegetation, which changes the entire experience compared to the more exposed ridgeline sections.
Hanakoa Valley to Kalalau Beach (5 miles)
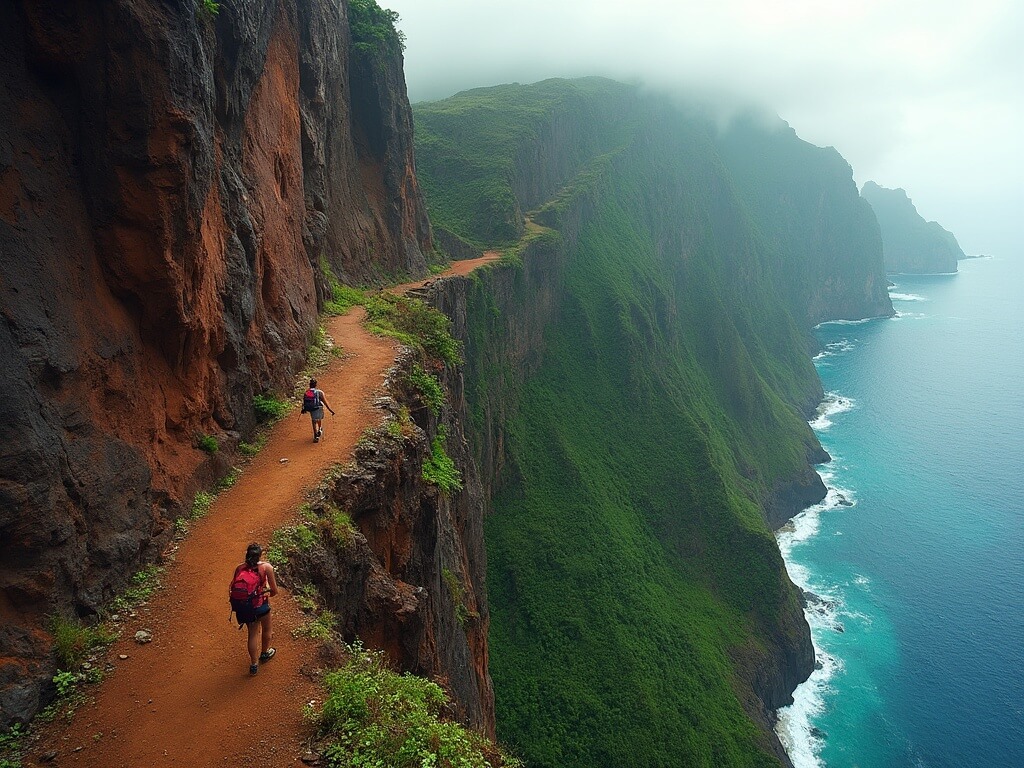
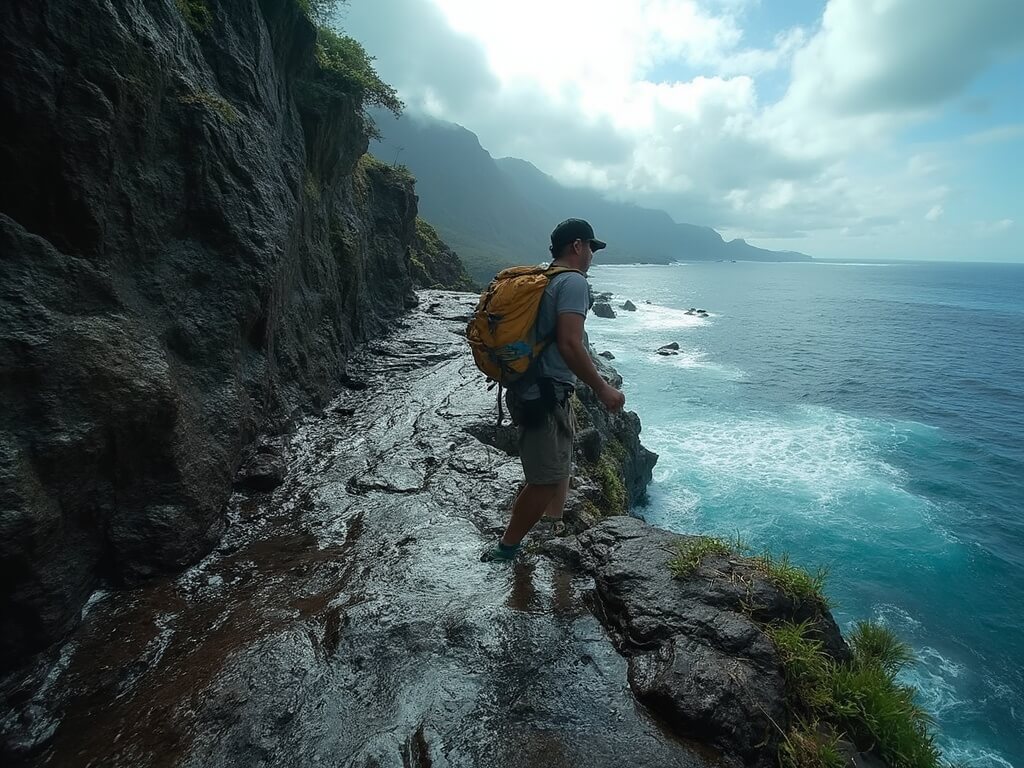
This final segment contains the most famous—and most intimidating—feature of the entire trail: Crawler’s Ledge.
Crawler’s Ledge is a section of narrow cliffside path where the trail is perhaps a metre wide, with a sheer drop of hundreds of metres on one side. Your other option is steep muddy slope leading upwards. In dry conditions, it’s intense but manageable. After rain, it becomes genuinely hazardous.
I watched a fit hiker completely freeze on Crawler’s Ledge during my first trek out here—panic attack brought on by vertigo. We ended up spending two hours sitting there whilst she regulated her breathing and worked up the courage to keep going.
After Crawler’s Ledge, the trail descends Red Hill and finally opens onto Kalalau Valley proper. The approach to Kalalau Beach is breathtaking—suddenly the valley widens, hanging cliffs frame the beach on both sides, and you realise why this is consistently rated as one of the world’s most spectacular beaches.
The Numbers That Actually Matter
The Kalalau Trail gains between 5,000 and 6,000 feet of elevation over those 22 miles. That’s not spread evenly—it’s concentrated into brutal climbs that leave most people absolutely gassed. A fit person with backpacking experience typically takes two to four days to complete it.
The terrain varies wildly: wet gulches, open ridgelines with genuine exposure, forested valleys, and cliff sections that’ll make anyone with a fear of heights uncomfortable. And yes, those stream crossings are frequent. During heavy rain, they become flash flood risks.
The trail is almost never level. You finish climbing one section, descend into a valley, then immediately start climbing again. Most people who struggle on the Kalalau Trail don’t fail because they lack basic fitness—they fail because they underestimated the cumulative effect of constant elevation changes.
Permits, Rules, and Why Breaking Them Actually Matters
Any hiking activity on the Kalalau Trail requires a reservation. Even for the 2-mile day hike to Hanakapi’ai Beach, you need to book in advance through the Hawaii State Parks system.
Overnight trips beyond Hanakapi’ai Beach require camping permits. These permits are limited and only valid for Hanakoa Valley (mile 6) and Kalalau Beach (mile 11). Camping anywhere else is illegal.
Violating permit rules is a petty misdemeanor with criminal penalties. Rangers conduct enforcement patrols and cite offenders, so it’s important to follow the system. Book permits three months in advance for summer trips.
What Kills People on the Kalalau Trail
Falling is the top cause of death, especially at Crawler’s Ledge. Flash flooding at stream crossings is a close second. Rip currents at Hanakapi’ai Beach also account for many fatalities.
Leptospirosis from untreated stream water is a real risk. Always filter or treat your water. Heat exhaustion, dehydration, and injuries are other dangers—especially when you’re miles from help.
The Personal Experience That Changed How I Prepare for This Hike
On my second trip, I hit Crawler’s Ledge exhausted and depleted. That’s when I learned how fatigue amplifies fear. I slowed down, rested often, and made it through safely. That experience changed how I train, pack, rest, and pace myself for multi-day hikes.
The Dangerous Myth About Summer Weather
Summer offers more stable weather, but permits are harder to get and crowds increase risk. Winter brings fewer hikers and better trail condition, but far riskier weather. The best strategy is to check microclimate forecasts and remain flexible enough to change plans if weather turns.
What You’re Actually Going to Carry
Minimise your pack weight. Essentials include:
- Lightweight tent and sleeping system
- Reliable cooking system
- Water filtration method
- Sturdy hiking footwear
- Proper rain gear
- Sun protection
- Insect repellent
- Compact first aid kit
- Printed/digital permits
Skip excess clothes and fresh food. Stick to energy-dense, lightweight meals. Wild goats are persistent, so secure all food.
Getting to the Trailhead—And Why It Actually Matters
The Kalalau Trail starts at Ke’e Beach in Hā’ena State Park. Parking is limited and advance reservations are required. Alternatives include:
- Public bus (cheap but infrequent)
- Shuttle service (convenient but fixed)
- Parking reservation (limited availability)
Pro tip: Arrive the night before and stay nearby. Start hiking by 6:30am for better trail conditions and more daylight.
The Kalalau Trail demands respect through every stage of planning and execution—and that respect starts before your boots even touch the trailhead.
For more epic hiking adventures, check out our guide on hiking to Delicate Arch in Arches National Park or walking the beaches of the Oregon Coast.
The Actual Campsite Experience—What Nobody Prepares You For
Hanakoa Valley Camping
Hanakoa sits at mile 6, nestled in a forested valley with fresh water access and designated campsites. The site operates on a first-come, first-serve basis once you have your permit. There’s a composting toilet—that’s it for facilities. No potable water is provided, which means every drop you drink comes from the stream and requires treatment.
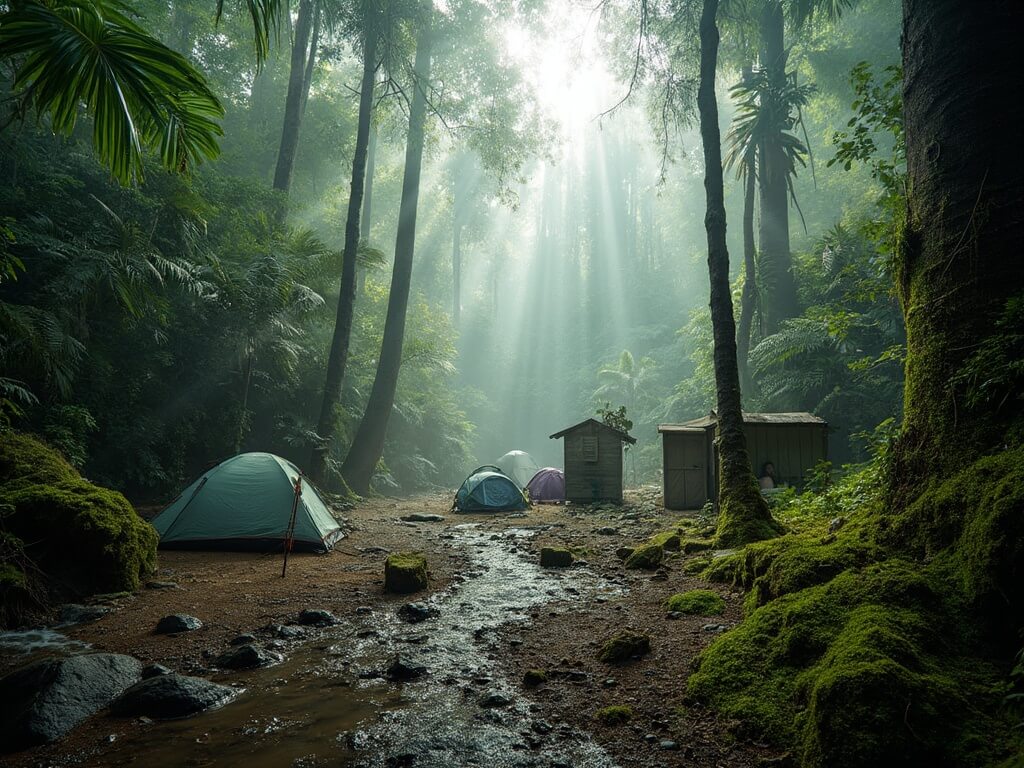
The reality of Hanakoa is that it’s buggy, damp, and psychologically isolating. You’ve hiked 6 miles through exposure and elevation changes, your body is wrecked, and now you’re setting up camp in dense shade where the sun barely penetrates. Moisture hangs in the air constantly. Your tent interior becomes damp overnight regardless of how well you ventilate it. Mosquitoes are aggressive. Some people genuinely hate camping here and describe it as the worst part of their entire trek.
That said, Hanakoa serves a critical function: it’s the reset point. Most people camp here for at least one night, which breaks the journey into manageable chunks. Day one gets you through the hardest technical section (Crawler’s Ledge) when you’re still fresh. Day two is shorter miles with focus on recovery. Day three takes you into Kalalau proper.
Kalalau Beach Camping
This is where the magic actually lives. Kalalau Beach stretches roughly a mile long, backed by towering cliffs. Camping is dispersed throughout designated zones along the beach and valley floor. Unlike Hanakoa, you get ocean views, actual breeze, and relative solitude depending on season.
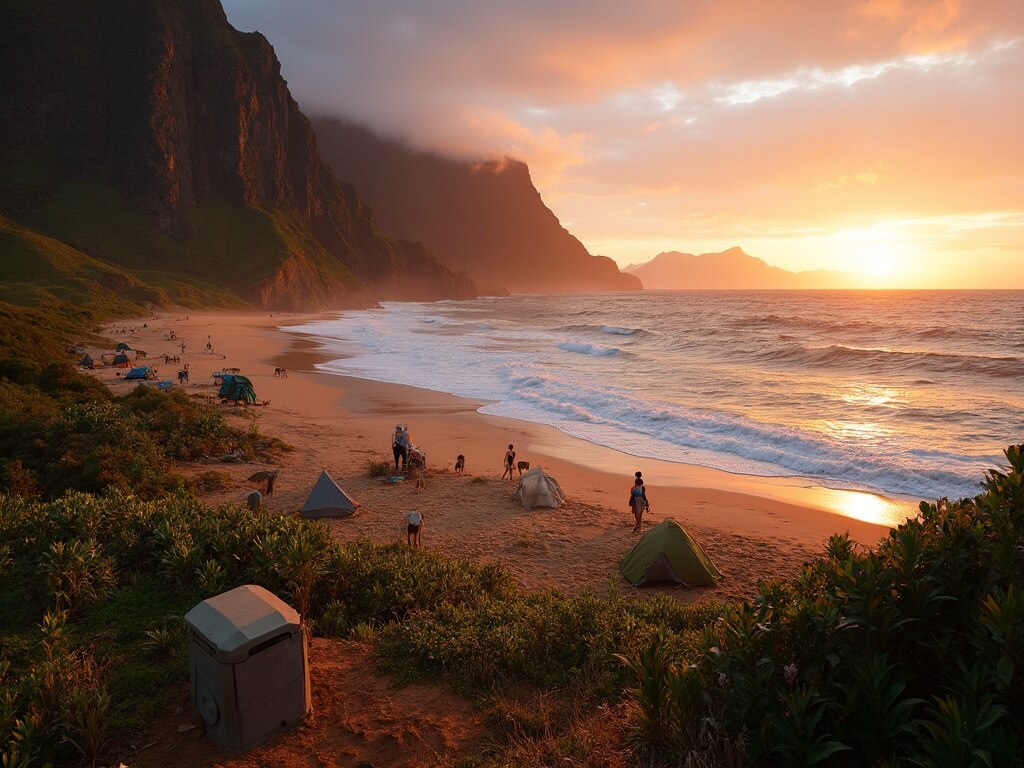
The campsites are basic—no infrastructure beyond a composting toilet. But the setting is so extraordinary that limitations fade into background noise. You’re sleeping on a beach that receives maybe a few hundred visitors yearly, surrounded by some of the most dramatic coastline on Earth.
Here’s the catch: Kalalau Beach has its own weather patterns. Wind comes in hard off the ocean, especially afternoons. Rain patterns are unpredictable. The beach itself can become difficult to traverse if swell is running and high tide coincides with wave activity. But when conditions align—calm evening, clear skies, temperature mild enough to sleep comfortably—camping at Kalalau is genuinely transcendent.
I’ve spent nights here watching bioluminescent plankton spark in the shallows, waking to sunrise that turns the cliffs golden orange, and understood viscerally why Hawaiian culture held this place sacred. That experience doesn’t erase the difficulty of getting there, but it contextualises it.
The Practical Reality of Backcountry Toilets
Both campsites use composting toilets, and I need to be explicit about what this means. There’s no flushing mechanism. No running water. You’re looking at a hole in the ground with a seat cover, positioned to decompose waste naturally. During warm months, smell can be intense. In wet conditions, the toilet becomes genuinely unpleasant to use.
Pack extra toilet paper and a trowel (or use the small shovel if you need to dig). Don’t flush anything except human waste and toilet paper. Biodegradable soap exists specifically for backcountry use—that’s what you wash with if you wash at all.
Food and Water—The Calculus That Keeps You Alive
Stream Water Logistics
You’ll cross multiple streams. Some flow year-round; others are seasonal. None should be drunk untreated.
Leptospirosis is the serious concern—it’s a bacterial infection spread through animal urine in water, particularly from wild boars and rats. Symptoms include fever, body aches, and in severe cases, organ damage. People have required hospitalisation after contracting it from Hawaiian streams.
Your filter needs to handle bacteria and parasites. Standard water filters with 0.1-micron pores eliminate most pathogens. Backup purification tablets add security layer—they’re lightweight and cheap insurance.
Carry containers that allow efficient filtering. Collapsible bottles save pack space. A gravity filter (like Platypus or MSR) lets you filter hands-free whilst you cook or rest.
Food Calculations
Kalalau Trail hiking demands roughly 4,500–5,500 calories daily depending on bodyweight and pace. Your food needs to be lightweight, shelf-stable, and satisfying. Dehydrated backpacking meals work. So do energy bars, nuts, dried fruit, and instant oatmeal.
Cooking stoves must work reliably on potentially wet fuel. Liquid fuel stoves perform better in wet conditions than canister stoves. Bring enough food for your planned trip plus one extra day.
Wildlife and Natural Features Worth Understanding
Wild Goats
These aren’t cute animals. They’re invasive, aggressive, and smart. They demolish food stashes in minutes. Secure your food by hanging it, storing it in hard containers, or isolating it far from your sleeping area.
Native and Introduced Plants
You’ll encounter native ‘ōhi’a trees, rare ferns, and endemic species during your hike. Respect preservation efforts by staying on trail—walking through vegetation damages rare plants and contributes to erosion.
Birdwatching Opportunities
Endemic Hawaiian seabirds inhabit the cliffs and valleys. ‘Iwa (frigatebirds), Nēnē (Hawaiian geese), and forest birds like ‘apapane and ‘amakihi can be spotted in forested sections. Early morning brings peak activity.
The Photography Angle—Why This Trail Breaks Instagram
Photographs of the Kalalau Trail are spectacular. Cathedral Cliffs, hanging waterfalls, sunrise and sunset light—every frame is magic. But pursuing the perfect shot can compromise safety. Drones aren’t allowed per official Kalalau Trail hiking information.
When the Trail Closes—And What That Means for Your Plans
Closures happen due to landslides, storm damage, and erosion. Check the official Kalalau Trail hiking information site before departure.
Contingency Planning
Book cancellable accommodation. Have a backup plan like driving the Hana Highway in Maui. Don’t hike through danger just to stick to a booking.
The Mental Challenge—The Part Nobody Talks About
Exposure and Fear Management
Crawler’s Ledge tests nerves. Train on exposed trails ahead of time. Understand your fear response before attempting.
Isolation Psychology
Solitude can trigger emotional release. Rest if needed. Sit by the ocean. Let yourself process.
Fatigue Compounding Decision-Making
Fatigue affects judgment. Better to hike fewer miles and stay sharp than push hard and risk mistakes.
Permit Strategy—How to Actually Get Dates You Want
Permits release 90 days out. Be online early. Book fast. Kalalau: The Most Dangerous Trail in the World gives a glimpse into why demand is so intense.
The Solo vs. Group Debate—What Actually Works Better
Solo offers flexibility but no backup. Groups share gear and morale, but coordination challenges exist. Know your style and prepare accordingly.
What Happens if Something Goes Wrong
Evacuation is expensive and slow. Helicopters can’t fly in storms. Prevention—training, fitness, proper gear—is cheaper than rescue.
The Seasonal Reality Check—Choosing Your Window
Summer is stable weather and busy. Winter is rainy and risky. Shoulder seasons like April and October offer compromise between weather and access.
Training Specifically for Kalalau—What Actually Prepares You
Weighted hiking on elevation beats gym-only prep. Focus training on aerobic capacity, leg endurance, core stability, and mental resilience. Start 2-3 months out minimum.
The Kalalau Valley Itself—What Makes It Legendary
Kalalau isn’t just a beach—it’s a sacred valley. Ancient lo’i kalo still show stonework of Hawaiian agriculture. Respect cultural sites and don’t disturb long-term residents.
Contingencies and What to Do if Conditions Turn Bad
Bad weather? Don’t press on. Find shelter, stop early, bivouac if needed. Have a satellite communicator. Tell someone your route before departure.
Sustainable Tourism—How to Hike Without Destroying the Place
Follow Leave No Trace. Pack out waste. Use established campsites. Stick to trails. Filter water far from sources.
The Financial Reality—What This Actually Costs
Expect £2000–3500 total. Gear, flights, permits, food, and lodging add up. Cutting corners on gear or training isn’t savings—it’s risk.
Returning Home—Recovery and Integration
Allow one day minimum for recovery. Soreness peaks after 48–72 hours. Light movement helps. Emotionally, journaling or sharing helps with post-trip processing.
The Final Honest Assessment—Should You Actually Do This
If you’re prepared, this trail is genuinely life-changing. If you’re not, it can become a cautionary tale. If unsure, wait. Prepare. Return stronger. The trail isn’t going anywhere—and it’s not for everyone, and that’s okay.
Explore more stunning adventures like Cog Railway to Pikes Peak or Lighthouse Tours in Maine while you prepare for Kalalau.