Bookshelf Ideas: A Room-by-Room Guide to Styling Shelves That Don’t Look Like a Furniture Showroom
My bookshelf used to be a rectangle of chaos. Paperbacks stacked sideways, a dead succulent, three picture frames facing the wrong way because I never got around to fixing them. Then I redid it in an afternoon using books I already owned plus about $60 of stuff from HomeGoods, and it’s the first thing people mention when they walk into my living room now. Bookshelf ideas don’t have to mean buying new furniture — most of the transformation is in how you arrange what’s already there.
Here’s what I’ve learned from restyling my own shelves at least four times (yes, four — I have a problem) and helping two friends fix theirs.
What “Good” Bookshelf Styling Actually Looks Like
There’s no single right style for a bookshelf. What I see working consistently, in my own place and in every design account I actually trust, are a handful of approaches:
– Minimalist curated shelves — fewer objects, more negative space
– Color-organized “rainbow” shelves — books arranged by spine color
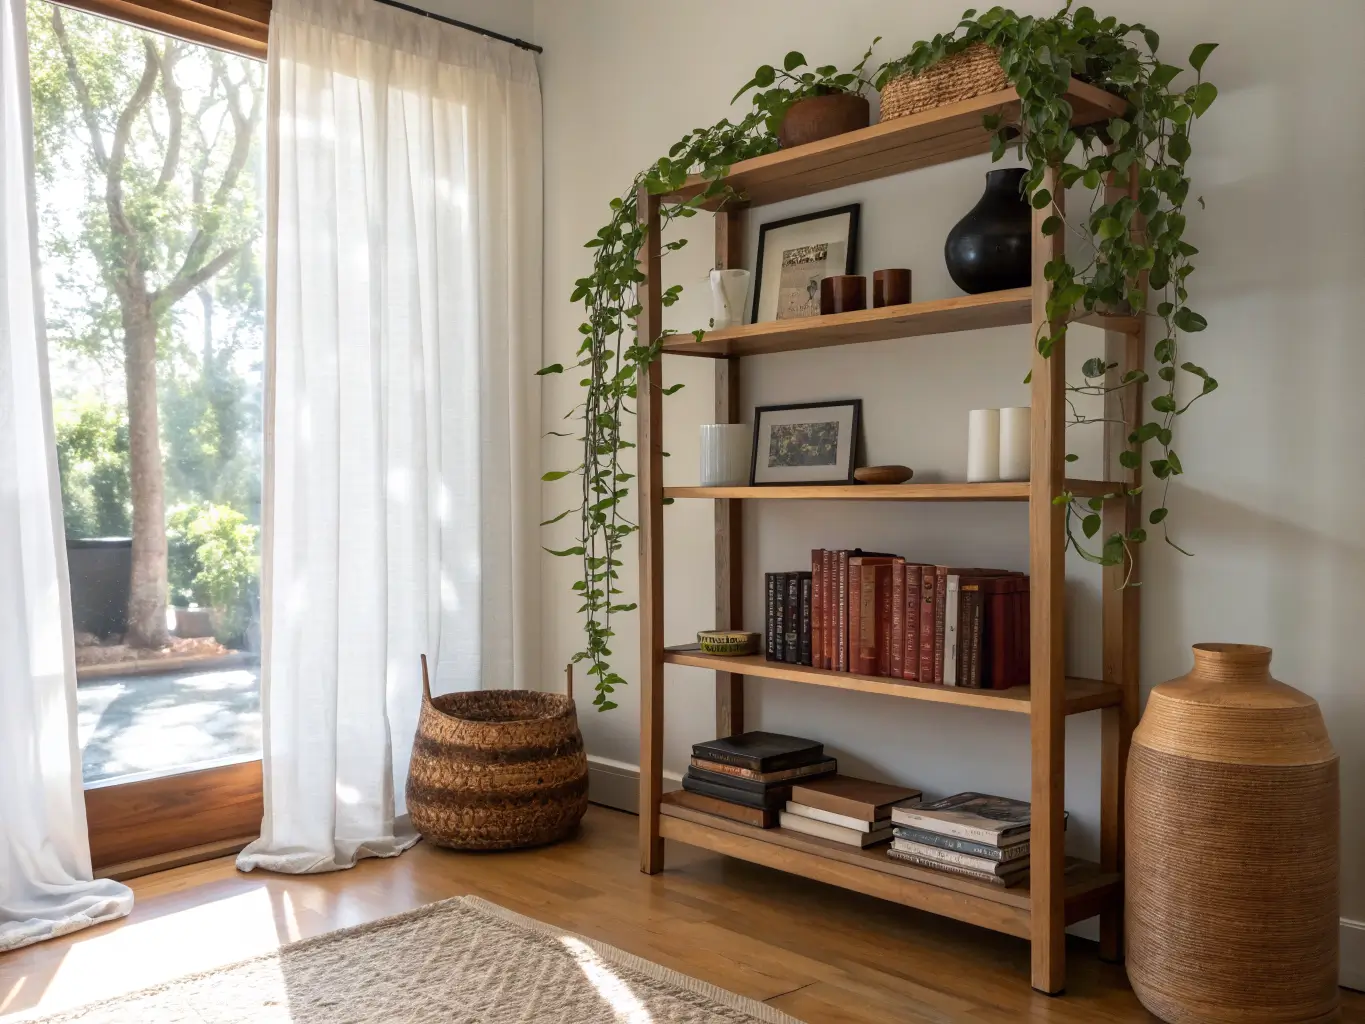
– Organic modern — lots of plants, ceramics, warm wood
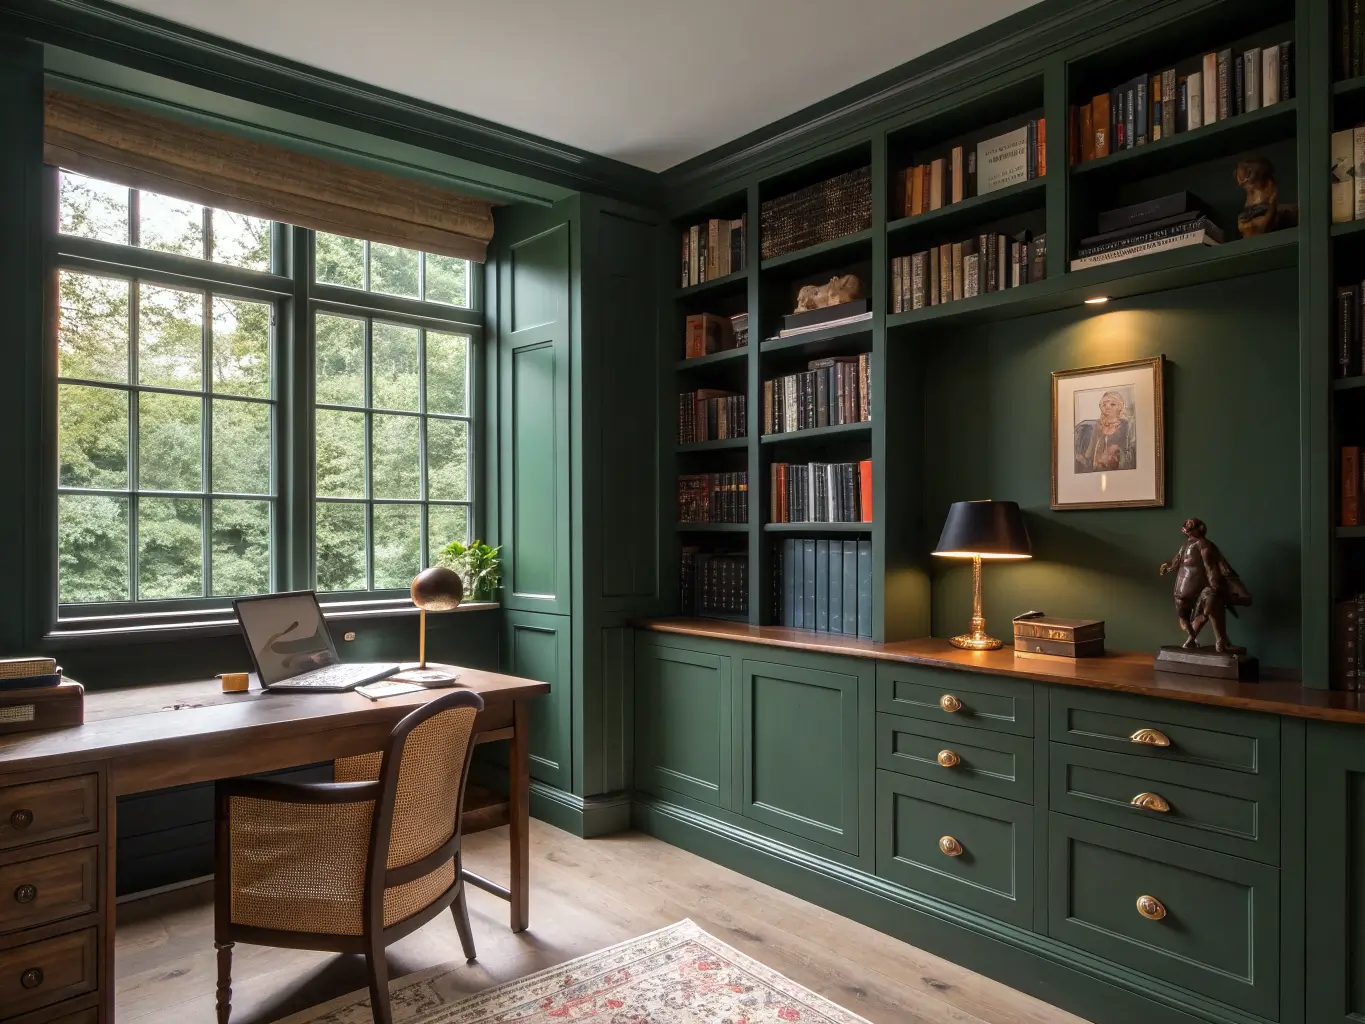
– Library-style built-ins — floor-to-ceiling, often painted a moody color
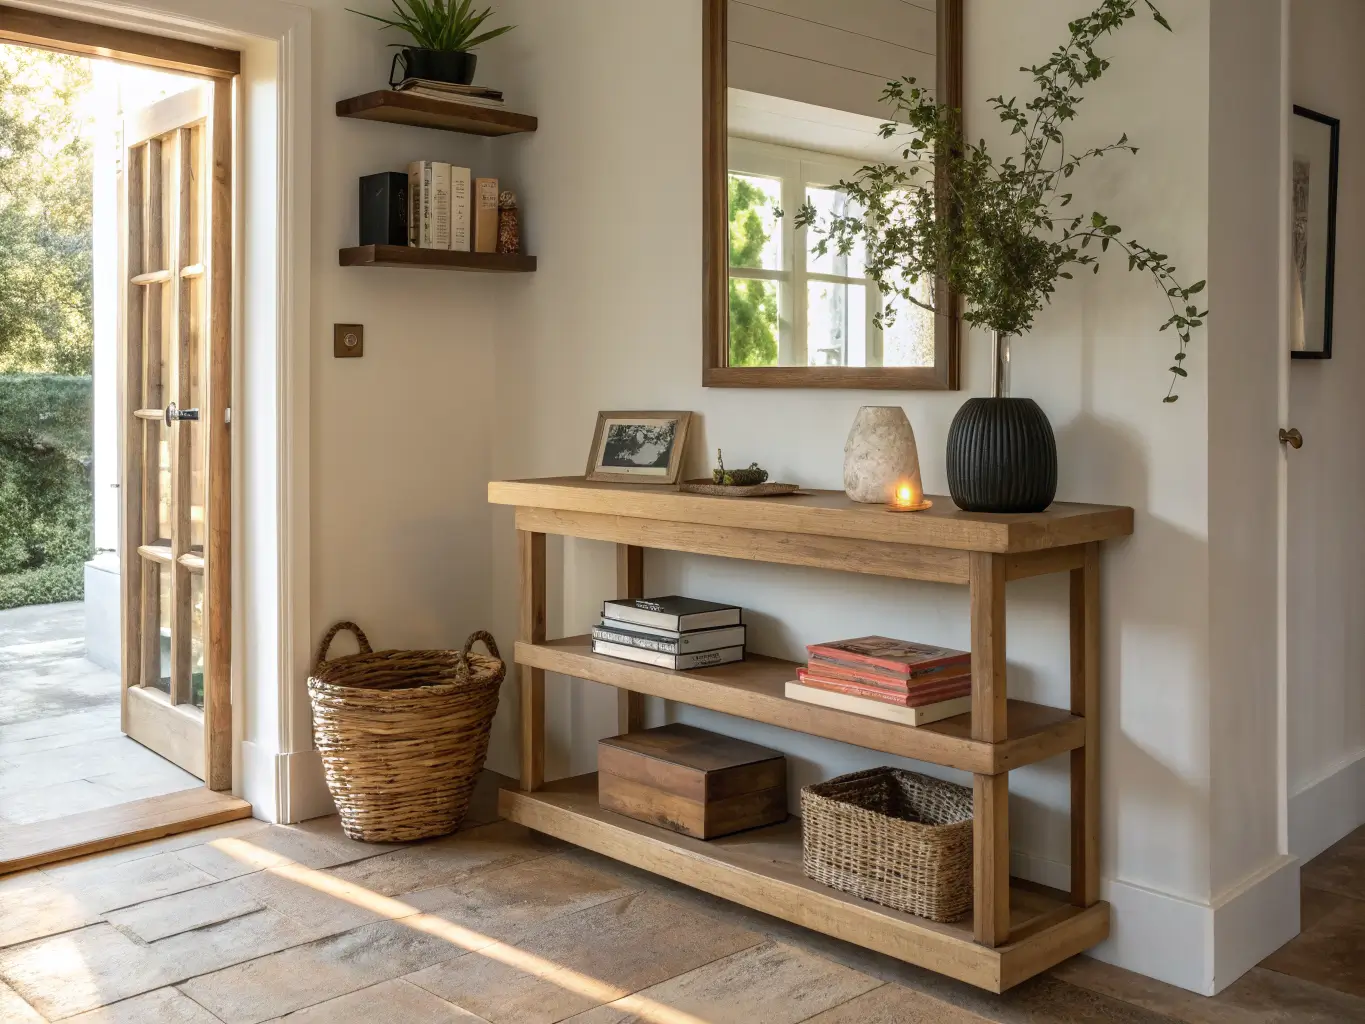
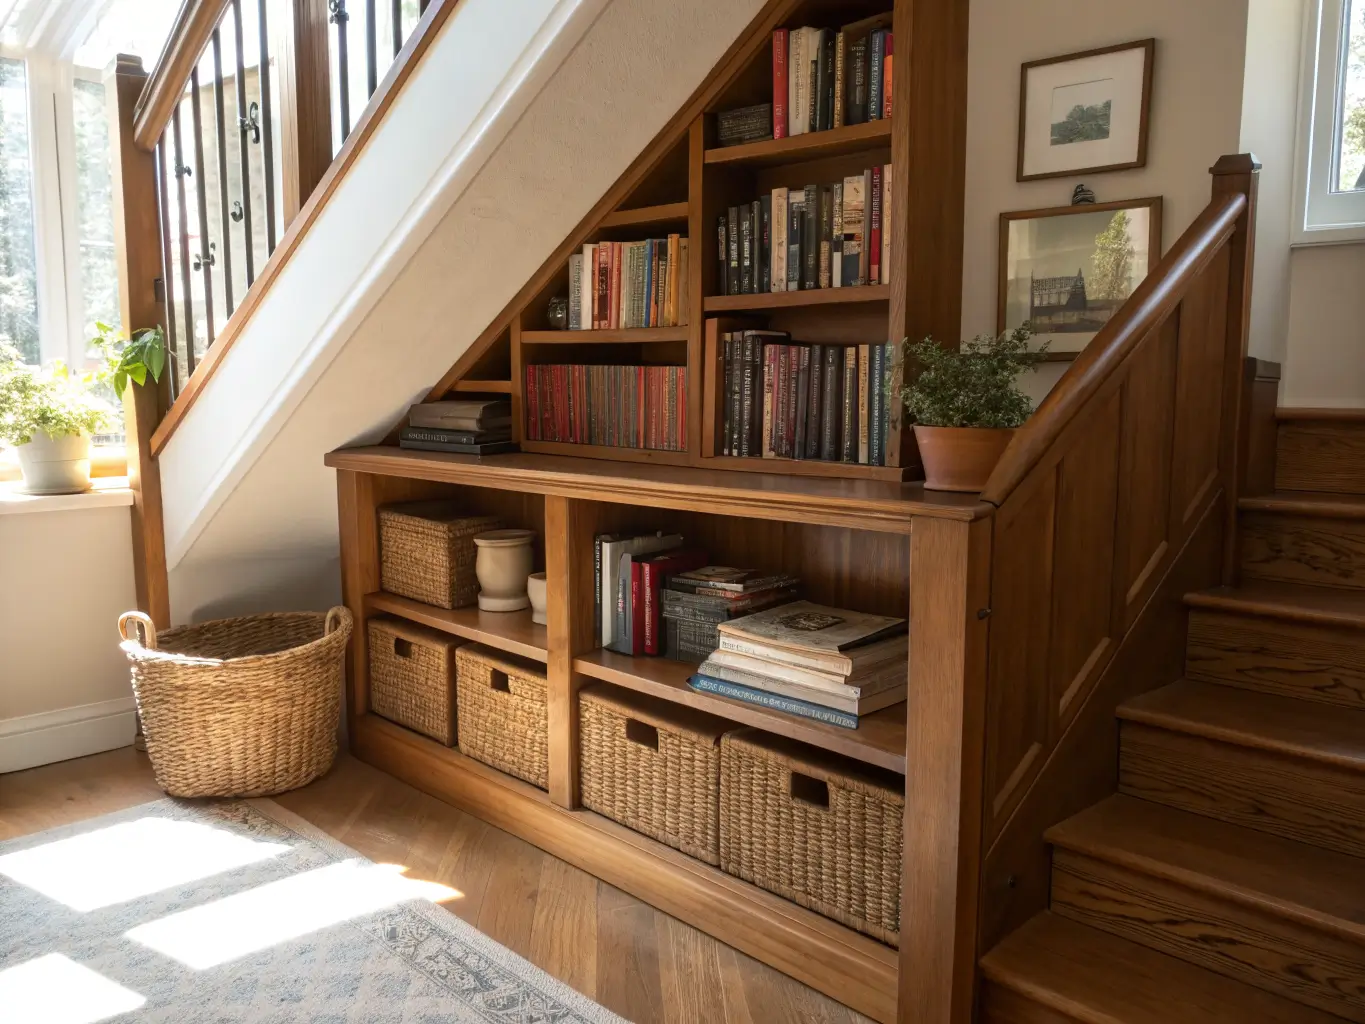
– Space-saving multifunctional shelving — corners, under stairs, above doorways
You don’t have to pick one and marry it. My shelves are organic modern with a little rainbow energy on one cube because I couldn’t resist grouping my orange-spined books together.
Who this is for: apartment dwellers without wall space to spare, book people who want their collection to double as decor, home-office workers staring at a blank wall on every video call, and anyone with a builder-grade bookcase that looks like it’s still waiting to be unpacked.
Where it works: living rooms, home offices, bedrooms, hallways, that awkward corner nobody uses, the dead space above a doorway, and — if you’re ambitious — the notoriously wasted zone under a staircase.
Time, Cost, and Skill Level — Set Your Expectations First
Before you pull every book off the shelf, know what you’re actually signing up for:
– A shelf refresh (styling only): 1–3 hours, $0–$150 if you’re mostly using what you own plus a few new objects
– A full room edit (multiple shelving units): 4–8 hours
– DIY floating shelves: 1–3 days including paint drying time, $40–$150 per shelf
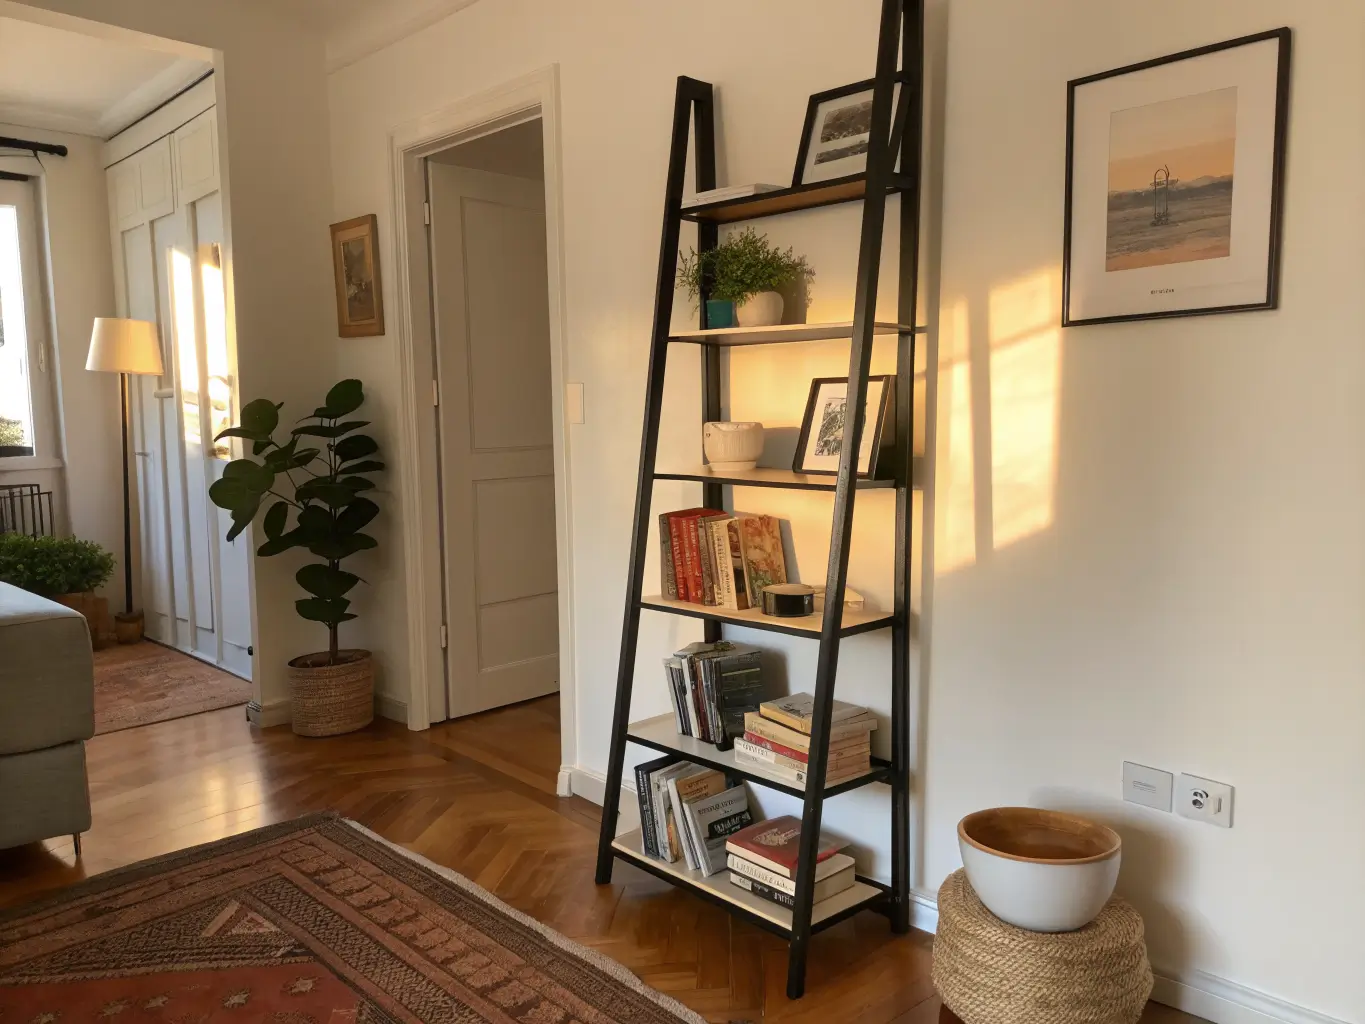
– A leaning ladder shelf: $100–$500, beginner-to-intermediate assembly
– A corner bookshelf unit: $60–$300
– Floor-to-ceiling built-ins: $250–$700 per linear foot, and yes, that adds up fast — this is pro territory
– Under-stair built-in storage: $1,500+, definitely a contractor job
Skill level: styling is 100% beginner. Floating shelves are intermediate — you need a stud finder and a level, minimum. Built-ins are expert or pro-installed, full stop. I tried to eyeball a floating shelf once without a stud finder and it’s now holding up exactly one candle because I don’t trust it with anything heavier.
This works year-round. I do a light seasonal pass — swap in a candle, change out a stem in a vase — rather than a full redo every few months.
The Pieces You Actually Need
Books, arranged with intention. Not just upright in a row like a library card catalog. Mix it up:
– Upright rows for the bulk of your collection
– Horizontal stacks of 3–6 books to create a platform for smaller objects
– Deliberate gaps — empty space is doing work, not failing to do work
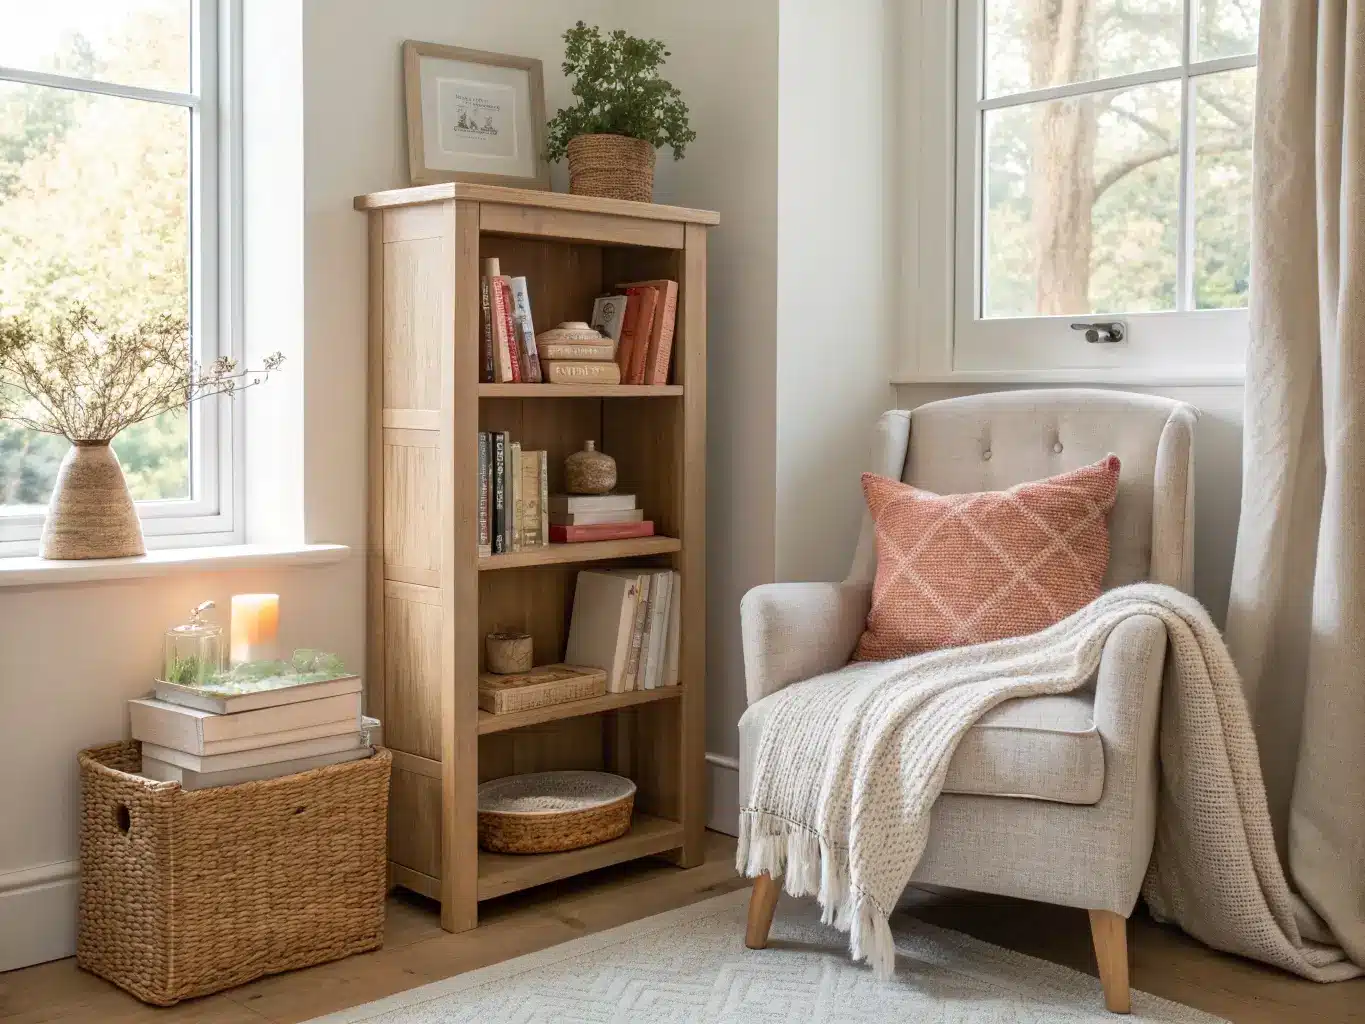
A shelf structure. Floating shelves, a ladder shelf, a cube unit, a built-in, a vintage hutch, or a bookcase used as a room divider. Pick based on your space, not what’s trending — my ladder shelf works because my living room is narrow and it leans instead of eating floor space.
Decor anchors. Framed art (leaning, not just hanging), a small sculpture, candles, ceramic vases, a lidded box for stuff you don’t want visible. These break up the monotony of spines.
Greenery. A small pothos or trailing plant on a top shelf where it can spill over the edge. This is the single easiest way to make a shelf look alive instead of static.
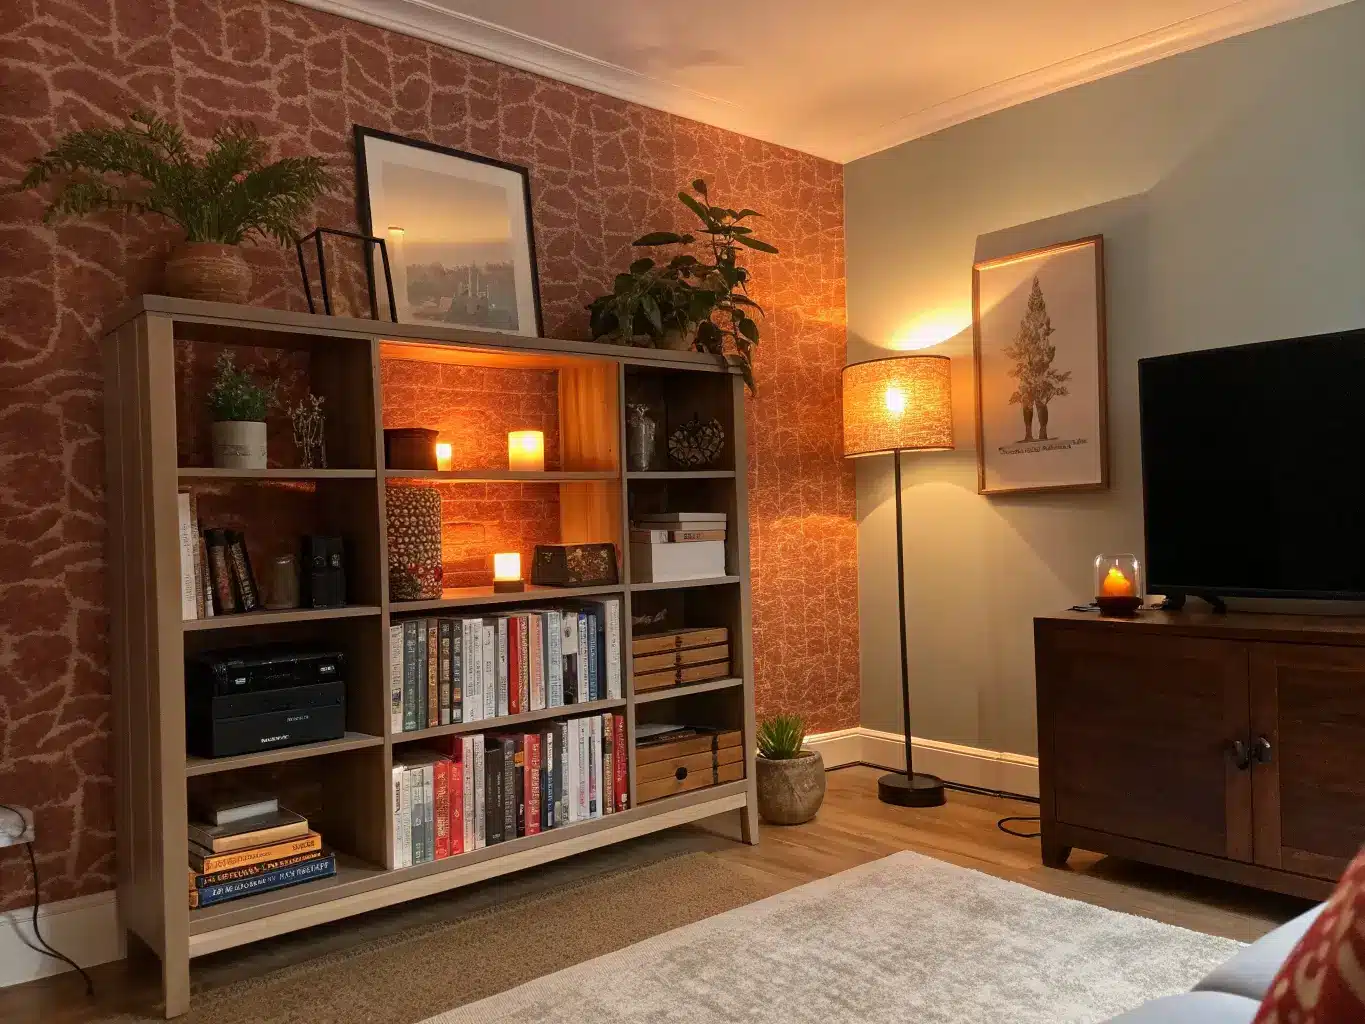
Lighting. A small picture light or plug-in sconce clipped to a shelf edge turns a bookcase into a feature instead of furniture. I added a $35 battery-powered picture light above my ceramic collection and it looks like I hired someone.
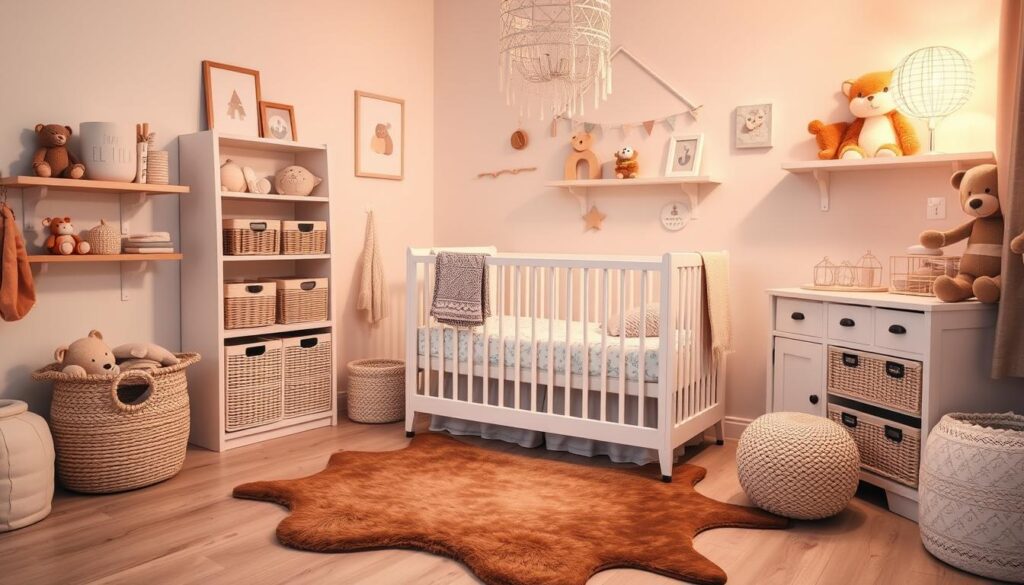
Hidden storage. Woven baskets or boxes on the lower shelves for cords, mail, kid stuff — whatever you don’t want on display. Nobody needs to see your bookshelf and your junk drawer simultaneously.
Optional Upgrades If You Want to Take It Further
– Wallpaper the back panel of a bookcase — a bold floral or grasscloth behind the books adds depth for maybe $30–$50 in remnant wallpaper
– Paint the bookcase itself a dramatic color — my friend did hers in a deep forest green and it went from “afterthought” to “the reason people compliment her living room”
– Glass-front doors for a more formal, protected look — good if you have first editions or just really don’t want dust
– Repeat one metal finish — brass or matte black — across frame edges, lamp bases, and hardware so the whole shelf feels connected instead of randomly assembled
– Add texture: a woven basket, linen bookends, a chunky ceramic bowl — anything that isn’t hard and glossy softens the whole look
– Seasonal swaps: bare branches in fall, a few evergreen clippings in winter, dried pampas in spring, brighter ceramics in summer
How to Actually Style It: Step by Step
1. Empty the whole shelf. Every book, every object, onto the floor or a table. You cannot style around existing clutter — I’ve tried, it doesn’t work, you just rearrange the mess.
2. Sort into three piles: keep and display, relocate somewhere else in the house, and donate. Be honest about the pile of books you’re never rereading.
3. Wipe down the shelves and check spacing — decide right now whether each shelf’s job is storage, display, or both.
4. Group your books. By color if you want the rainbow look, by size if you want a cleaner architectural feel, by subject if you actually use this as a working library. Pick one system. Mixing all three makes it look accidental.
5. Place your biggest items first — the largest books, the tallest vase, the biggest piece of art. These are your anchors. Build everything else around them.
6. Add horizontal stacks of 3–5 books as little platforms, then set a candle or framed photo on top. This single move is what makes a shelf look “styled” instead of “shelved.”
7. Leave gaps. After you think you’re done, remove two or three items. I mean it. The two-thirds books, one-third objects and open space ratio is the difference between curated and crammed.
8. Step back ten feet and squint. If one shelf is visually heavier than the others, move something. If everything’s the same height, break it up with a taller object.
Mistakes I’ve Made So You Don’t Have To
– Styling every shelf identically. My first attempt had a plant on every single shelf. It looked like a plant store, not a home. Vary the composition — one shelf can be book-heavy, the next object-heavy.
– Overfilling. I once tried to display literally every book I owned across four shelves. It read as storage, not decor. Edit ruthlessly — display maybe 60–70% of your collection and box the rest.
– Ignoring scale. A tiny 4-inch frame on a deep 12-inch shelf disappears. Match object size to shelf size, or group small things together so they read as one unit.
– Uneven spine alignment. Pull your books flush to the front edge of the shelf instead of pushing them back against the wall. This one small habit made my shelves look intentional overnight — it’s the cheapest fix on this list and nobody tells you about it.
– All books, no objects. Flat and boring. Even three or four non-book items transform the whole thing.
– No hidden storage plan. If your shelf has to hold real-life clutter, give it a basket. Otherwise the “styled” look lasts about four days before mail piles up on it.
Keeping It Looking Good Long-Term
Limit your palette. I stick to 2–4 main colors (in my case: white, natural wood, black, and terracotta) plus books in whatever colors they come in. This keeps a shelf full of mismatched objects from looking chaotic.
Repeat materials across shelves. If you’ve got a brass candlestick on one shelf, echo it with a brass photo frame two shelves up. Ties the whole unit together without matching everything exactly.
Keep some space empty, always. Even after you’ve lived with a shelf for six months and started accumulating more stuff, resist filling every gap. The empty space is part of the design, not a failure to finish decorating.
Put weight where it belongs. Heavier books and storage baskets go low, both for physical stability and because it grounds the whole piece visually. Lighter objects and art go up top.
Budget and Seasonal Refreshes
You don’t need to buy a new bookcase to change the whole feel of a room:
– Swap in a stack of thrifted hardcover books in a new color for $1–$3 each at a used bookstore
– Add one new ceramic vase instead of five small tchotchkes — a single good piece beats a shelf full of clutter
– Change the art leaning against the back panel — I rotate in a new print maybe twice a year for under $20
– Add a basket for $15–$25 if storage has become an issue
– Repaint the back panel or add wallpaper before you consider replacing the furniture — this is the highest-impact, lowest-cost move on this entire list
Cross-style variations if you want a different mood:
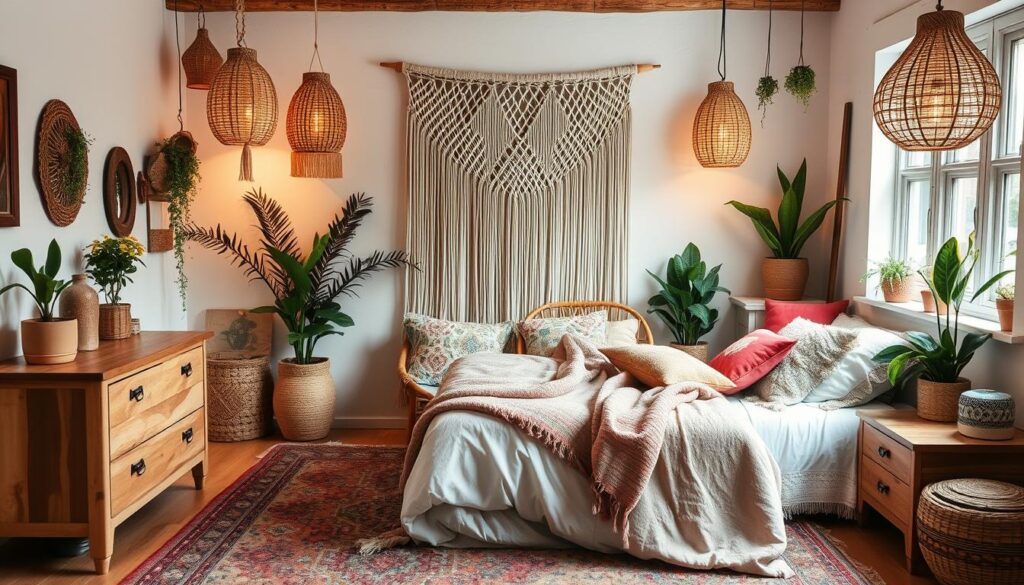
– Boho: woven baskets, warm oak, trailing plants, terracotta pots
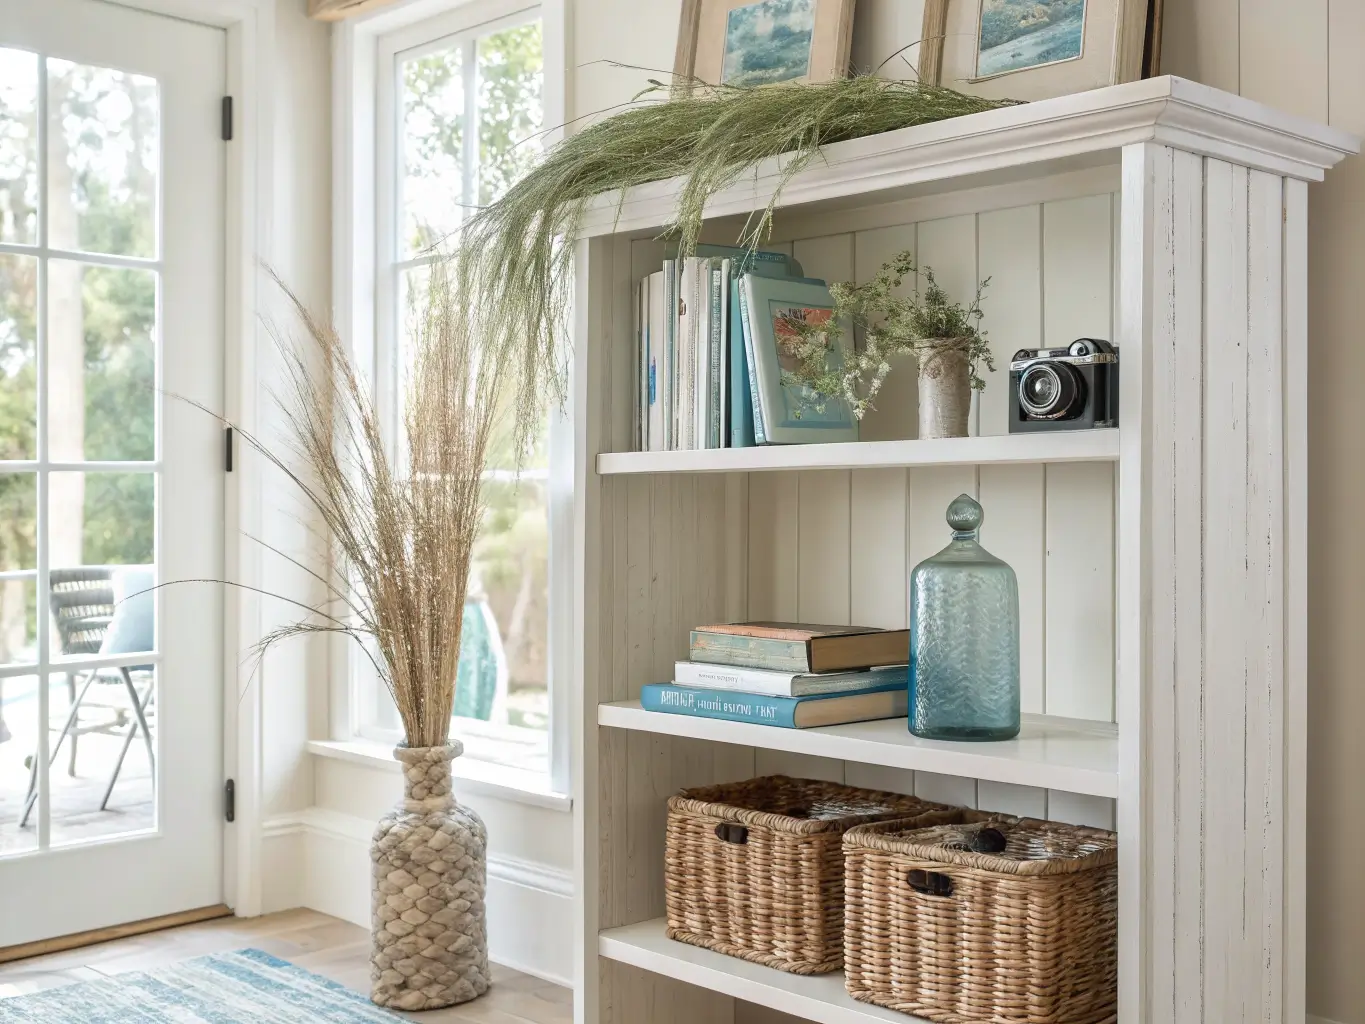
– Coastal: pale wood or white-painted shelves, blue and sand tones, lots of breathing room
– Modern: matte black frames, monochrome book covers, one sculptural object per shelf, nothing fussy
My own shelf has shifted styles three times in two years without me ever buying a new bookcase. Same $180 unit from a secondhand shop, completely different feel each time — just books, a few new objects, and knowing when to stop adding things.