The clippered nape on an undercut pixie is the part that grows out first, so plan on a quick trim about every three weeks while the top can go longer. Below, each edgy undercut pixie for women over 50 comes with the clipper guard, top length, and the hair density and face shapes it suits.
1. The Classic Undercut Pixie
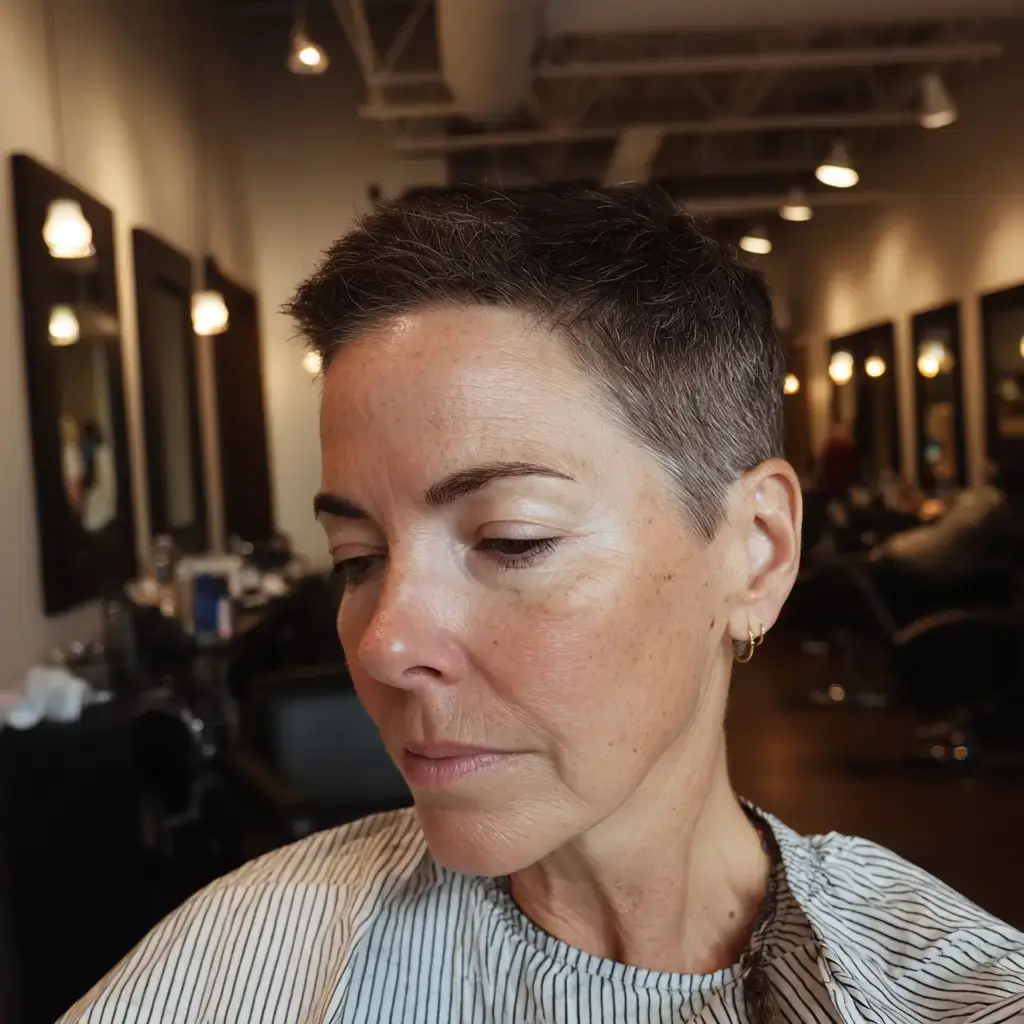
When someone asks for an undercut pixie edgy over 50, I begin with the classic undercut pixie, since the clippered nape carries the look. On dry hair I take the nape and sides to a number two with clippers, then point cut the top to three inches so it goes back or forward. Fine to medium density with oval or square faces works best. Warm a matte paste in your palms and push the top up. Trim the undercut every three weeks.
2. Long-Top Undercut Pixie
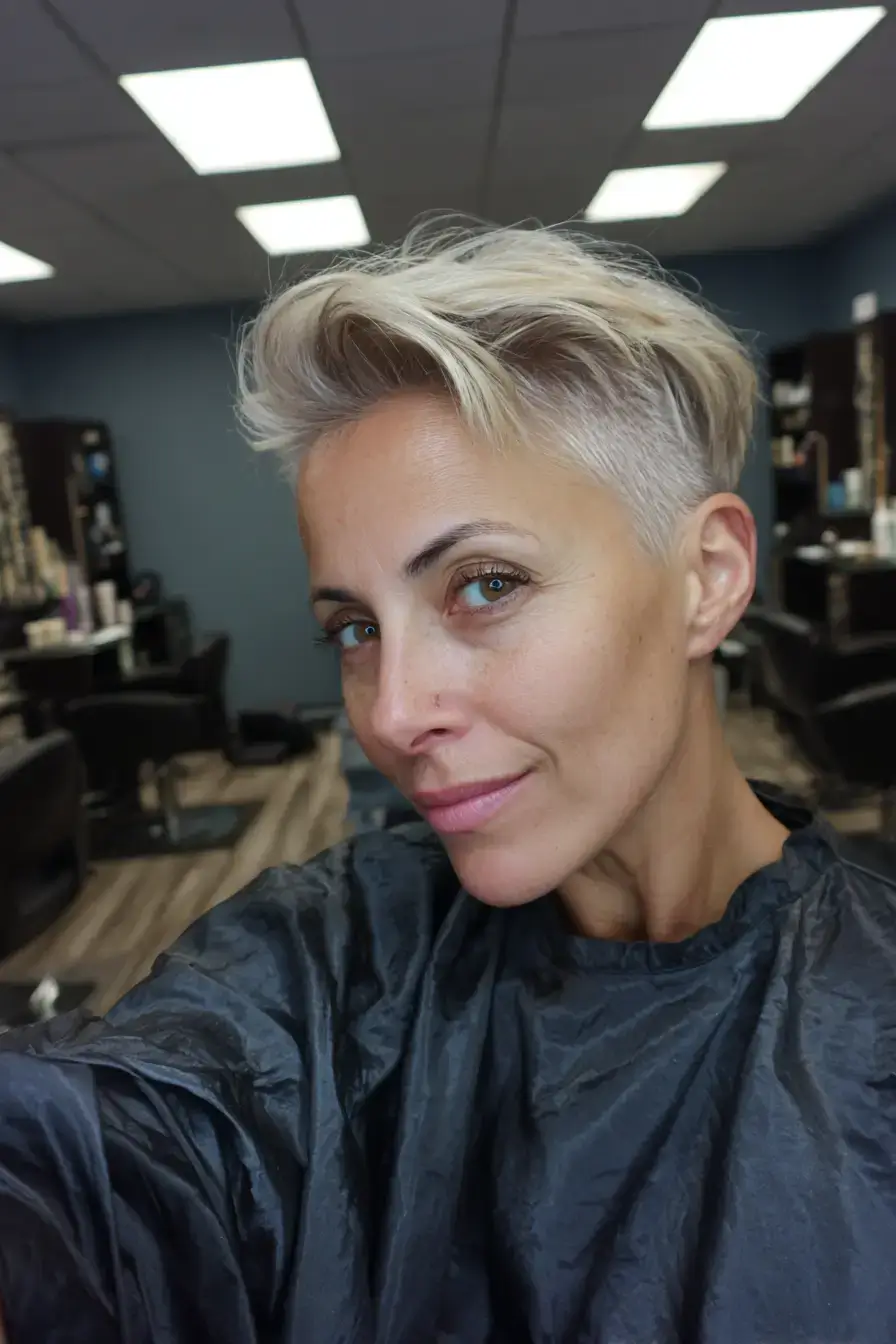
Leaving a long top over an undercut keeps softness around the face. On dry hair I clipper the nape and sides and keep four inches on top with razored ends, point cut so it sweeps to one side. Fine to medium density and round or square faces suit it. Use a flat brush to blow the top across, then set it with a light paste. The undercut needs a trim every three weeks and the top every six.
3. The Silver Undercut Pixie
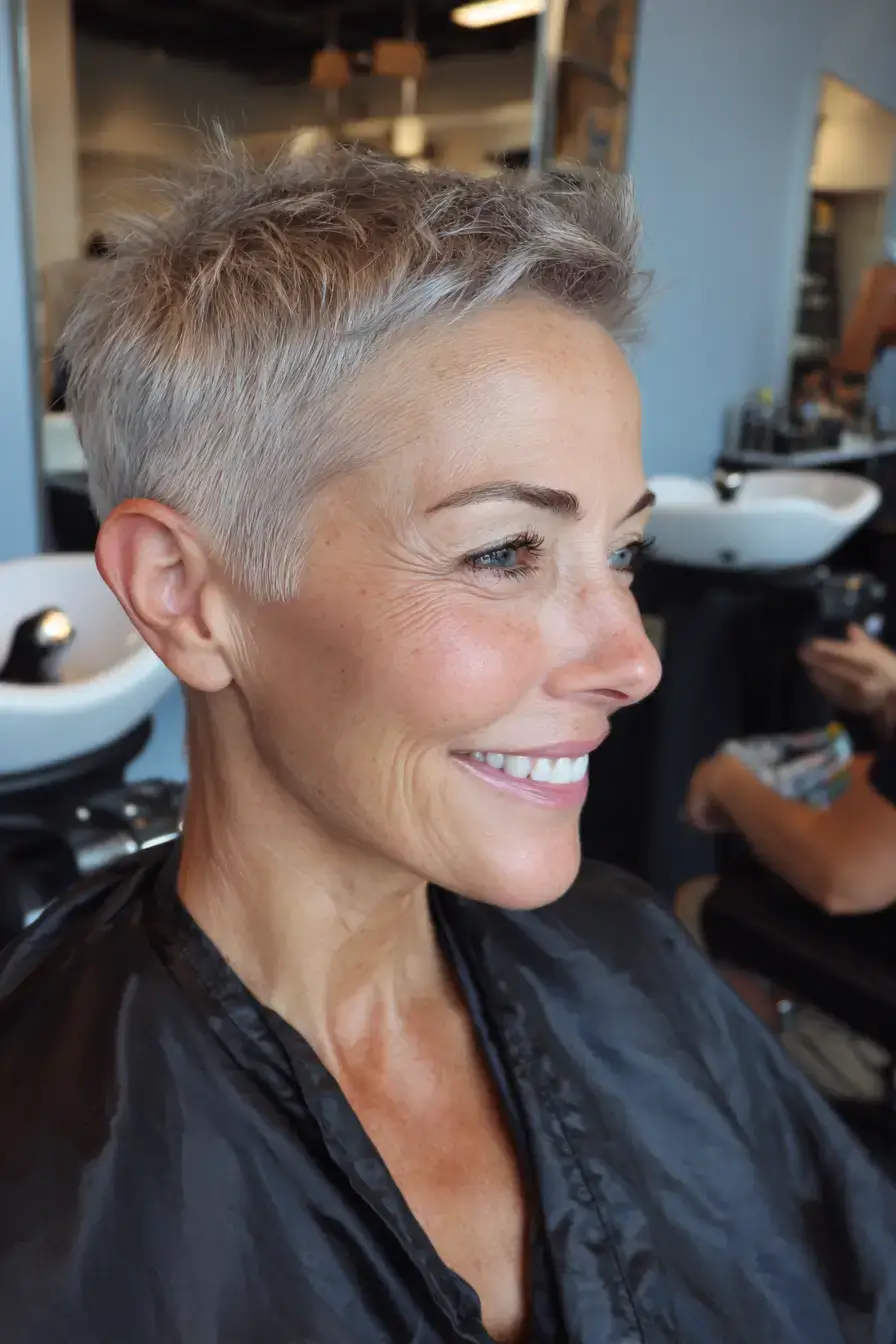
On an undercut pixie, natural silver looks sharp because the short sides reveal the color right at the scalp. I clipper the nape and sides on dry hair, point cut the top to three inches, and chop the ends to separate them. It works on fine to medium density with oval or heart faces. Rough-dry using a texture spray and wash with a violet shampoo once a week. Trim the undercut every three weeks.
4. The Side Shaved Pixie
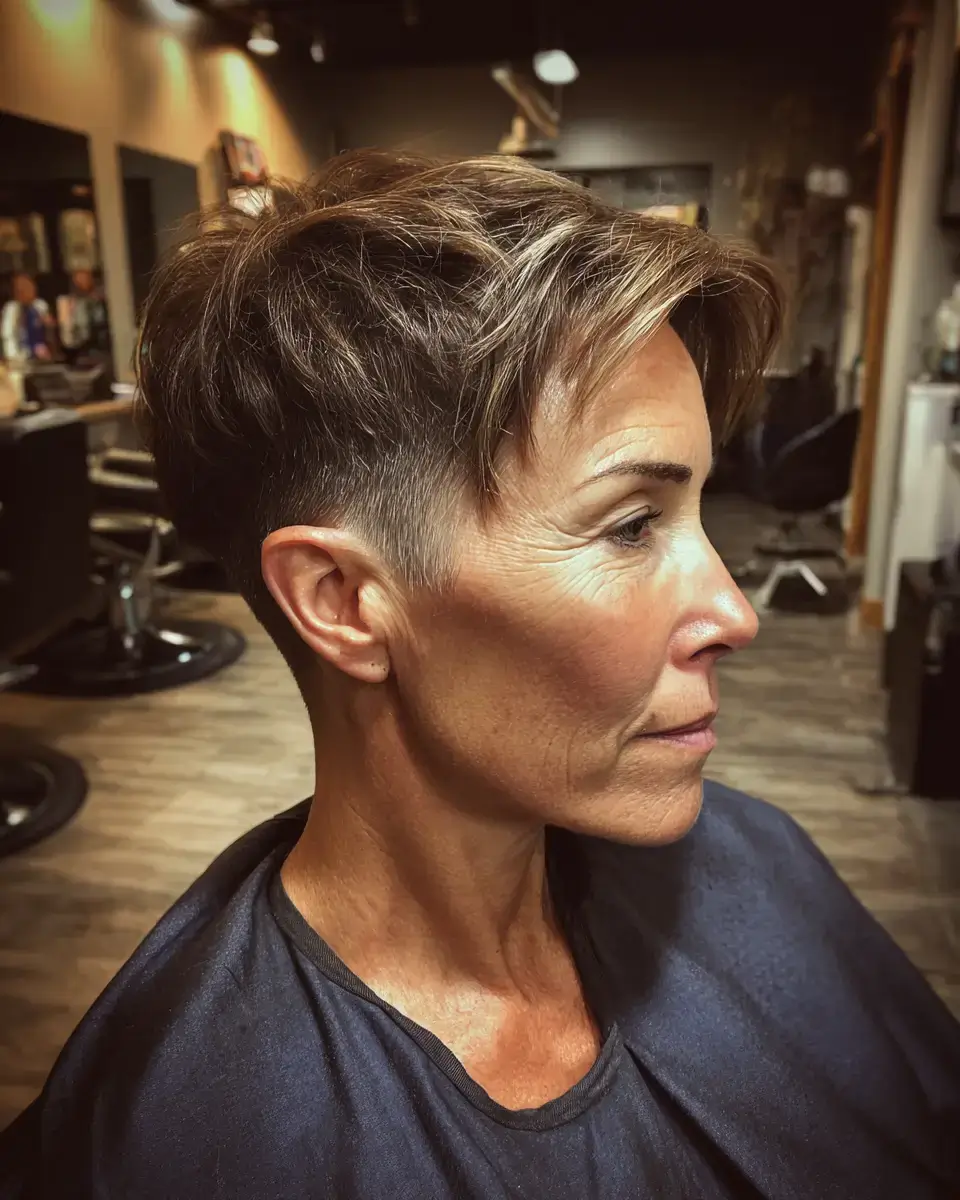
With a side shave, a pixie keeps one side long and takes the other down to the skin. On dry hair I clipper one side to a number one, leave the opposite side at the ear, and point cut the top to four inches, swept toward the long side. Medium density and oval or square faces suit it. Blow the top across with a flat brush. The shaved side needs a trim every three weeks.
5. Textured-Top Undercut Pixie
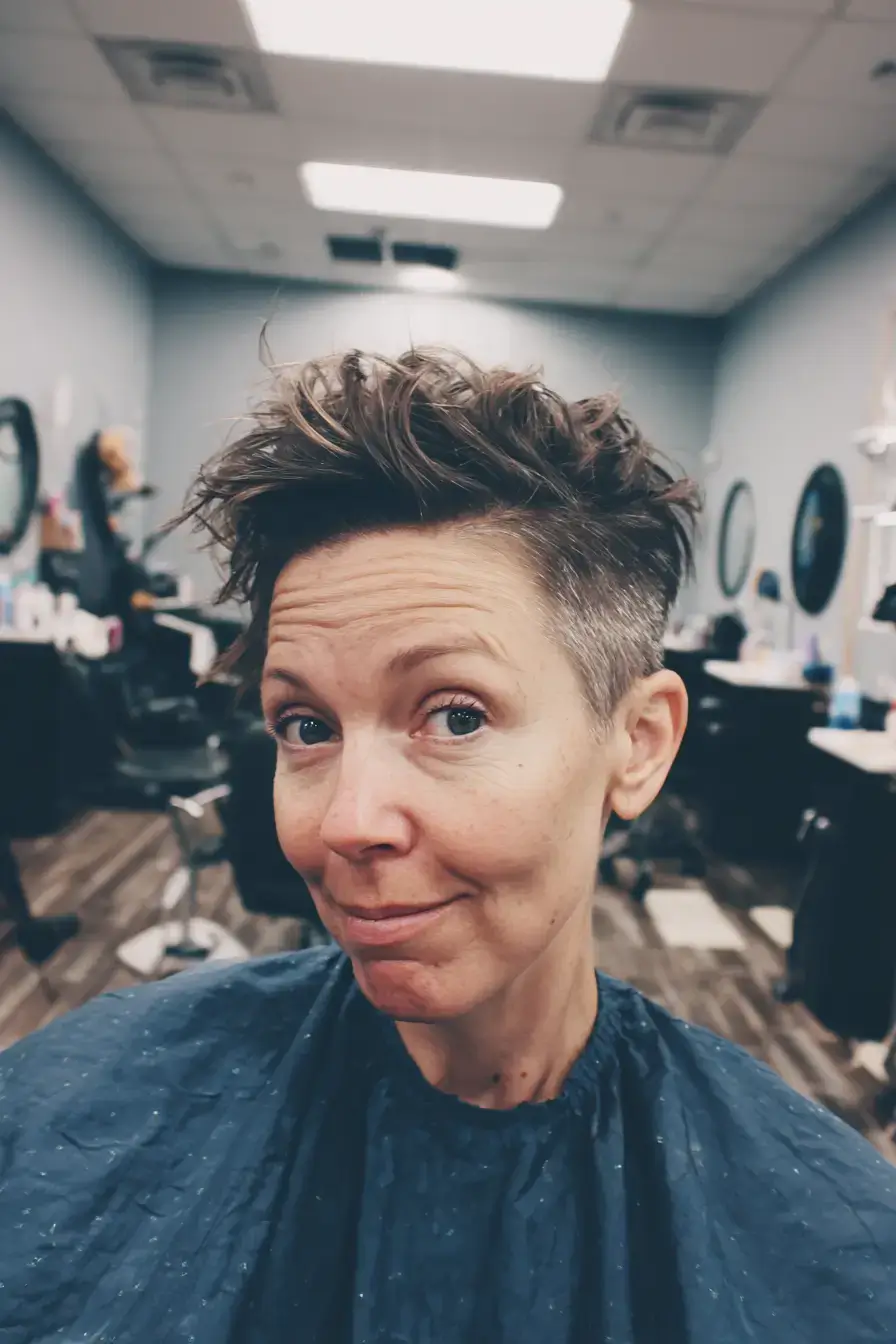
For a textured top on an undercut pixie, I point cut everywhere so nothing lies flat. On dry hair I clipper the nape and sides, then point cut the top to three inches, roughing the ends with the tips of the shears. Fine to medium density and oval or heart faces suit it. Warm a matte paste in your palms and push the top any way you like. Trim the undercut every three weeks.
6. The Platinum Undercut Pixie
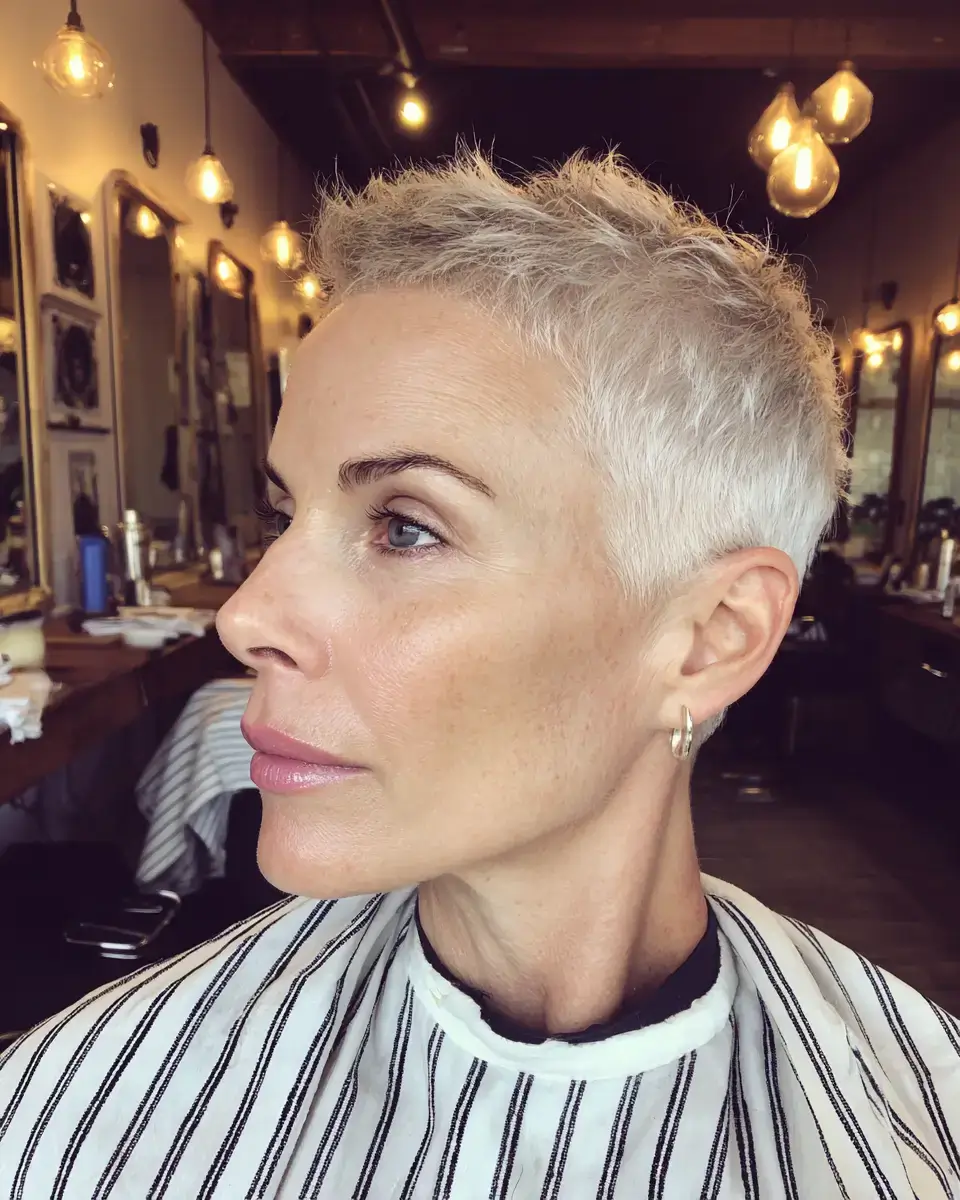
Of every edgy over 50 color, platinum on an undercut pixie is the one I am asked for most. On dry hair I clipper the nape and sides and point cut the top to three inches with razored ends; then I lift the top to platinum and tone at the bowl, leaving the clippered sides natural. Fine to medium density with oval or heart faces suits it. Rough-dry using a texture spray. Trim and retouch every four weeks.
7. Fine-Hair Undercut Pixie
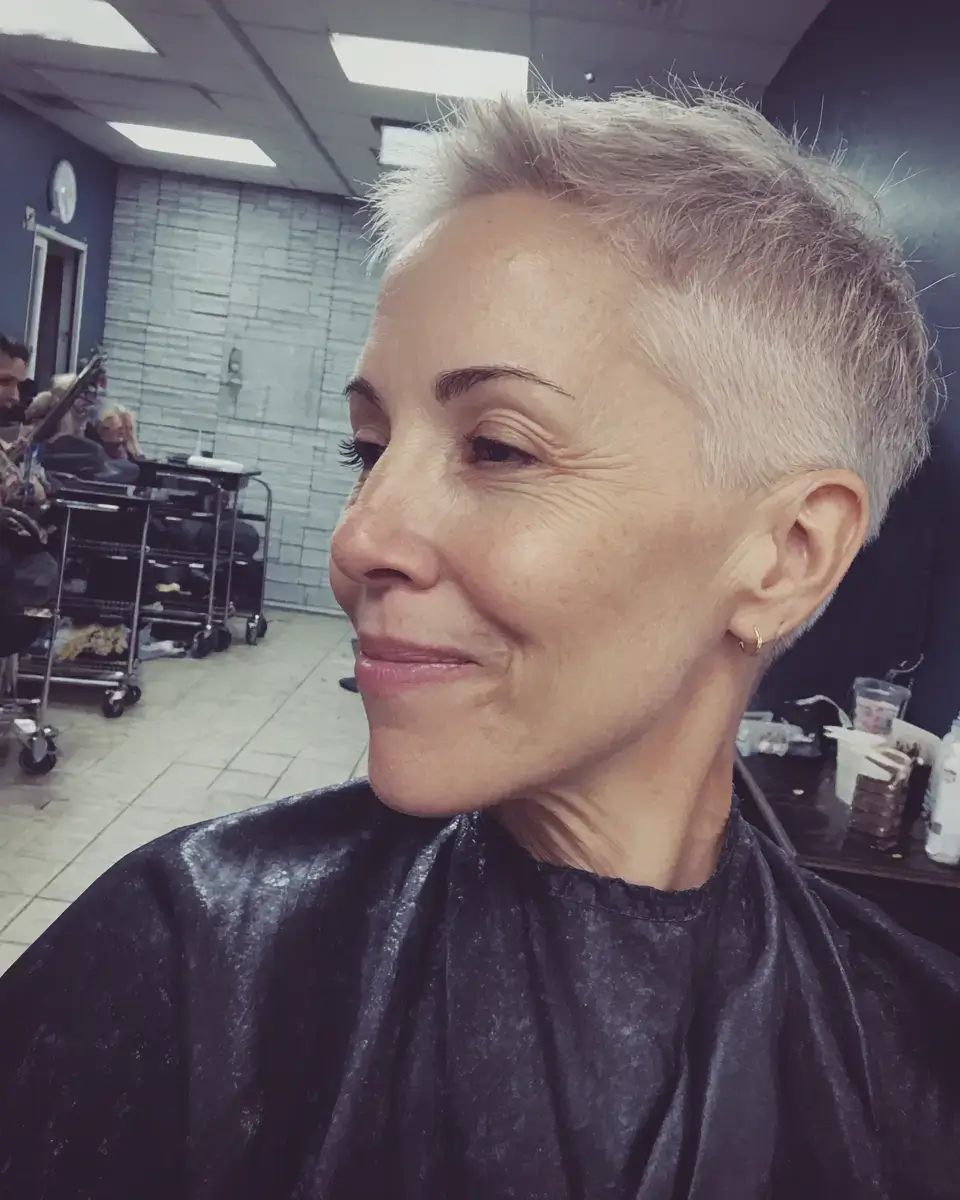
For fine hair over 50, an undercut pixie works because short sides make the top look twice as thick. On dry hair I clipper the nape and sides to a number three and point cut the top to two and a half inches, adding short crown layers for lift. It suits fine density with oval or round faces. Dry upside down with a root lifting mousse. Trim the undercut every three weeks.
8. Side-Swept Fringe Undercut Pixie
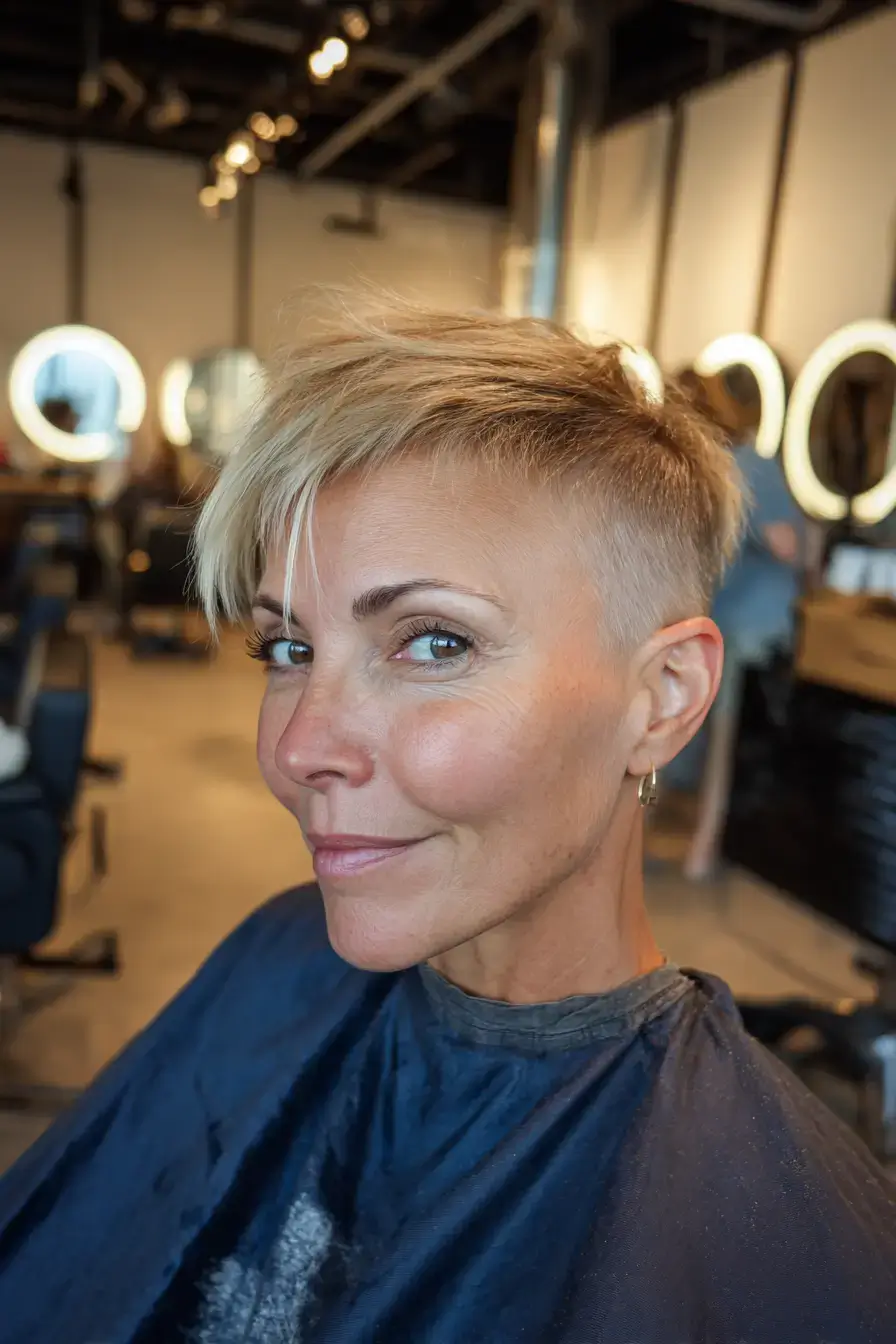
Over an undercut, a side swept fringe takes the edge off a square jaw. On dry hair I clipper the nape, graduate the sides, and leave the fringe at cheekbone length with razored ends, swept to one side. Fine to medium density and square or round faces suit it. Use a flat brush to blow the fringe across, then lift the crown with paste. The nape needs a trim every three weeks.
9. The Nape Undercut Bob
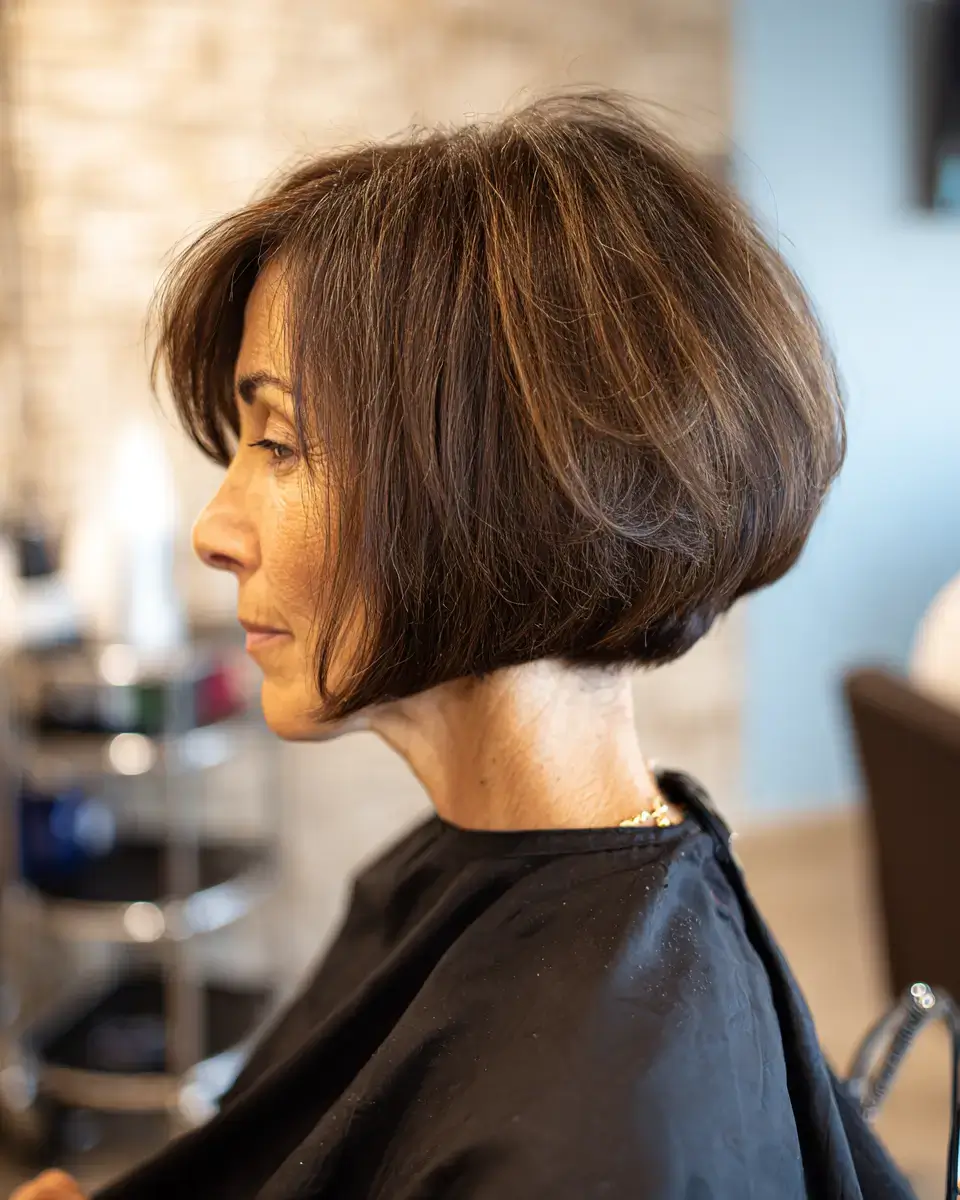
Under a chin bob, a nape undercut removes weight so the top sits fuller, and it stays hidden when the hair is down. On dry hair I clipper the nape, cut the perimeter at the chin, and point cut two layers through the sides. Medium to thick density with oval or round faces works best. Blow-dry with a flat brush, pushing the front forward. Trim the undercut every four weeks.
10. Disconnected Undercut Pixie Edgy Over 50
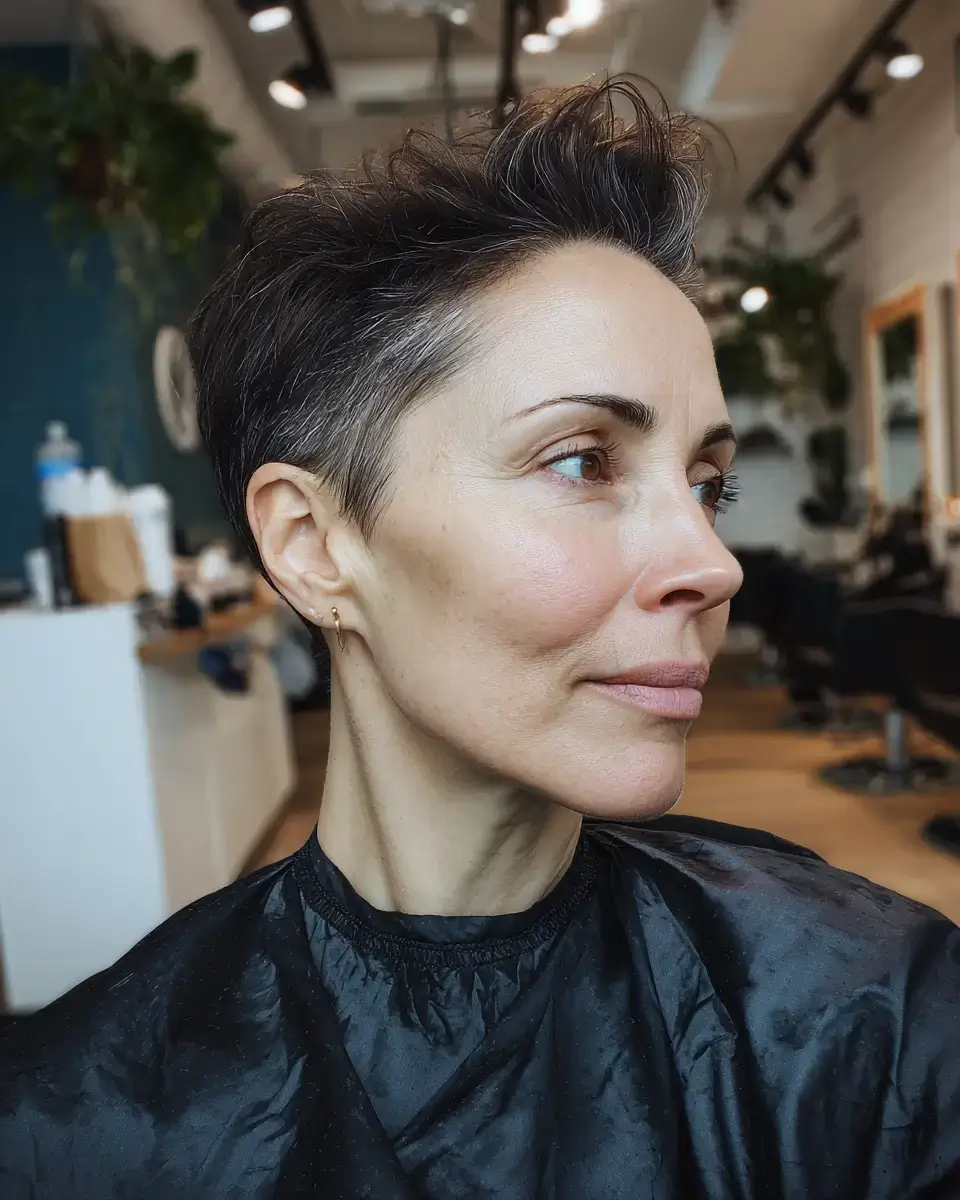
With disconnection, the undercut pixie edgy over 50 cut has no blending at all between the top and sides. On dry hair I clipper the sides to a number two, then cut four inches on top with a hard line where they meet. It suits medium to thick density and oval or square faces. Use a flat brush to blow the top back and set it with pomade. The sides need a trim every three weeks.
11. Curtain-Bang Undercut Pixie
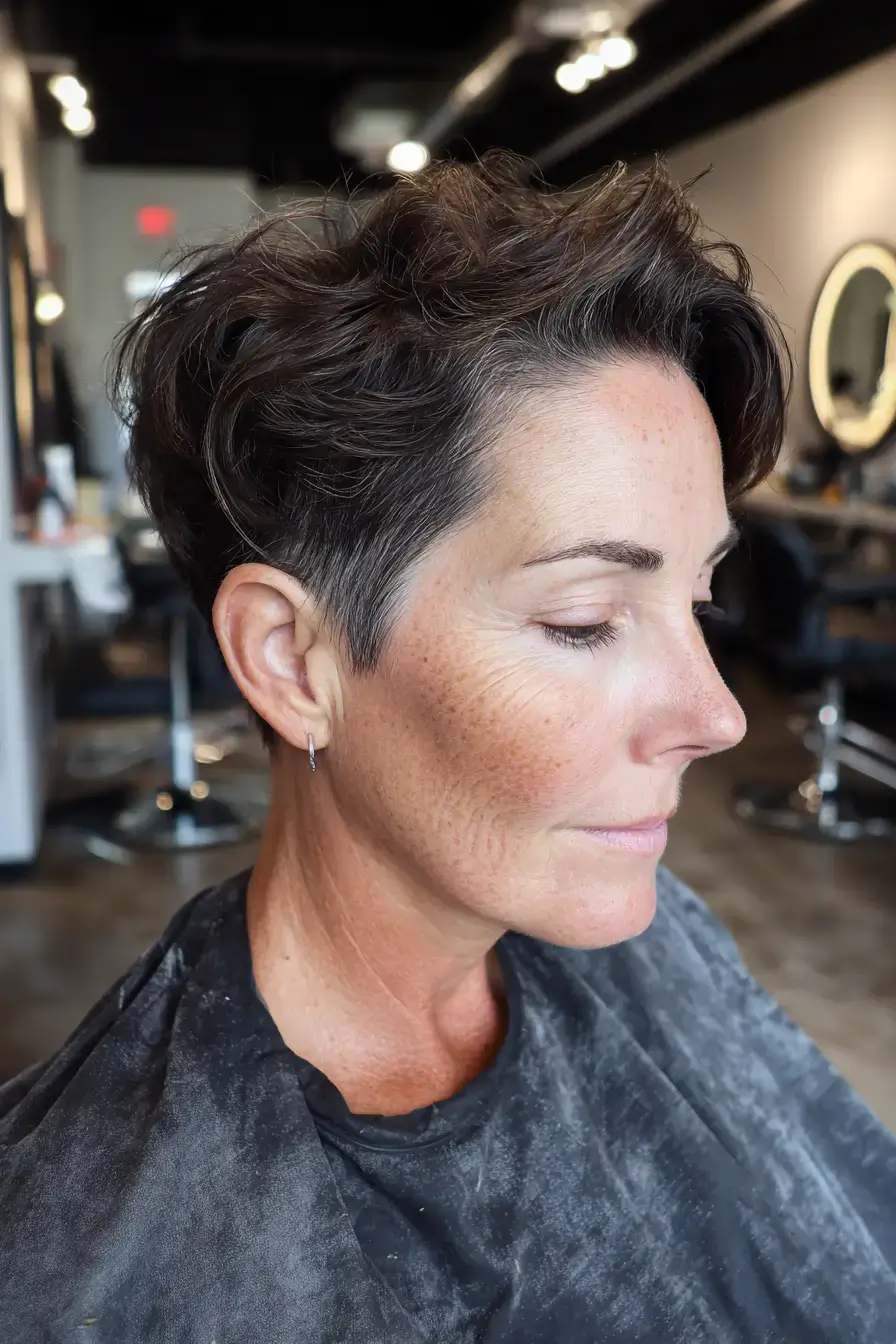
Over an undercut pixie, curtain bangs frame the eyes and keep the front soft. On dry hair I clipper the nape, graduate the sides, and cut the bangs from nose length to the cheekbone, parted at the center. Fine to medium density with square or round faces suits it. Use a round brush to blow the bangs out and lift the crown. The bangs need trimming every five weeks.
12. Thick-Hair Undercut Pixie
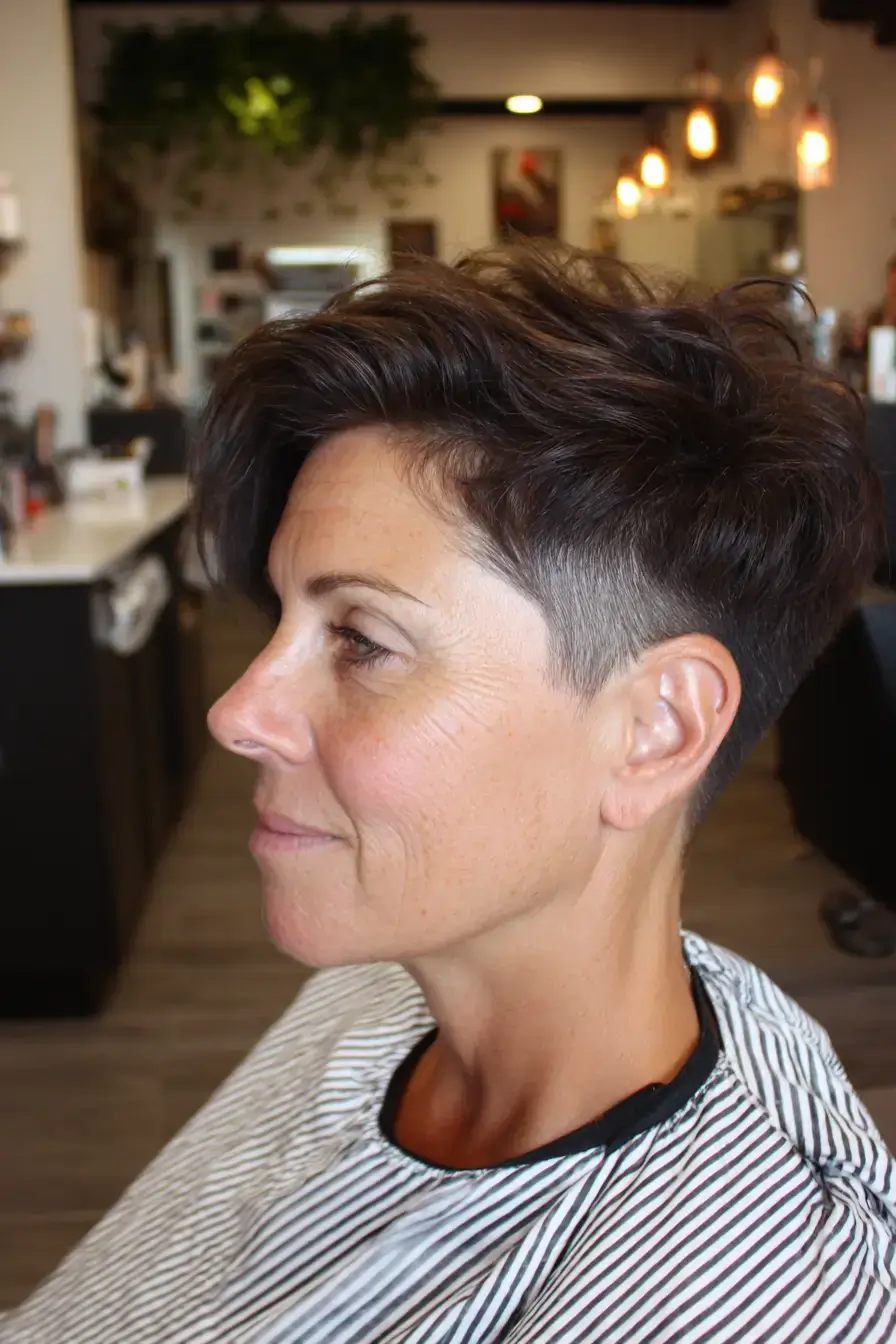
Of all hair over 50, thick hair is the easiest to undercut, since the top keeps its weight. On dry hair I clipper the nape and sides to a number two, point cut the top to three inches, and thin the interior with shears. Thick density with oval or square faces suits it. Work a matte paste between your palms and push the top upward. Trim the undercut every three weeks.
13. The Faux Hawk Pixie
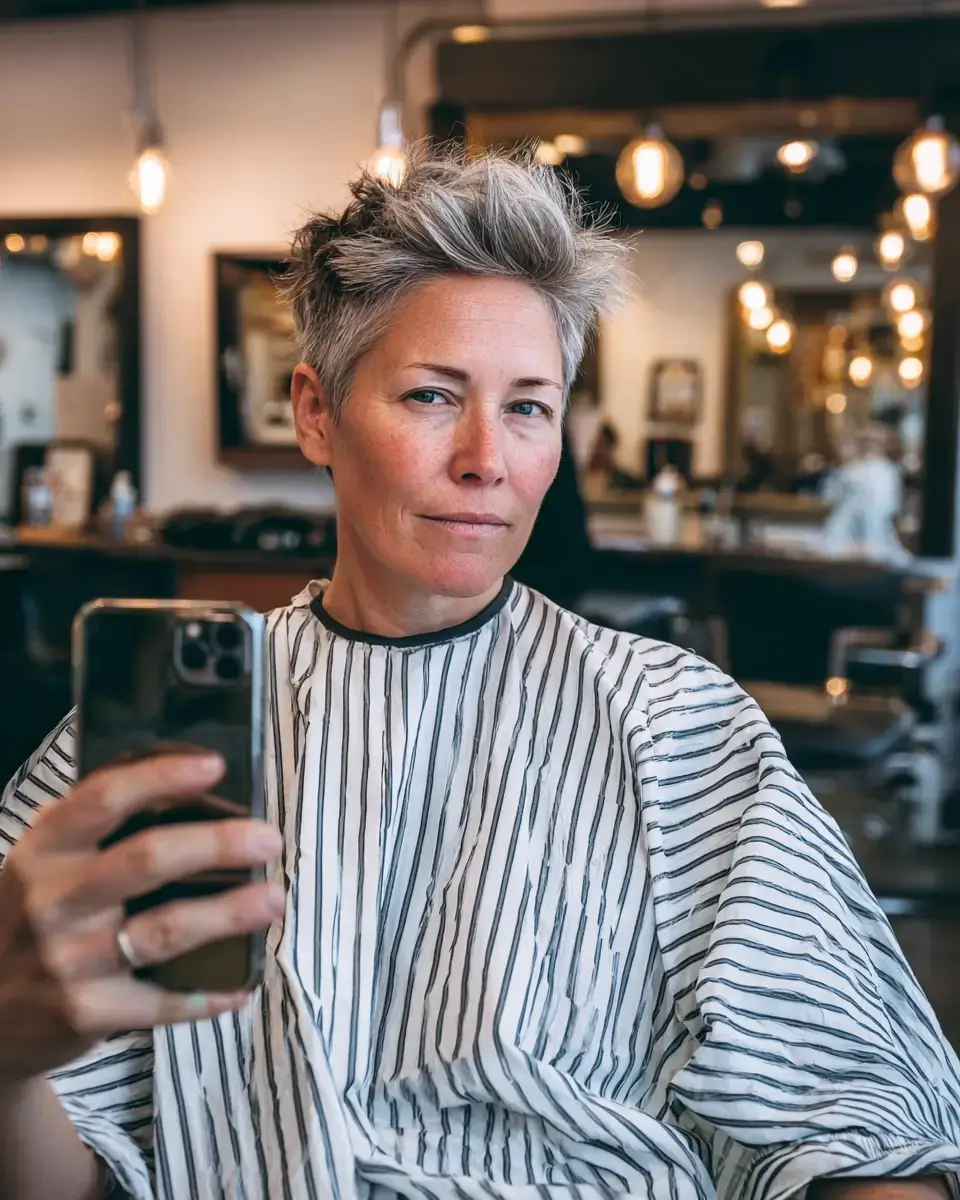
In a faux hawk pixie, the sides stay short and the center stays long so it can be pushed up. On dry hair I clipper the sides to a number two and point cut the center strip to four inches, tapering it at the nape. Medium density and oval or long faces suit it. Blow the center up with a flat brush and hold it with a strong paste. The sides need a trim every three weeks.
14. Shaved-Design Undercut Pixie
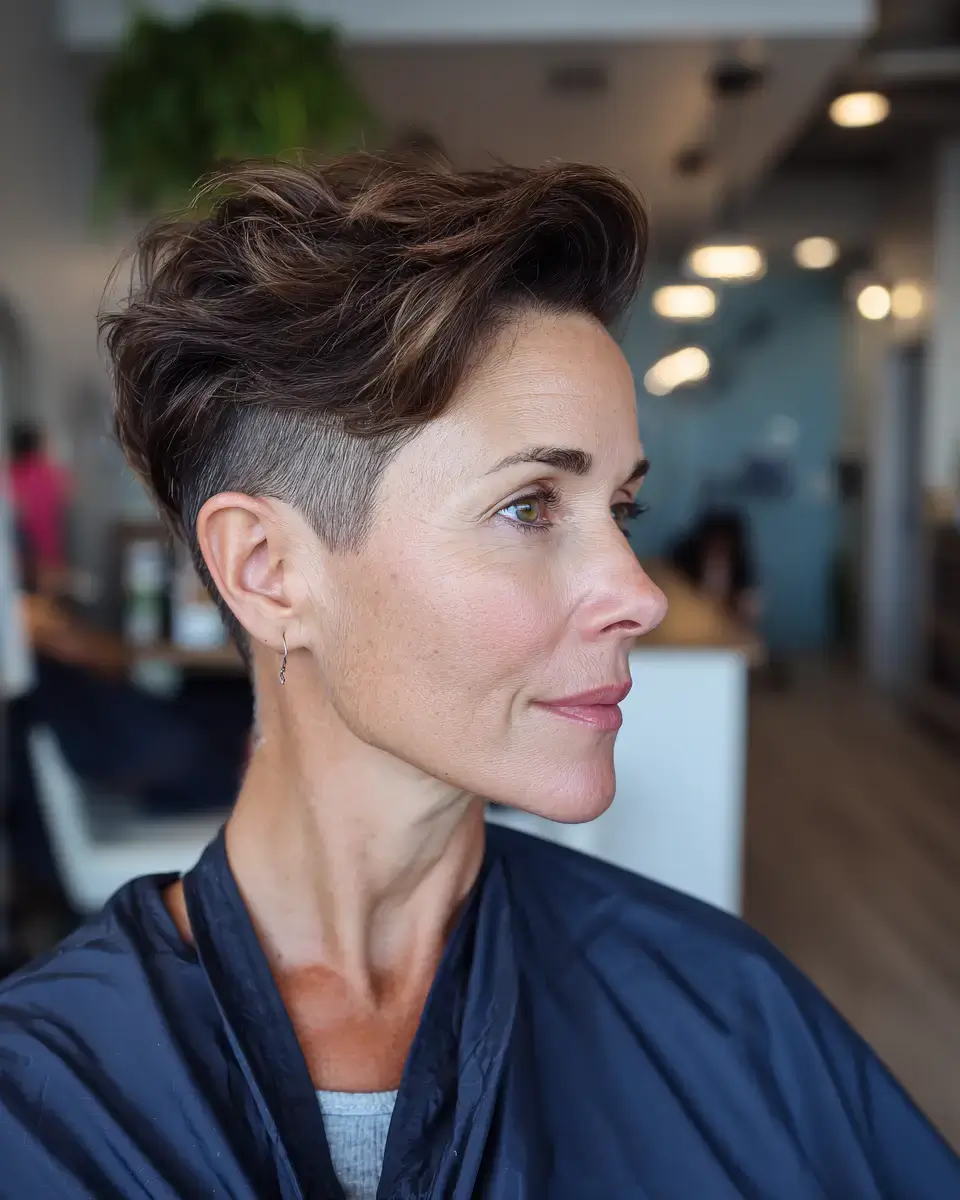
Where the sides are short, a shaved line in the undercut adds detail. On dry hair I clipper the sides to a number one, point cut the top to three inches, and use a trimmer to shave one line above the ear. Fine to medium density with oval or square faces suits it. Rough-dry using a texture spray. The line grows out fast, so trim the sides every two weeks.
15. Gray-Blended Undercut Pixie
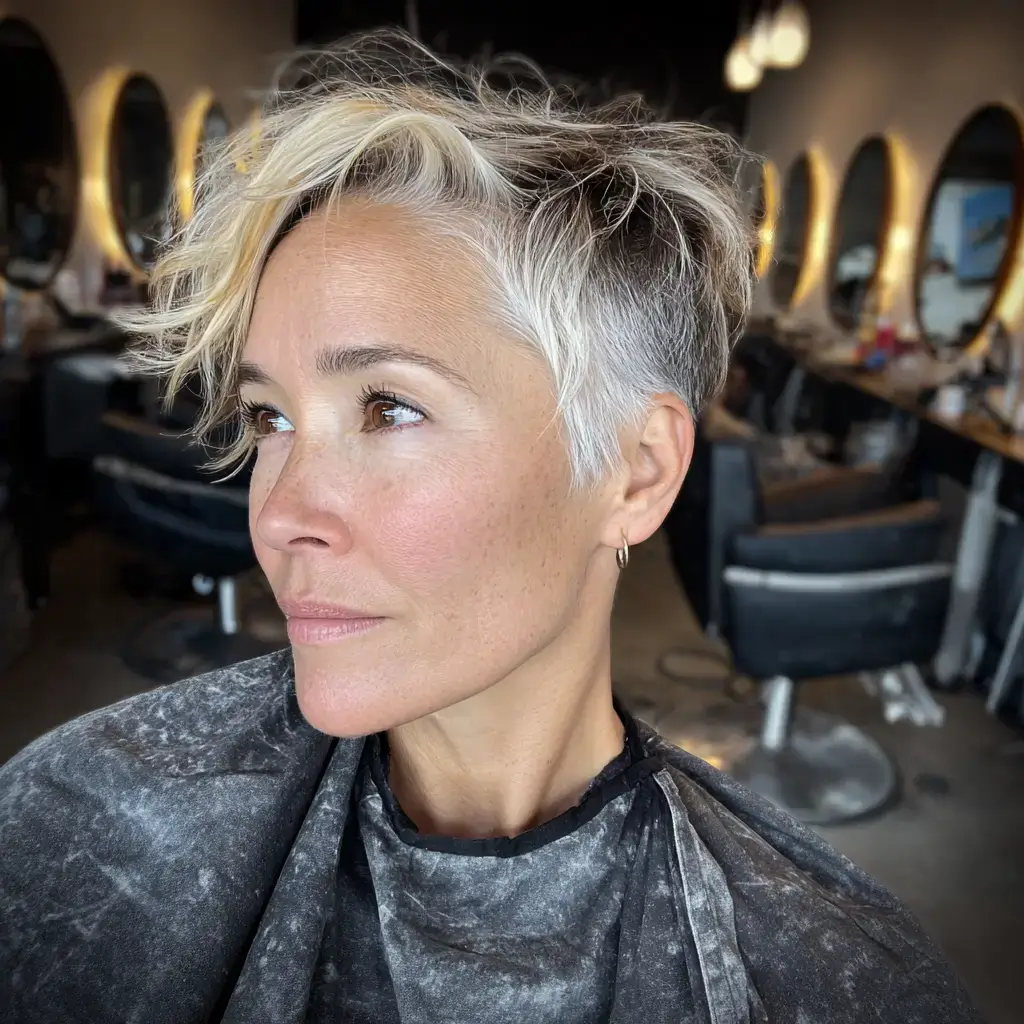
With gray blending, an undercut pixie keeps the top soft and lets the sides show natural gray. On dry hair I clipper the nape and sides and point cut the top to three inches, then weave fine highlights and lowlights through the top alone. Most face shapes work, with fine to medium density. Rough-dry using a texture spray. Trim the undercut every three weeks and redo the blending every twelve.
16. Tapered-Undercut Pixie
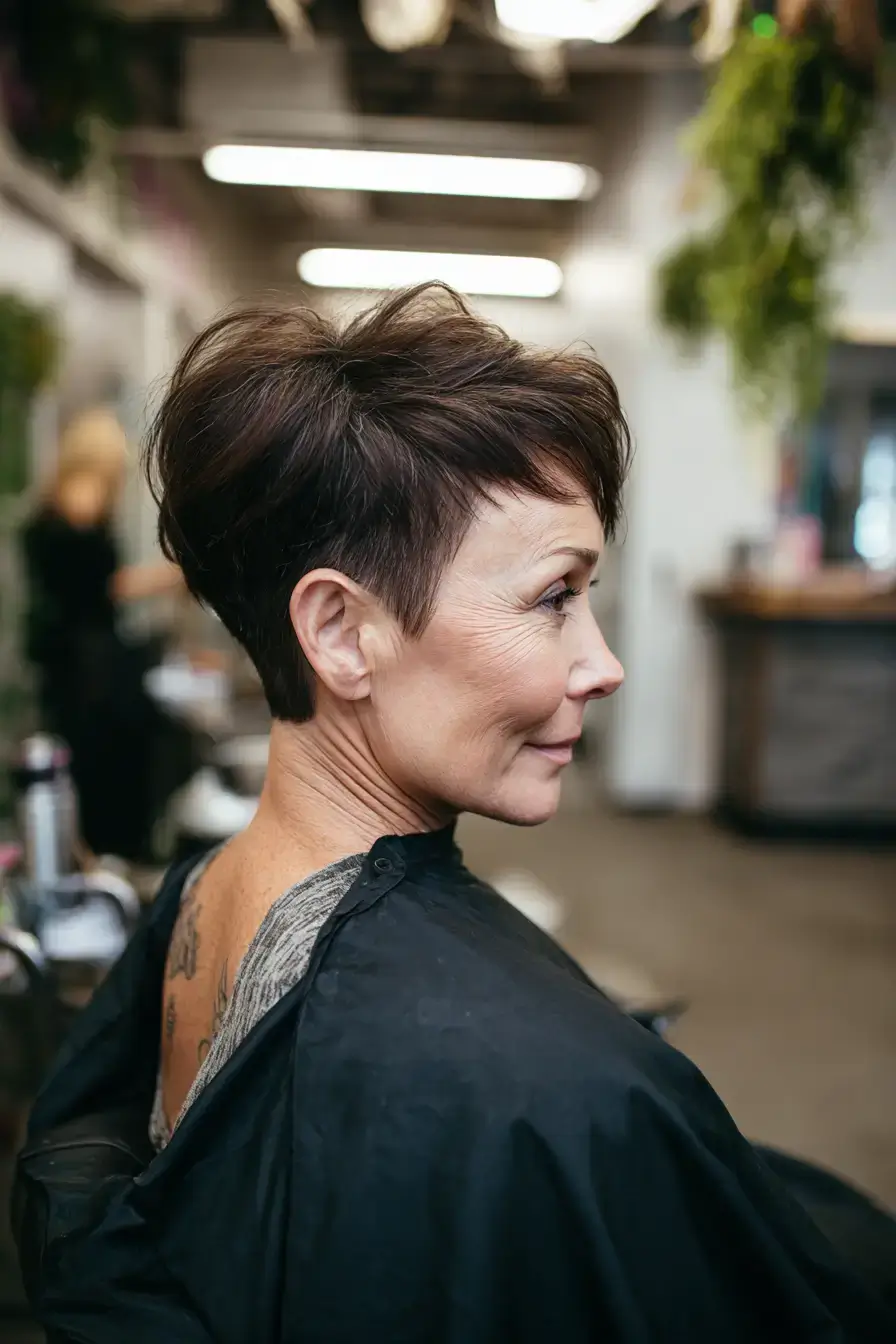
This tapered undercut fades from skin at the nape up to a number three at the crown. On dry hair I taper the nape with clippers, blend into the sides scissor over comb, and point cut the top to three inches. Fine to medium density and round or square faces suit it. Blow-dry using a flat brush, pushing the top forward. The taper needs a trim every three weeks.
17. Long-Fringe Undercut Pixie
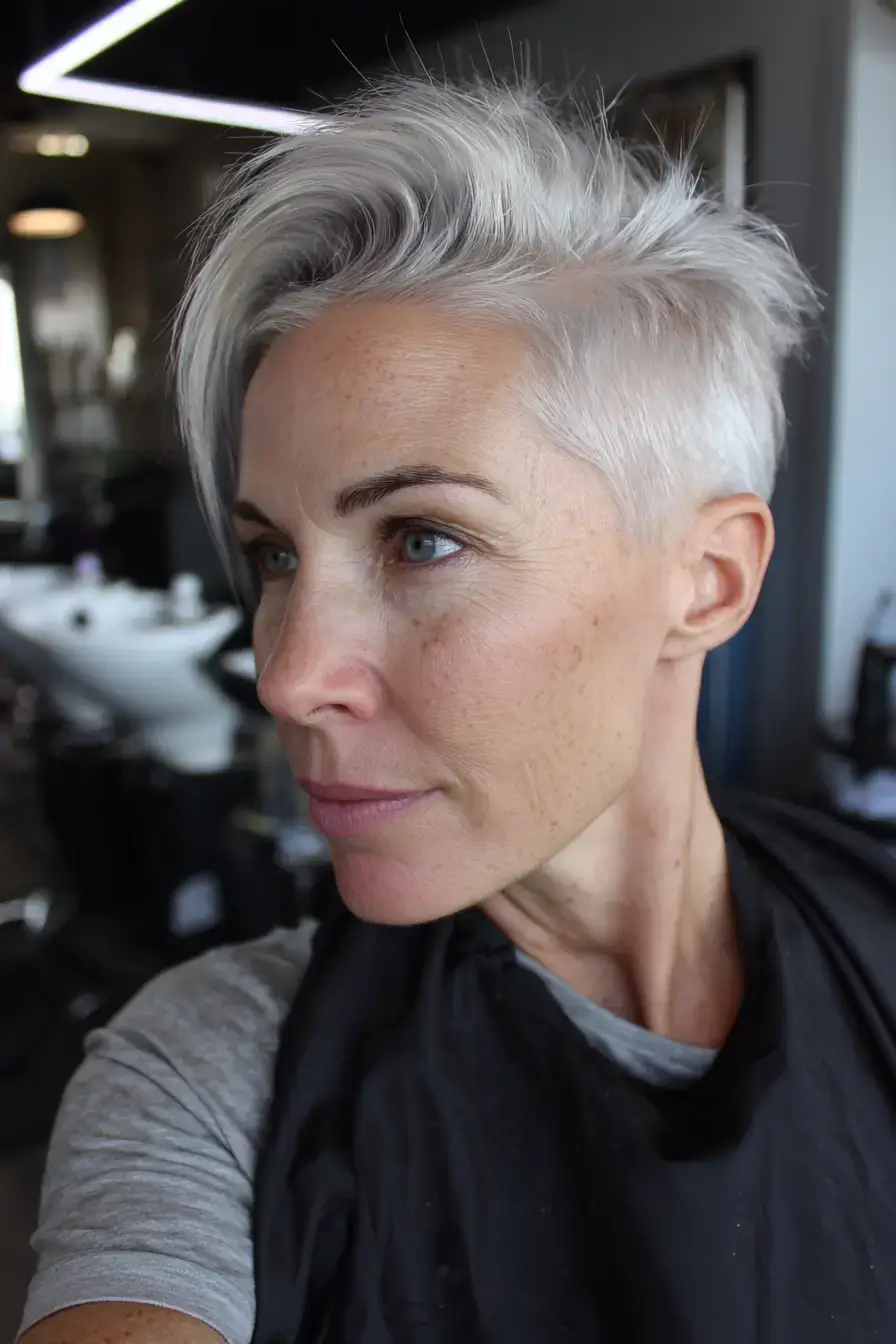
Over an undercut pixie, a long fringe needs only one brush to style. On dry hair I clipper the nape and sides, point cut the crown short, and keep the fringe at cheekbone length. Fine to medium density with round or square faces works best. Use a flat brush to blow the fringe across and lift the crown with paste. Trim the undercut every three weeks and the fringe every six.
18. The Copper Undercut Pixie
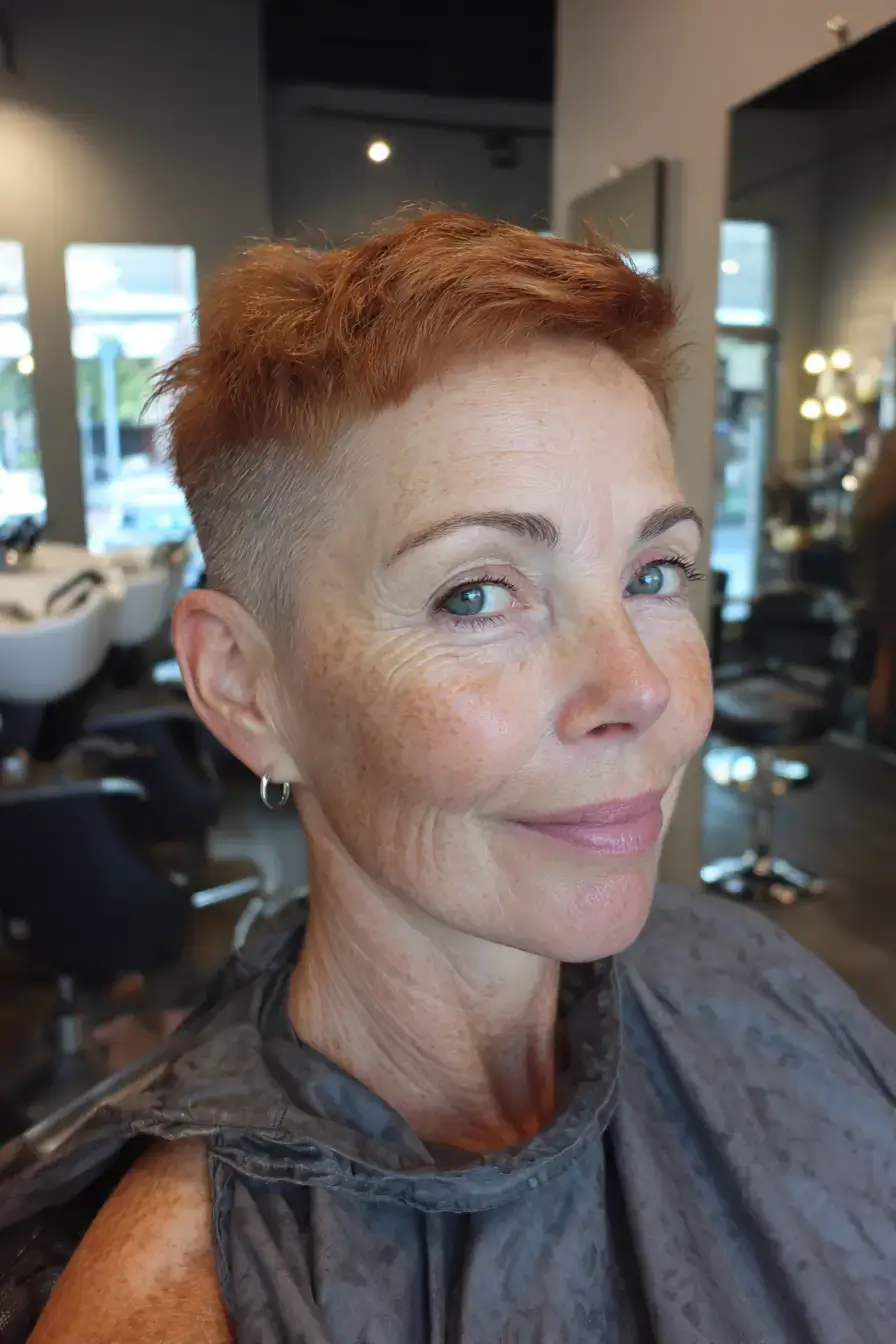
On an undercut pixie, copper looks bright next to the darker clippered sides. On dry hair I clipper the nape and sides and point cut the top to three inches with razored ends, then put a permanent copper on the top alone. Most face shapes work, with fine to medium density. Rough-dry using a texture spray. Trim the undercut every three weeks and refresh the copper every five.
19. Round-Face Undercut Pixie
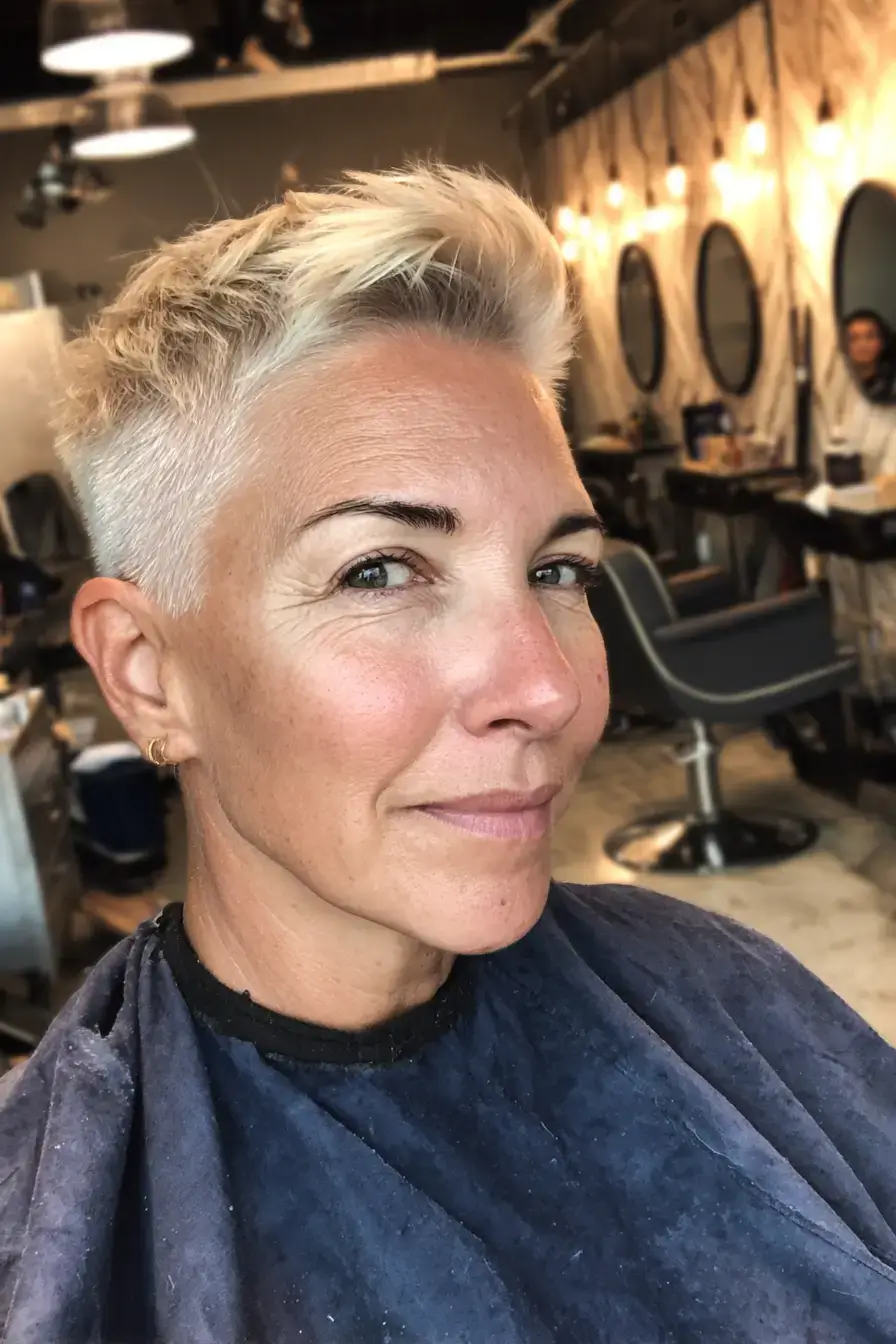
For a round face, an undercut pixie needs crown height with the sides clippered tight. On dry hair I clipper the sides to a number one and point cut the crown to four inches so it stands up. It suits fine to medium density on round faces. Use a flat brush to blow the crown up, then hold it with a strong paste. The sides need a trim every three weeks.
20. Undercut Pixie for Glasses Wearers
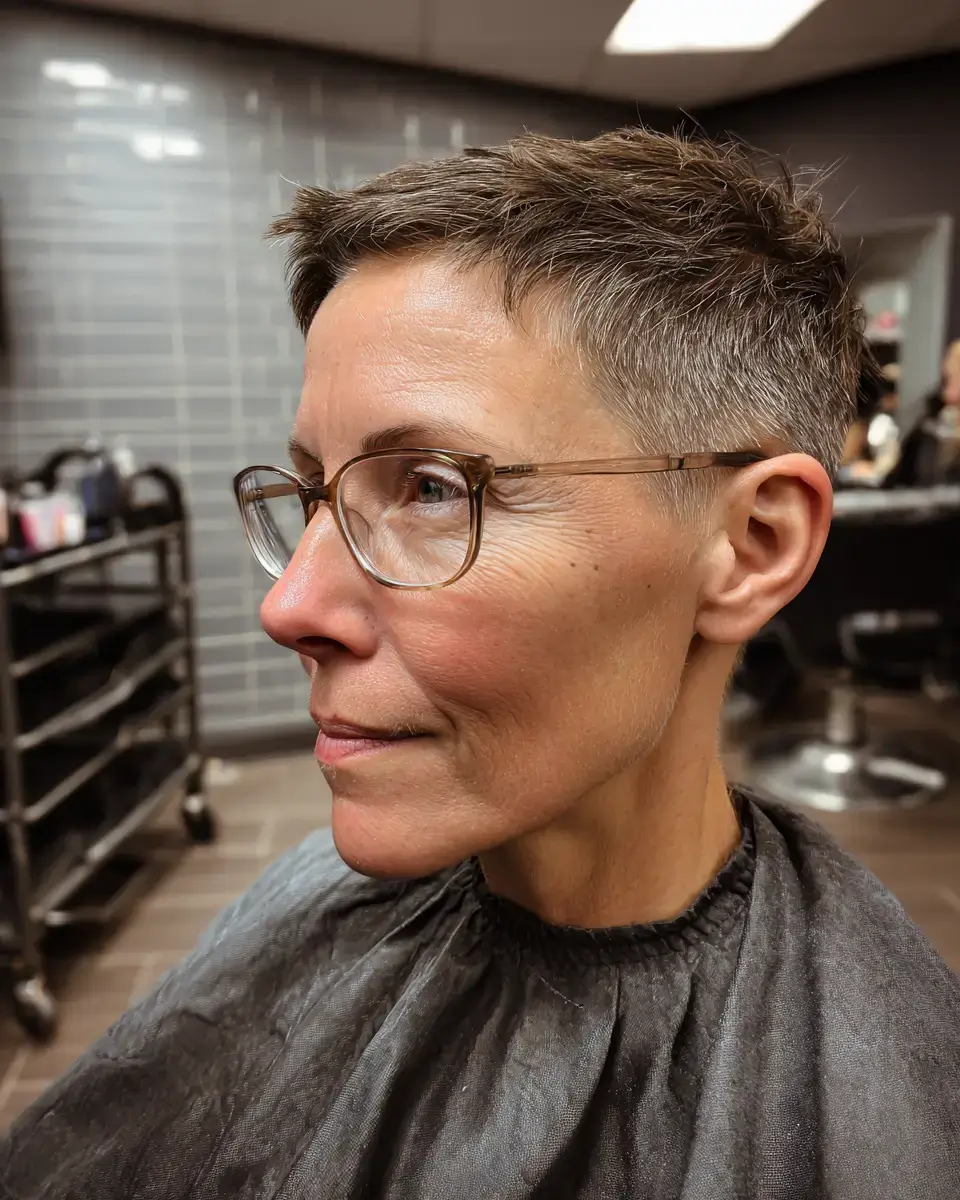
If you wear glasses, the fringe on an undercut pixie has to be cut with the frames on. On dry hair I clipper the nape and sides, point cut the top to three inches, and cut the fringe to the brow while the client has her glasses on. Most face shapes work, with fine to medium density. Blow the fringe flat using a small brush. Trim the undercut every three weeks.
21. The Asymmetrical Undercut Pixie
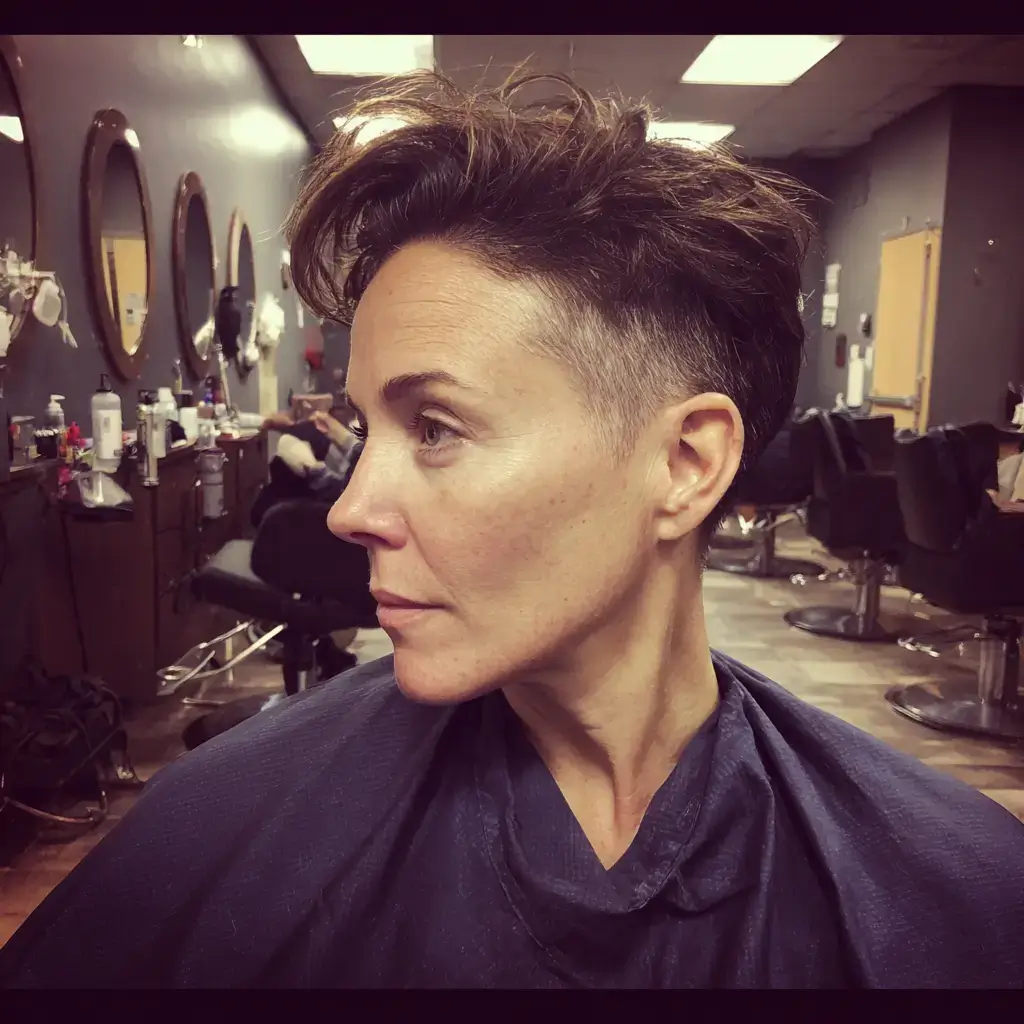
In an asymmetrical undercut pixie, one side goes to the skin and the other stays at the jaw. On dry hair I clipper one side to a number one, keep the other at jaw length with razored ends, and point cut the top angled toward the long side. Medium density and round or square faces suit it. Use a flat brush to blow the long side across. The short side needs a trim every three weeks.
22. Choppy-Layer Undercut Pixie
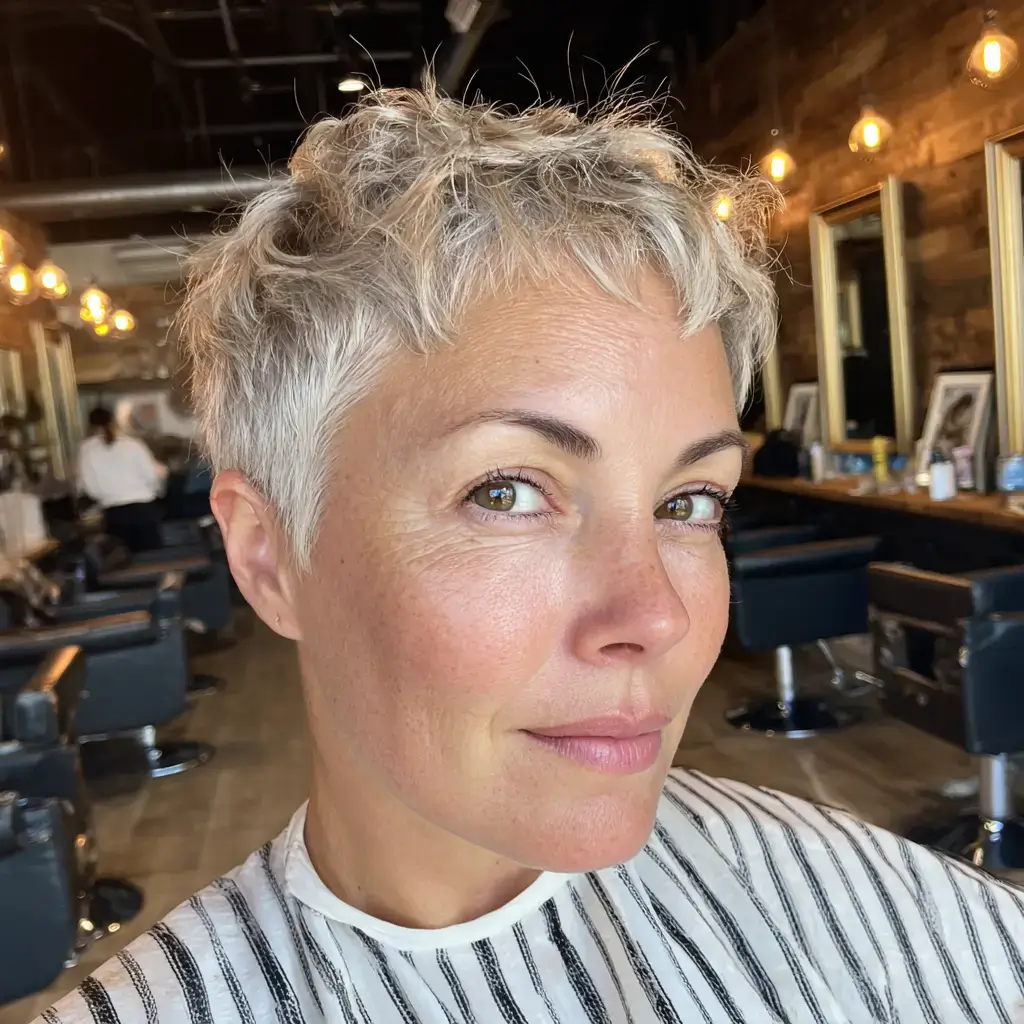
On an undercut pixie, I point cut choppy layers deep so each piece separates. On dry hair I clipper the nape and sides, then point cut an inch into the top so no line is left. Fine to medium density with oval or square faces works best. Rough-dry using a texture spray and pull the pieces apart with paste. Trim the undercut every three weeks.
23. Curly-Hair Undercut Pixie
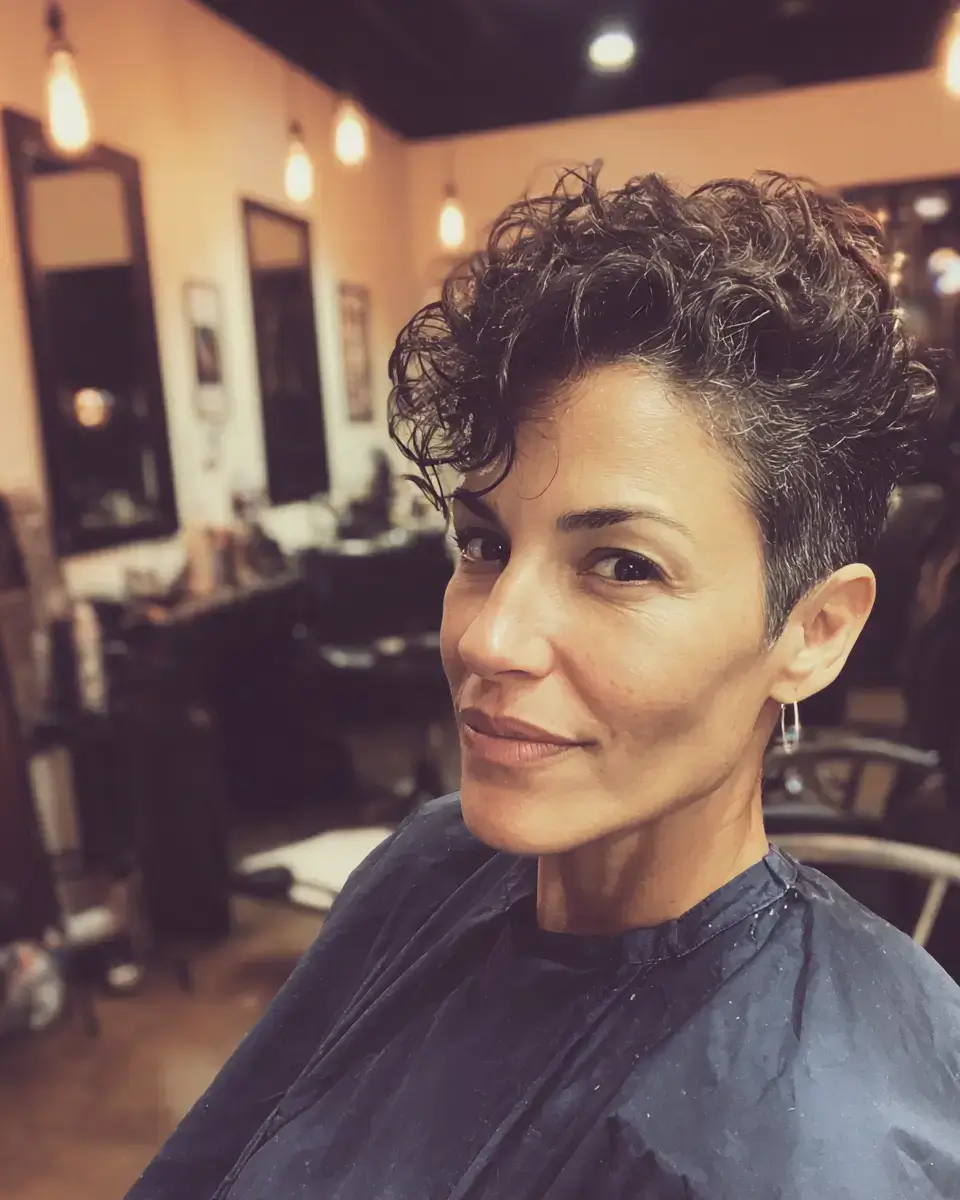
For curly hair over 50, I cut an undercut pixie dry so the curls on top keep their shape. On dry curls I clipper the nape and sides and point cut the top curl by curl to three inches. Type 3A to 3C curls with medium density suit it best. Work a curl cream into wet hair, scrunch the top, and diffuse on low. Trim the undercut every three weeks and the top every eight.
24. Wispy-Fringe Undercut Pixie
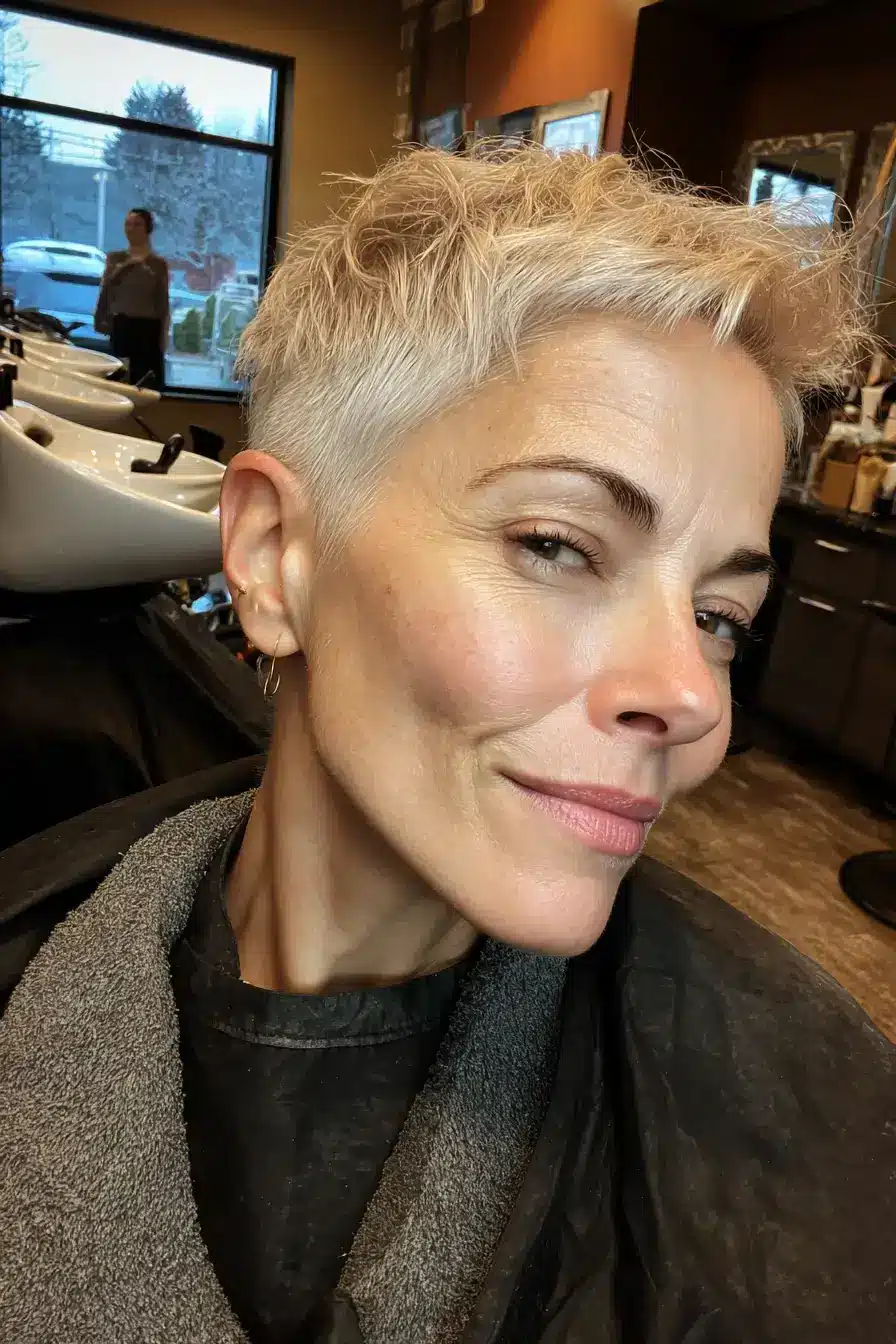
Over an undercut pixie, a wispy fringe covers the forehead without stealing density from the crown. On dry hair I clipper the nape and sides, point cut the top to three inches, and cut a thin fringe at the brow holding the shears vertical. Fine density and oval or long faces suit it. Blow the fringe flat with a small brush and the top upward. The fringe needs a trim every four weeks.
25. Nape-Undercut Bixie
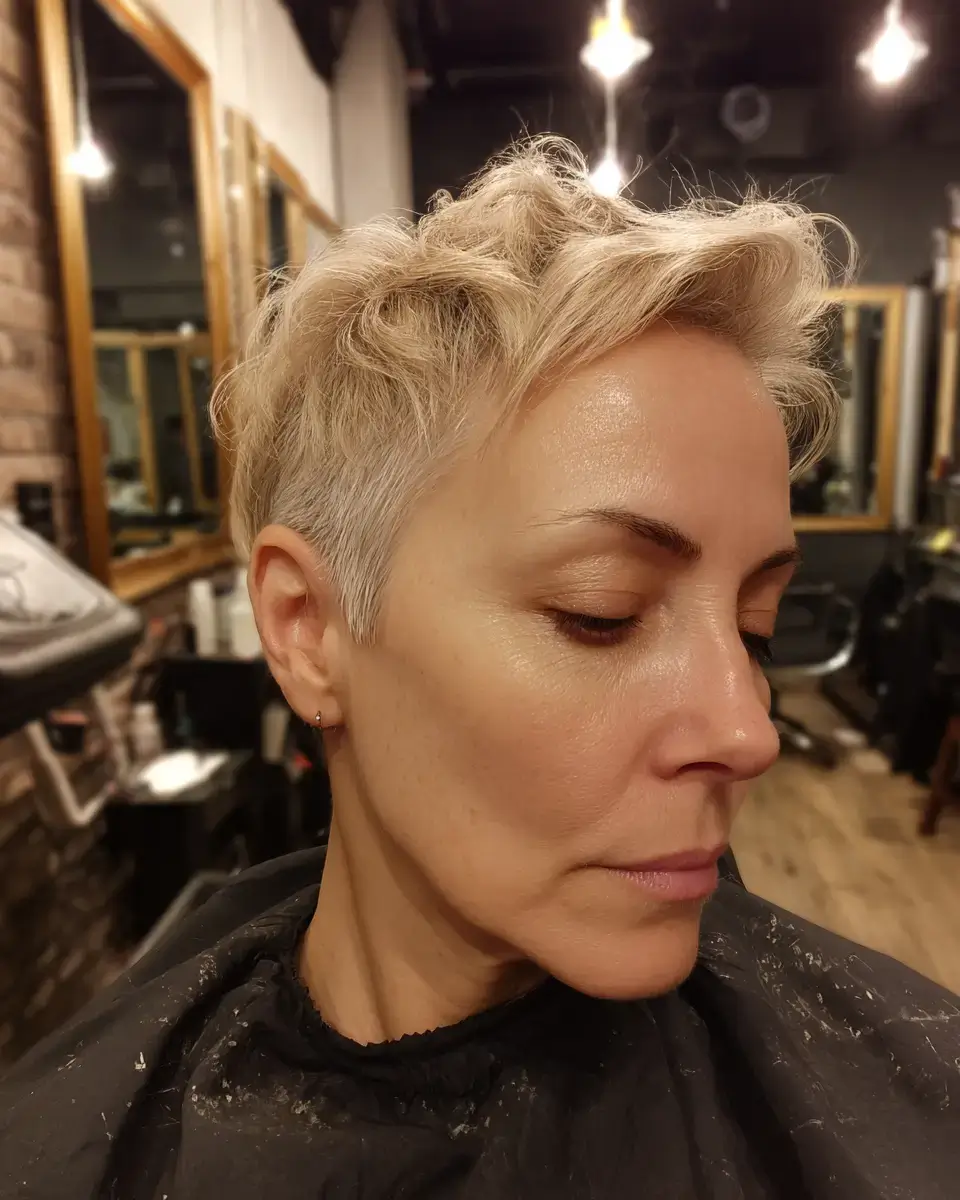
On a bixie with a nape undercut, the front stays at the cheekbone and the back goes to the skin. On dry hair I clipper the nape, let the front drop to the cheekbone, and point cut choppy layers across the top. Fine to medium density with oval or round faces works best. Blow-dry using a flat brush, pushing the front forward. Trim the undercut every three weeks.
See also hair for women over 40 round face and grey hair updo older women.
An undercut pixie edgy over 50 dries in about five minutes when the nape is clipped to a number two, which is the real reason it suits a busy week. The longer front drops to the cheekbone for shape.