Rustic Kitchen Ideas: A Complete Guide to the Warm, Lived-In Look That Actually Works
My kitchen used to have gray subway tile, chrome everything, and a runner from a big-box store that I bought because it was “neutral.” It looked like every other kitchen on Pinterest circa 2016. It also looked cold, and I cook a lot, so I was standing in a cold-looking room every single day. Swapping it for a rustic look — real wood, stone, brass hardware, open shelves with my actual dishes on them — took about six weeks of weekend work and changed how the whole house feels. That’s the pitch for rustic kitchen design: it’s not a trend, it’s a room that feels like someone lives in it.
If you’re typing “rustic kitchen ideas” into Google at 11pm, you’re probably somewhere between “I want warmth and character” and “I don’t want this to look like a theme restaurant.” Fair. That line is easy to cross if you don’t know where to spend, where to save, and where to stop.
What Makes a Kitchen Look Rustic, Actually
Rustic is a natural, weathered, handcrafted look — not a specific color or a single material, but a philosophy: things should look like they came from somewhere real. Wood should show its grain. Stone should look quarried, not printed. Metal should be allowed to darken and age instead of staying shiny forever.
Within that, you can go several directions:
– Farmhouse rustic — bright white cabinets, apron sink, beadboard, black hardware
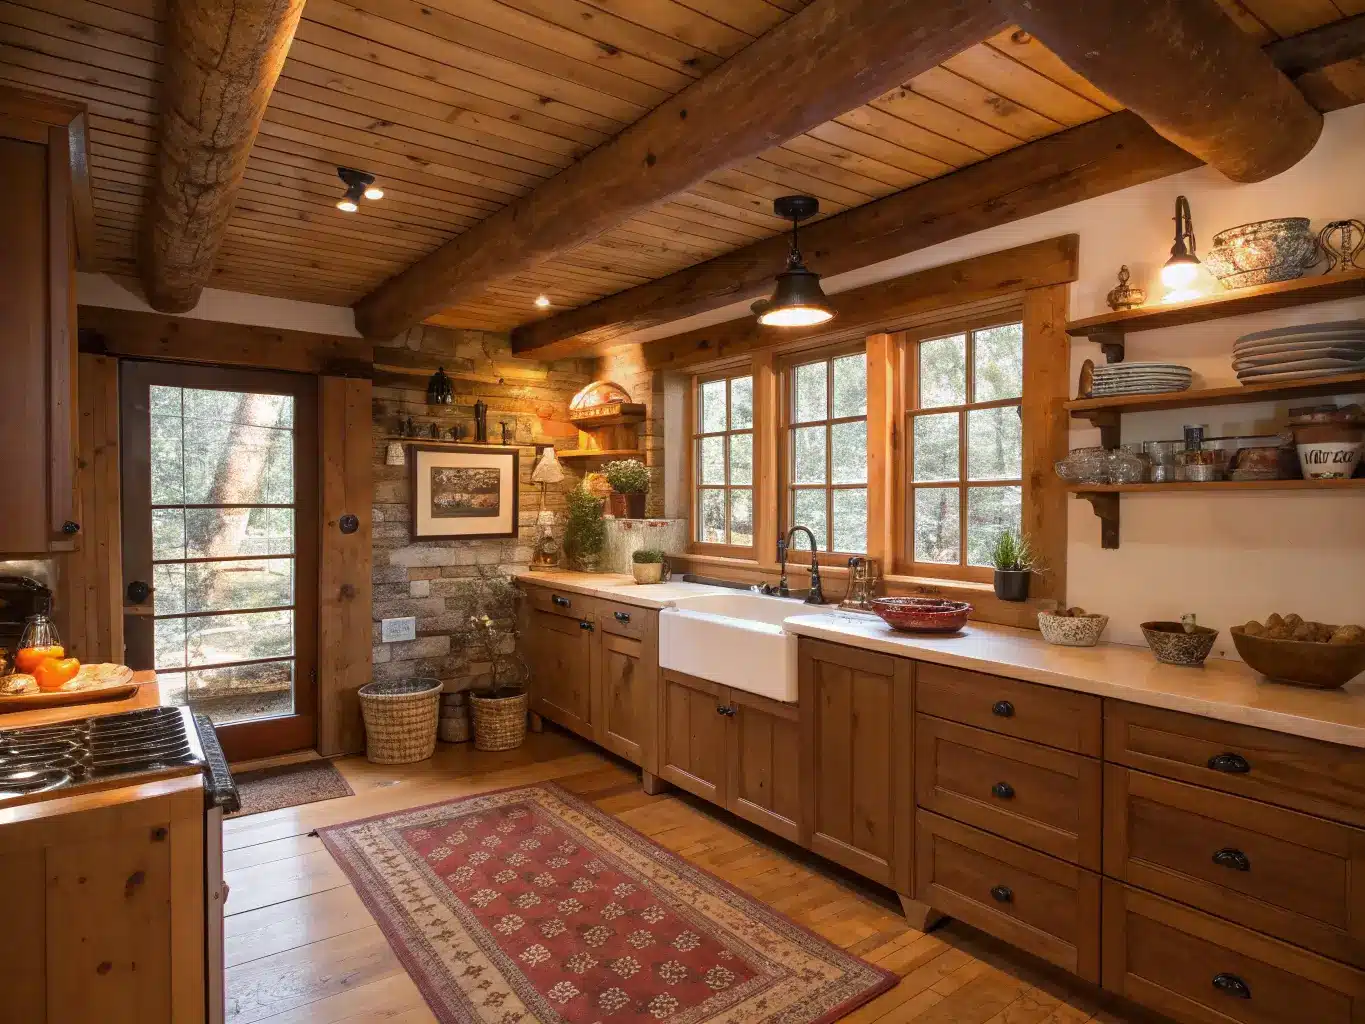
– Cabin/lodge rustic — heavier wood tones, exposed beams, deeper color
– Tuscan rustic — terracotta, wrought iron, warm stone, deeper earth tones
– Scandinavian rustic — blond wood, pale walls, quiet stone, very little clutter
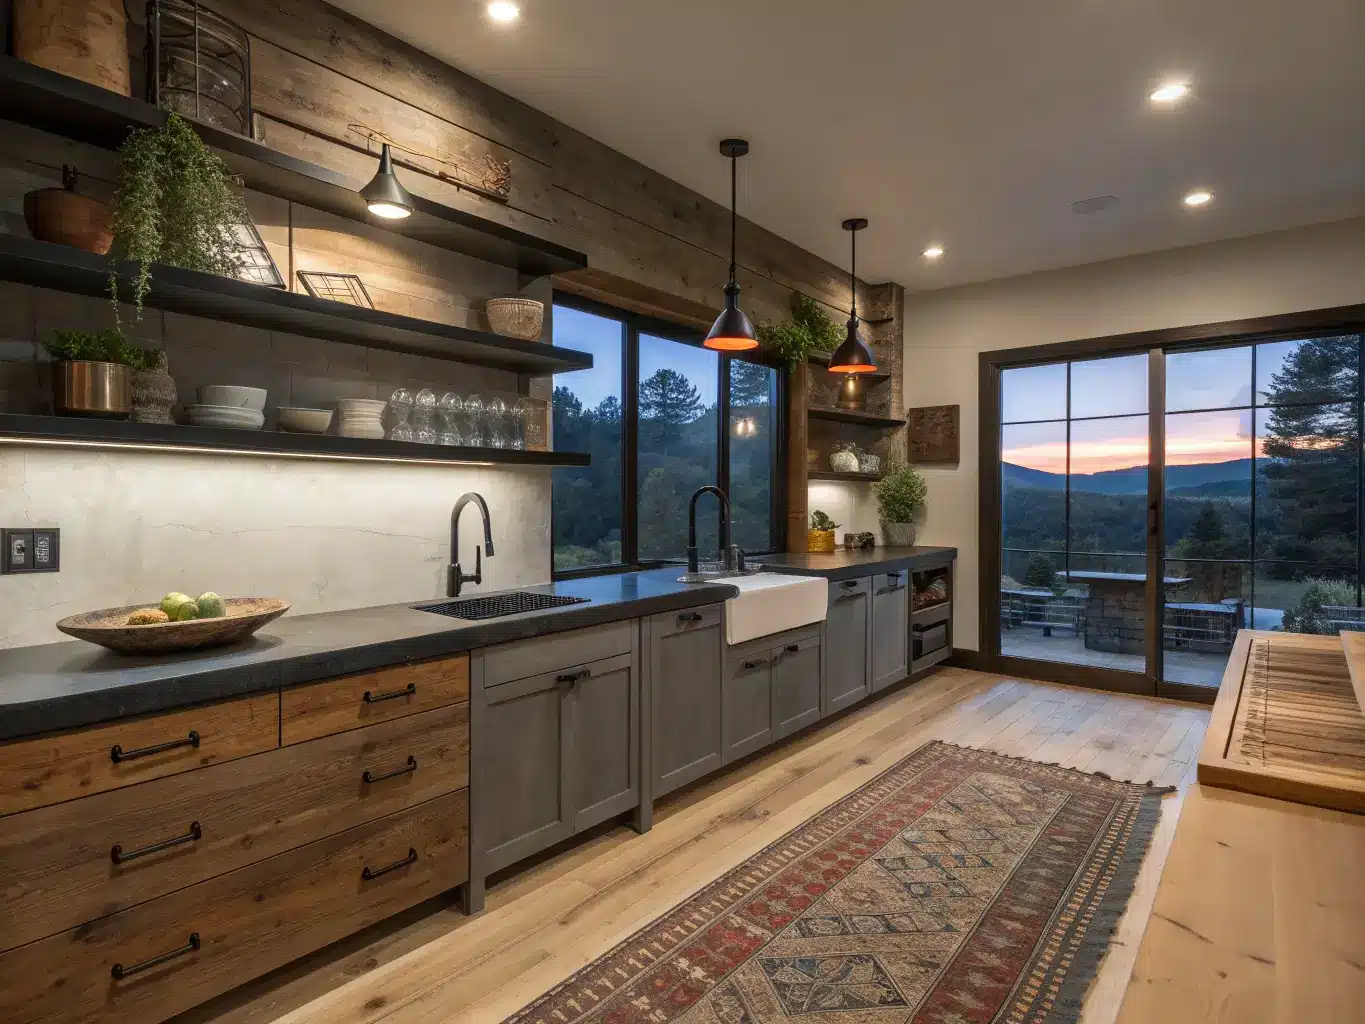
– Modern rustic — reclaimed wood against black steel, concrete counters, minimal hardware
Pick one lane before you buy anything. This is the single biggest thing that separates a rustic kitchen that feels intentional from one that feels like a garage sale. More on that below, because I learned it the hard way.
Is rustic the same as farmhouse? No — farmhouse is one flavor of rustic, usually lighter and brighter. Rustic is the broader category; farmhouse, Tuscan, and cabin all live inside it.
Quick Style Snapshot
– Time: A weekend for decor-only swaps (hardware, baskets, textiles, shelving styling). 2–8 weeks if you’re adding a backsplash, new lighting, open shelving, or a partial cabinet refresh.
– Cost: $150–$600 for a decor refresh — baskets, a couple of good cutting boards, stools, hardware, linen towels. $2,000–$15,000+ for a medium project like new pendant lighting, tile backsplash, a sink and faucet swap, or open shelving with cabinet painting. Full remodels run well beyond that; there’s no way around it if you’re touching cabinetry structure or plumbing.
– Space: Works in a tiny galley kitchen just as well as a sprawling open-plan one — you just scale the materials up or down.
– Skill level: Beginner-friendly for styling. Intermediate to expert if you’re installing reclaimed beams, stone veneer, or custom cabinets — call in help for anything structural.
– Season: Year-round, but it hits hardest in fall and winter when you actually want a kitchen that feels warm.
The Core Pieces That Do the Heavy Lifting
You don’t need all of these. You need three or four done well, rather than twelve done cheaply.
Hero pieces (the ones that set the tone):
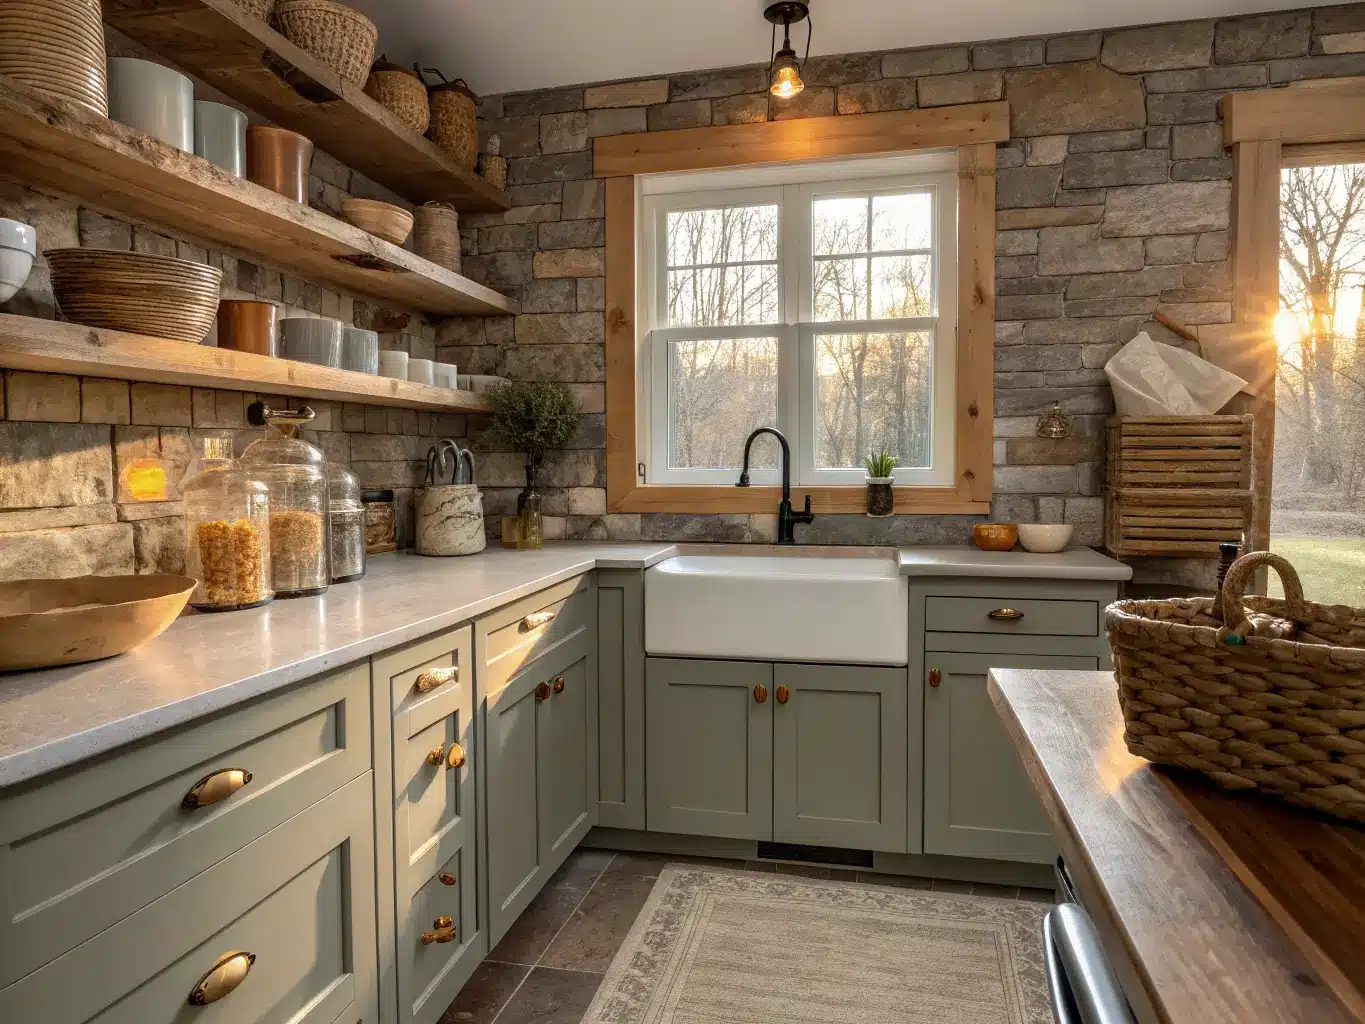
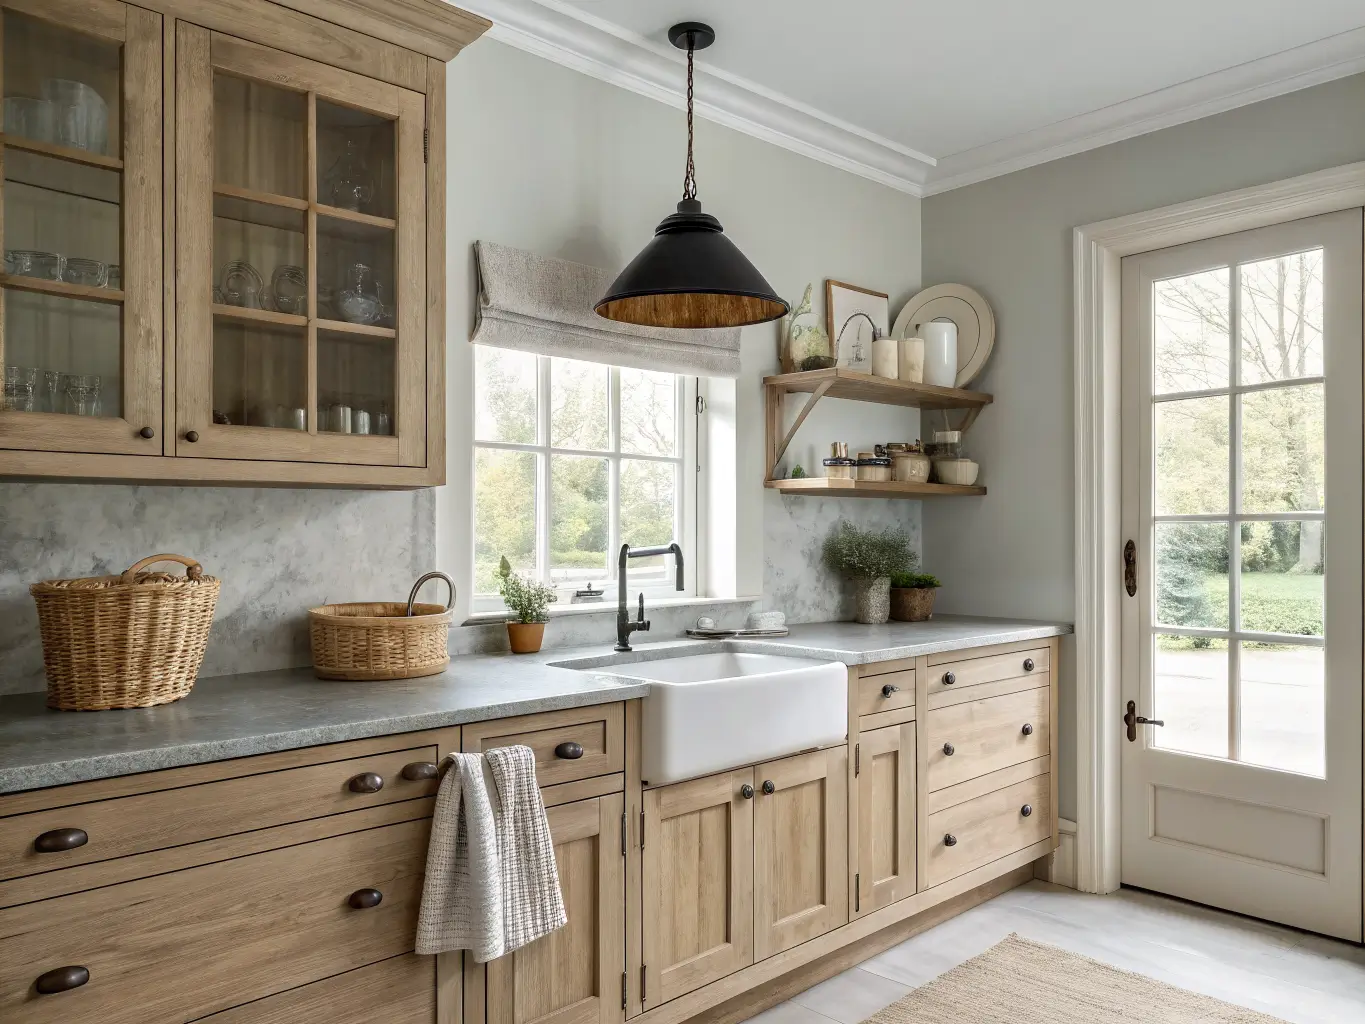
– An apron-front sink. This one piece does more to signal “rustic” than almost anything else. Fireclay is the classic choice; it’s roughly $400–$1,200 depending on size and brand.
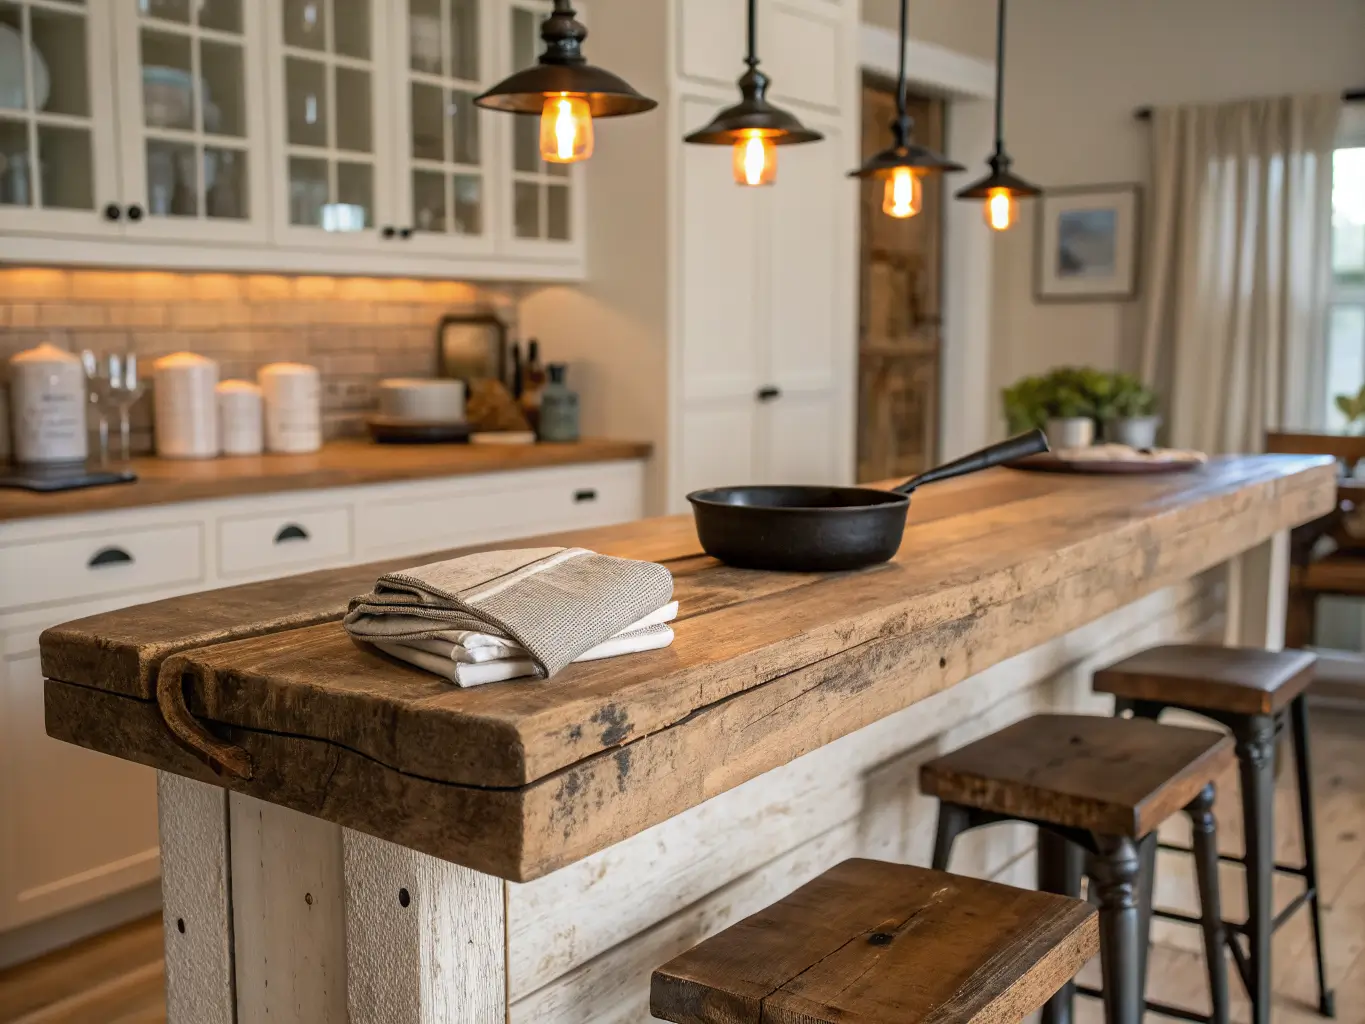
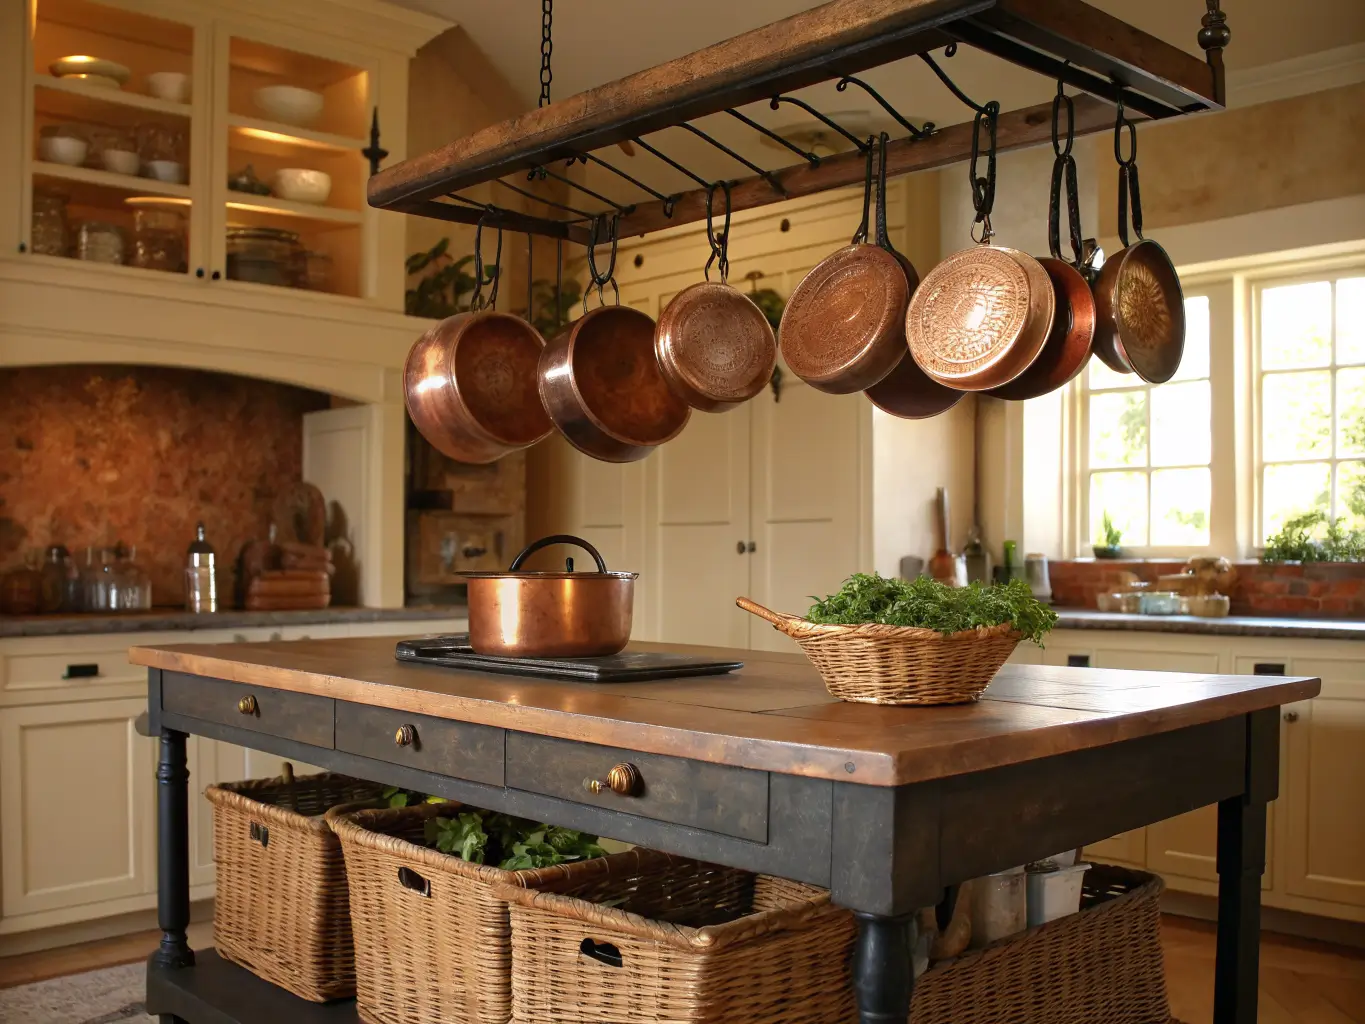
– A reclaimed wood island or butcher-block surface. Visible grain, knots, and slight unevenness are the point. If real reclaimed wood is out of budget, a solid wood butcher-block top from a lumber yard gets you 80% of the look for a fraction of the price.
– Wood cabinetry — stained oak, hickory, or pine, or shaker-style fronts in a soft painted color like warm white or sage.
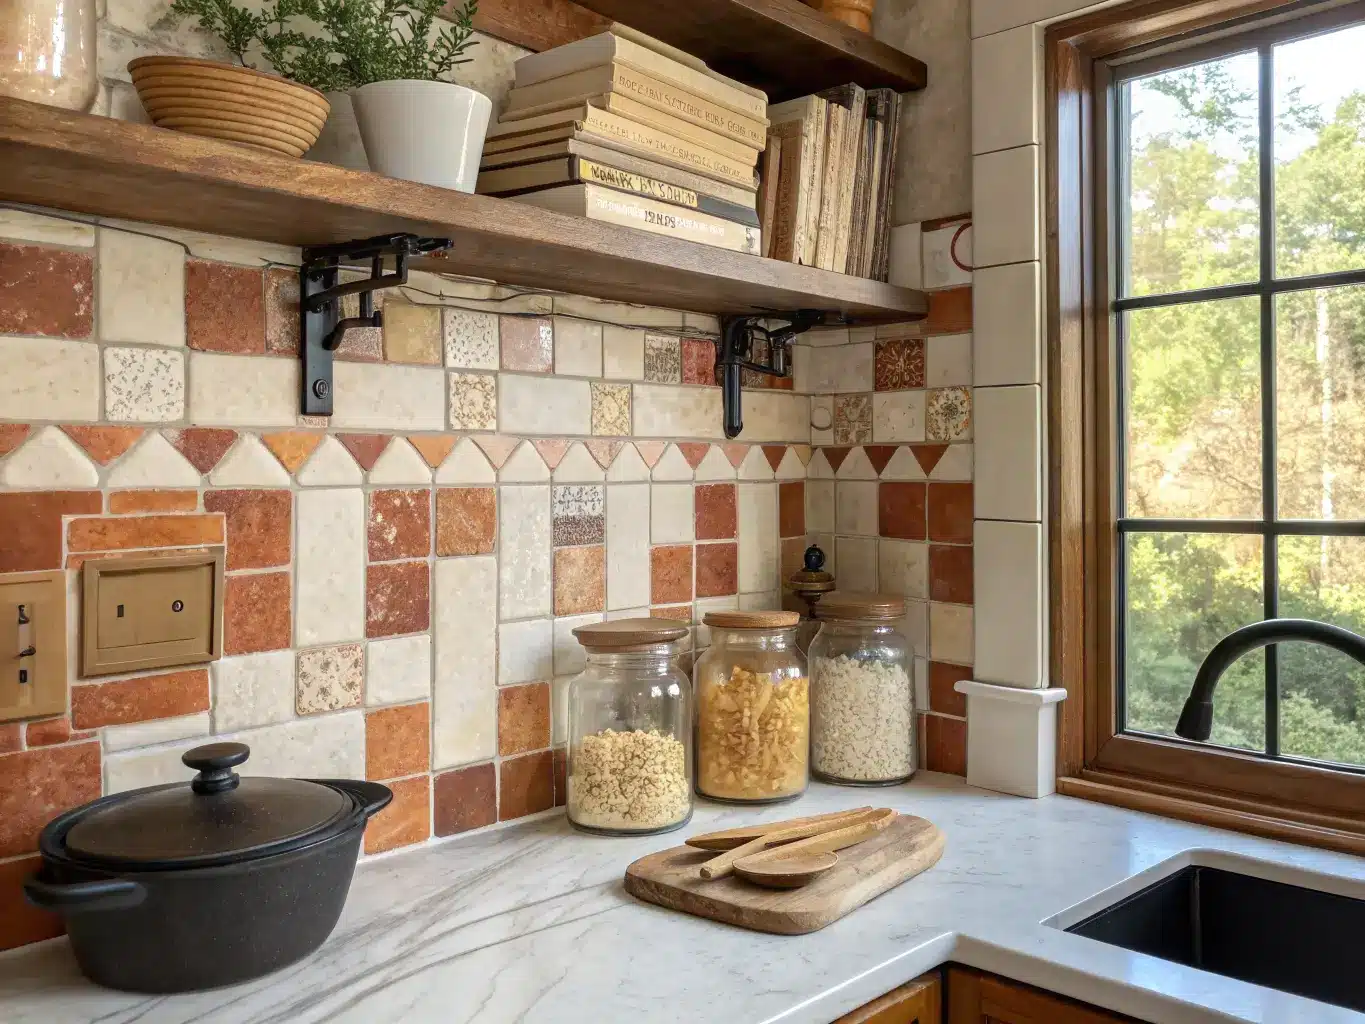
– A stone or brick backsplash — stacked stone, slate, or handmade ceramic tile with visible texture and slightly irregular edges.
Complementary layers:
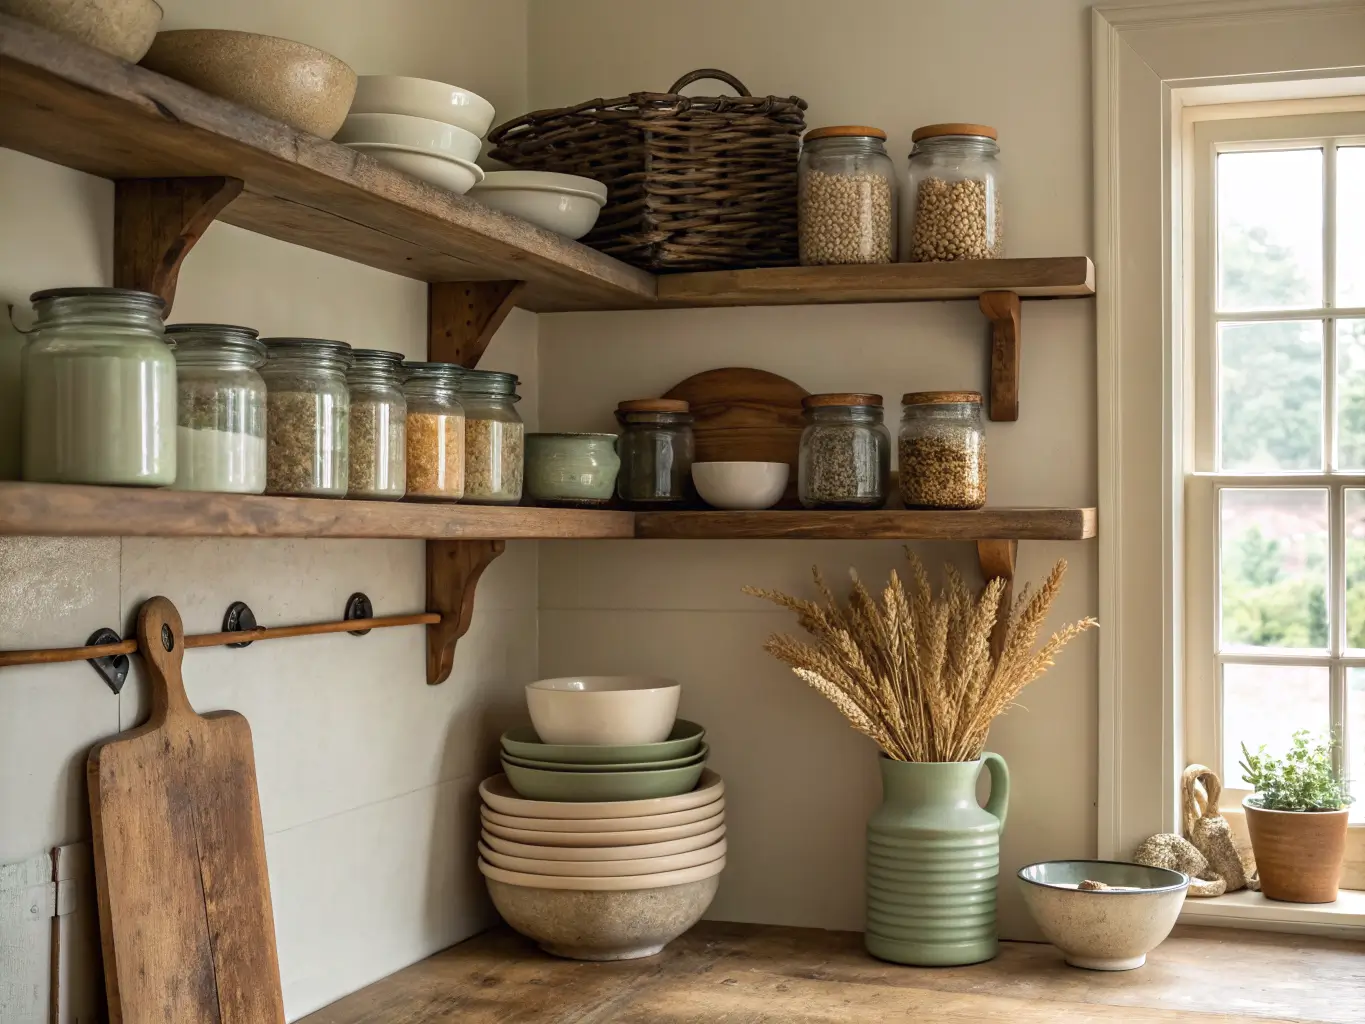
– Open shelving styled with stuff you actually use — stoneware bowls, glass jars of pasta and grains, a stack of cookbooks, your good cutting boards leaned upright instead of hidden.
– Woven baskets, rush-seat stools, a jute runner, linen tea towels — this is where texture comes in cheap and fast.
– Warm metal hardware in oil-rubbed bronze, blackened pewter, or unlacquered brass that’s allowed to patina.
Signature accessories:
Hanging copper pots over the island, a cast-iron skillet left out on the stove (not hidden in a cabinet — it’s decor now), a few terra-cotta herb pots on the windowsill, a vintage-style pendant light over the sink.
How to Actually Put It Together
Start with the biggest surfaces first. Cabinets, flooring, countertop, backsplash — whatever covers the most square footage sets the tone for everything smaller. Don’t buy baskets and pendant lights before you’ve decided what the cabinets are doing.
Then add the identity pieces. The sink, the lighting, the island. These three things, more than any accessory, tell people what kind of rustic kitchen they’ve walked into.
Layer texture before you layer color. This is the mistake I made first time around — I picked a sage green and tried to build the whole kitchen around that color. It looked flat. What actually works: get your wood grain, stone, woven fiber, matte ceramic, and aged metal in place first. Color should be the last 10%, not the first.
Keep the palette genuinely limited. One warm neutral base — cream, warm white, tan, greige — plus one or two earthy accents. Sage, olive, rust, terracotta, charcoal. That’s it. If you’re reaching for a third accent color, put it back.
Use contrast on purpose. A rough stacked-stone backsplash next to a smooth butcher-block counter. A matte black pendant hanging over pale oak cabinets. Rustic doesn’t mean everything matches in softness — the contrast between rough and refined is what keeps it from looking flat or overly cute.
Pick one focal point. The island. The sink wall. The open shelf. Whichever it is, let that be the thing people look at, and let everything else support it quietly. I made my open shelving the focal point in my kitchen — it’s the wall you see walking in from the hallway — and kept the countertops almost empty on purpose so your eye actually lands there.
Let function double as decor. Your good knives on a magnetic strip, your everyday bowls stacked on open shelves, herbs growing in terra-cotta pots on the sill — in a rustic kitchen, the stuff you use every day is allowed to be the decoration, as long as it’s cohesive in material and tone.
Budget: Where to Spend, Where to Save
Spend here:
– The sink (it’s the anchor, and cheap fireclay looks cheap)
– Real wood somewhere prominent — the island top or open shelves
– Lighting over the island or sink, since it’s at eye level and impossible to ignore
Save here:
– Hardware — you can find solid oil-rubbed bronze pulls for $3–$8 each
– Baskets and textiles — thrift stores and secondhand shops are genuinely the best source for woven baskets and linen
– Cutting boards and pottery — mismatched vintage pieces from estate sales look more authentic than a matched set from a home store anyway
My best find was a $12 stoneware crock from a flea market that I use to hold wooden spoons on the counter. It’s got a hairline crack and a slightly uneven glaze, and it looks better than anything I could’ve bought new for ten times the price. That’s kind of the whole game with this style — imperfect beats polished.
Common Mistakes (I’ve Made Most of These)
– Over-distressing. Faux-distressed cabinets with painted-on “wear marks” read as costume, not character. Real wood grain and honest aging beats manufactured shabbiness every time.
– Mixing too many rustic substyles at once. Cabin plus Tuscan plus industrial farmhouse in one room is how you end up with a kitchen that looks like it can’t make up its mind. Pick one direction and let the others go.
– Going too dark, too heavy. All-wood cabinetry with no light surfaces to balance it can feel like a cave. Break it up with warm white walls, light stone, or open shelving that lets the eye rest.
– Shiny finishes sneaking back in. High-gloss cabinet fronts, polished chrome faucets — these fight everything else you’re doing. Matte and satin finishes, oil-rubbed metals, textured tile. That’s the rule.
– Over-decorating. This is the one that gets people. Rustic doesn’t mean “cover every surface with mason jars.” It means edited — a few grouped, meaningful objects, not forty tchotchkes. I had to remove more stuff than I added when I redid mine; the counters were the last thing I fixed, and clearing them off made the whole kitchen look twice as put-together overnight.
Keeping It Fresh Without Redoing the Whole Room
For visual consistency: repeat the same material combo — wood, black metal, ceramic — in at least three spots around the room. One instance looks accidental. Three looks designed.
For budget refreshes: swap cabinet hardware (this alone can transform a kitchen for under $100), add open shelving in one spot, style your cutting boards standing up instead of in a drawer, or bring in a couple of thrifted pottery pieces.
For seasonal changes: don’t touch the big surfaces — rotate the small stuff instead. Dried wheat and pumpkins in fall, evergreen cuttings in winter, fresh herbs in a pitcher in summer. A linen runner swapped for something heavier in cooler months.
For evolving the style over time:
– Lean farmhouse with bright white cabinets and black hardware
– Lean modern with flat black fixtures, concrete counters, and simpler pendant shapes
– Lean cottagecore with vintage vessels, floral tea towels, and softer, more romantic details on the shelves
The kitchen I have now still isn’t “finished” by any strict definition — I’ve rearranged the open shelving three separate times trying to get the height right between the plate stack and the jars. But that’s sort of the nature of this style. It’s not one big reveal. It’s a room that keeps getting better as you live in it and keep noticing what it needs.