Stained Kitchen Cabinets: The Color of Every Maple Syrup Spill
My stained kitchen cabinets are dark enough that the maple syrup spill from 2017 is still a mystery. I know where it happened but I cannot find the stain. The wood absorbed it.
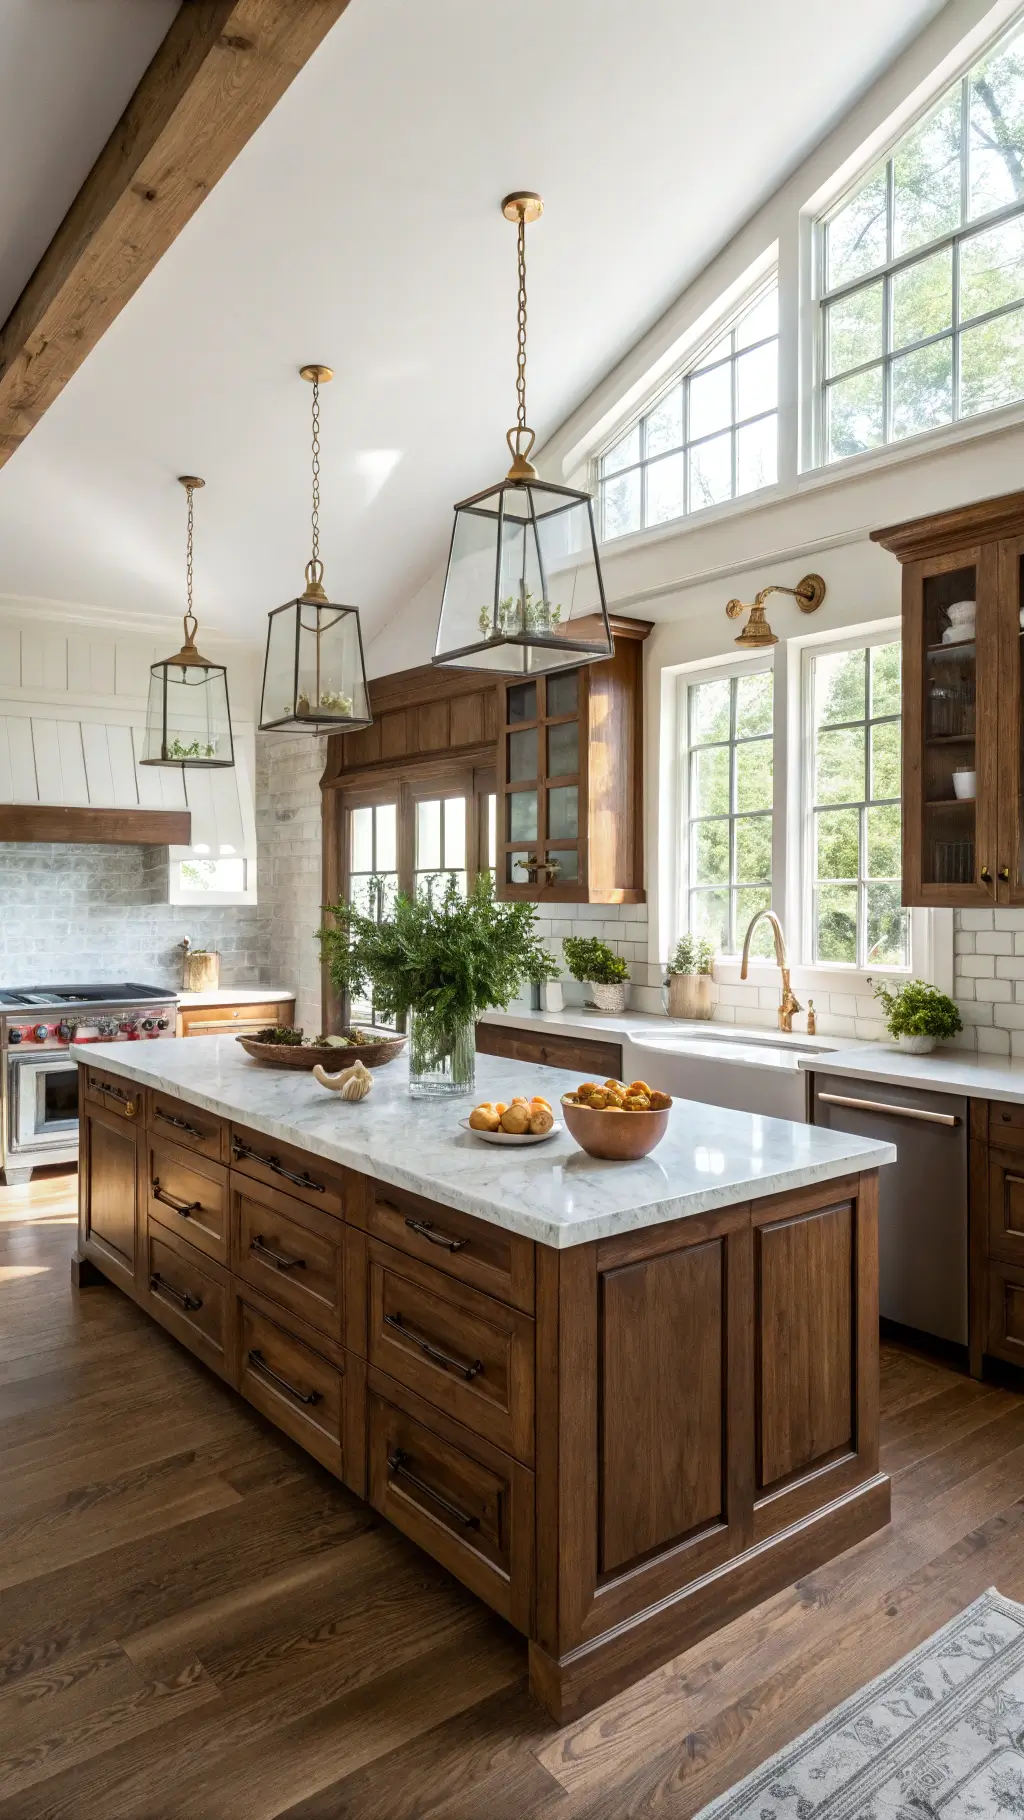
Why Stained Cabinets Are Photography Gold
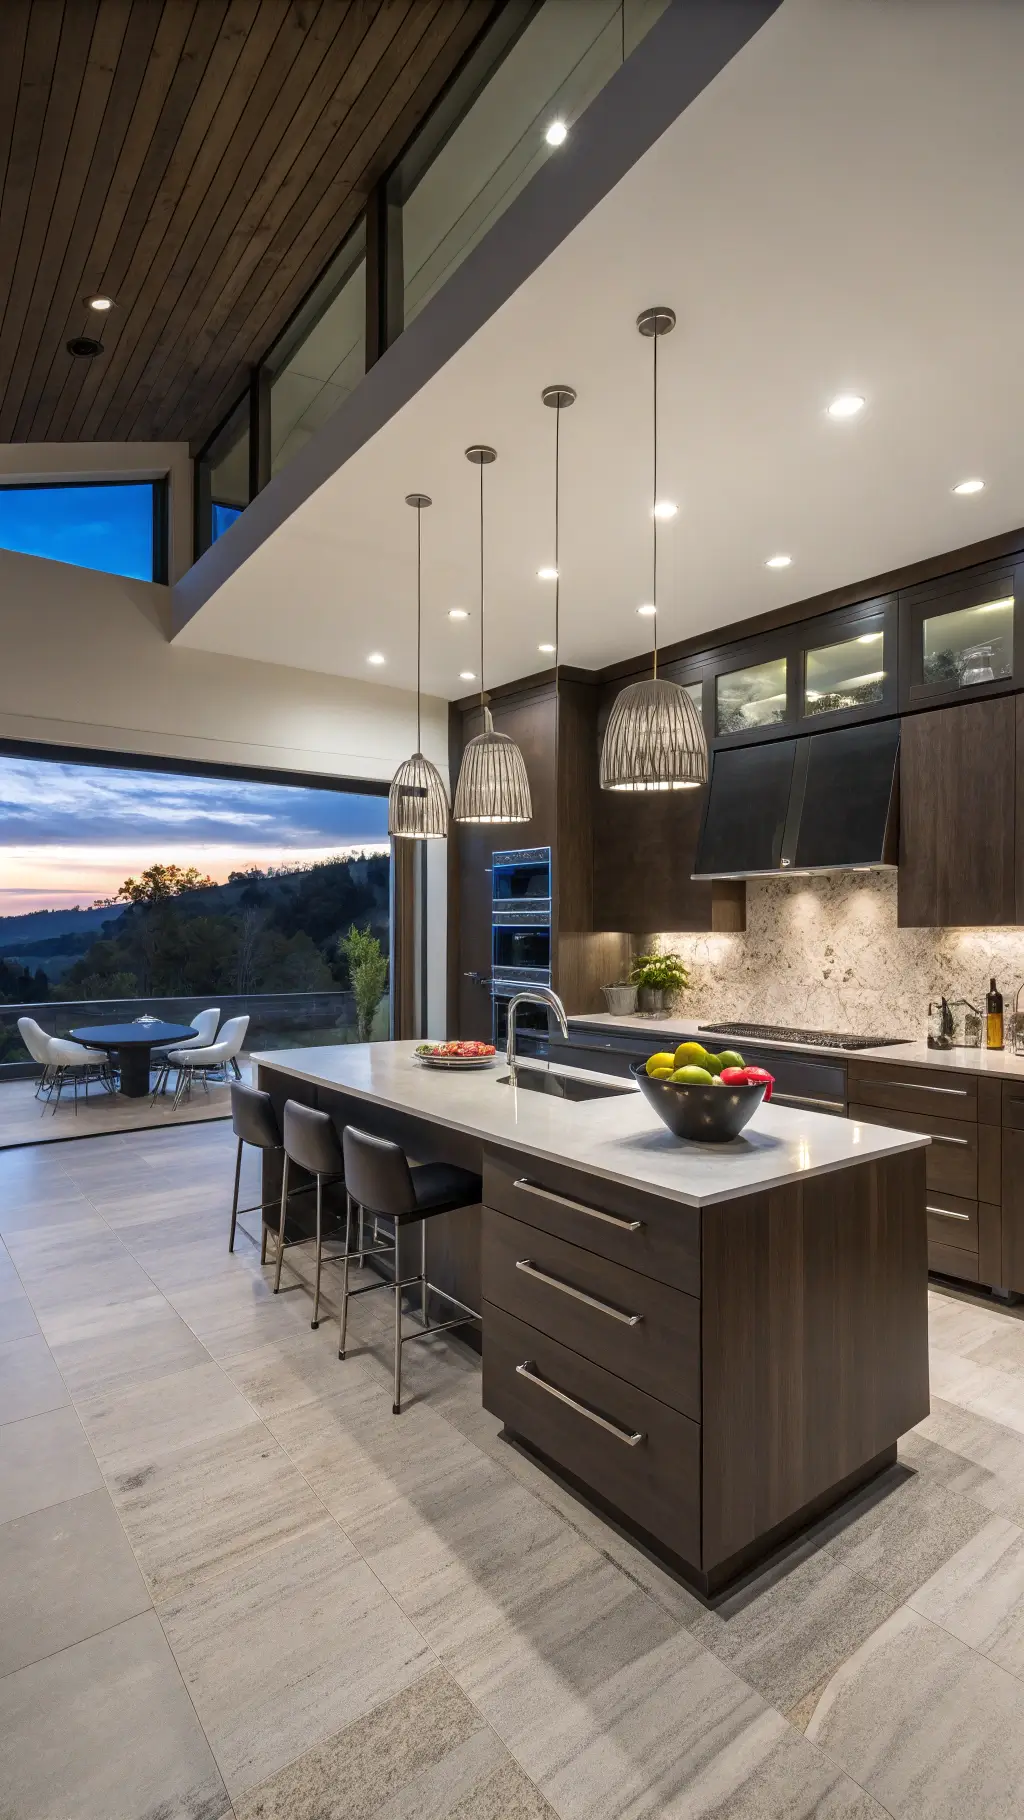
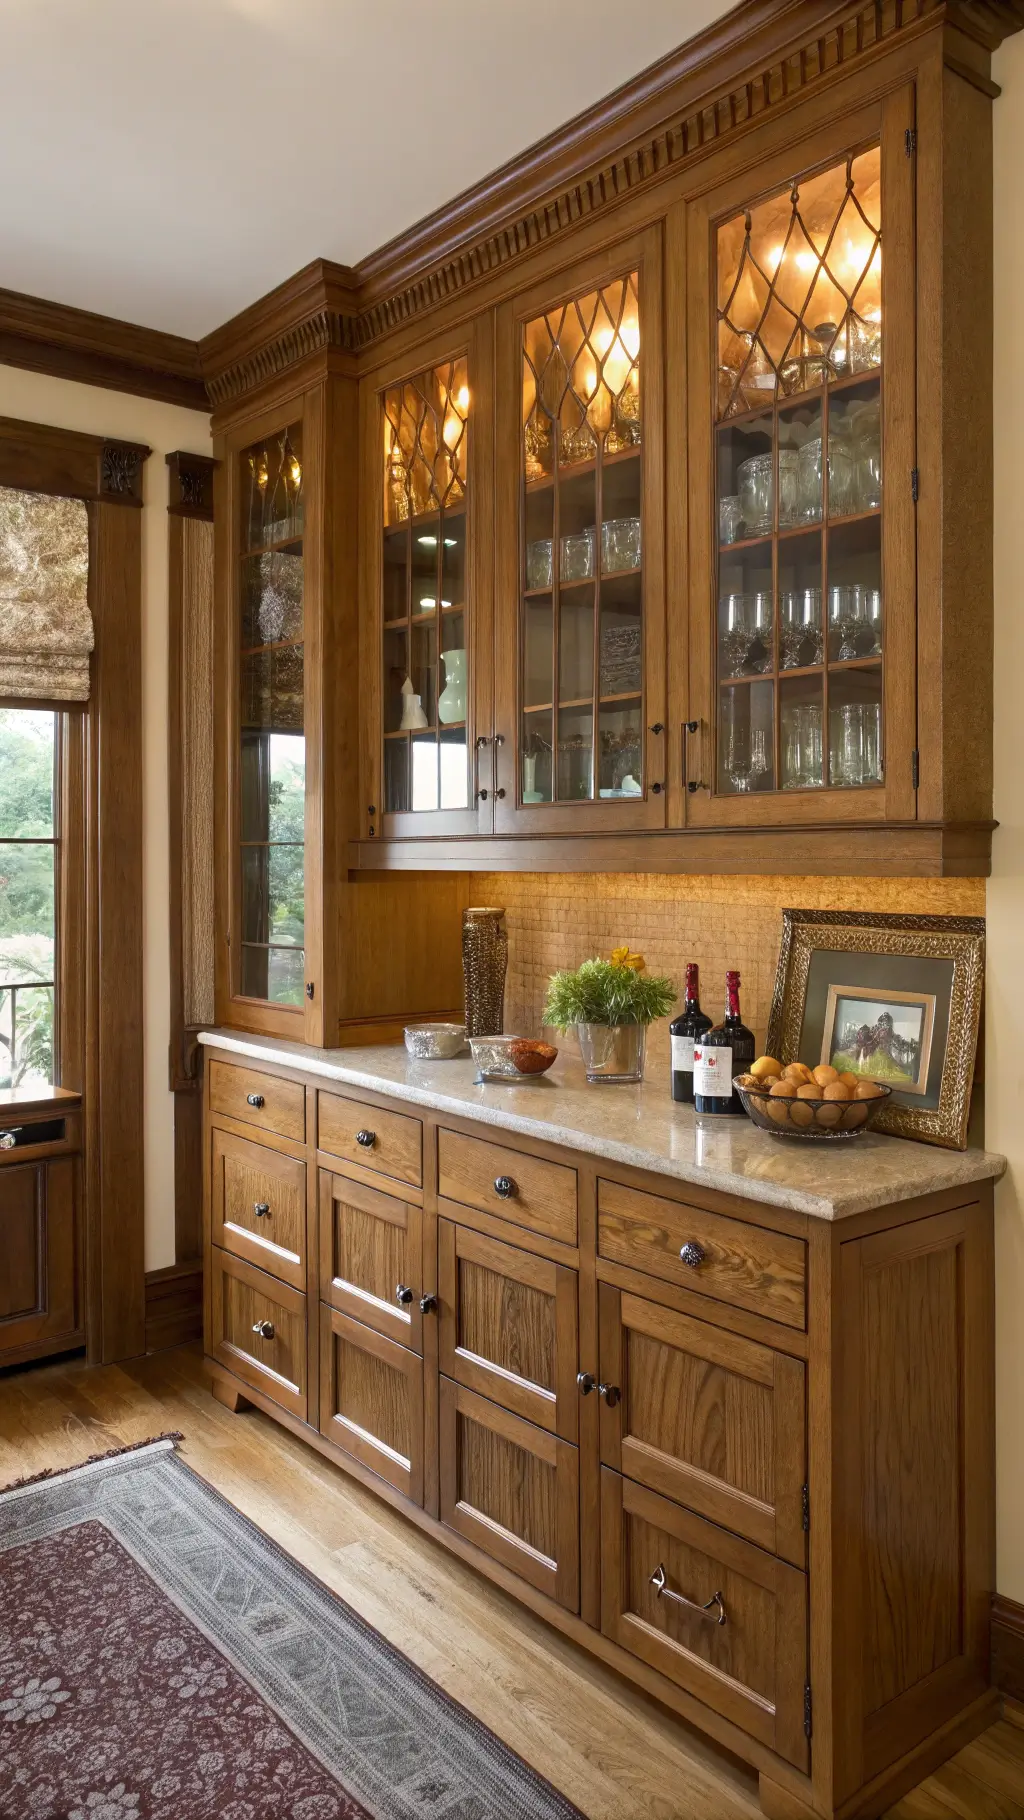
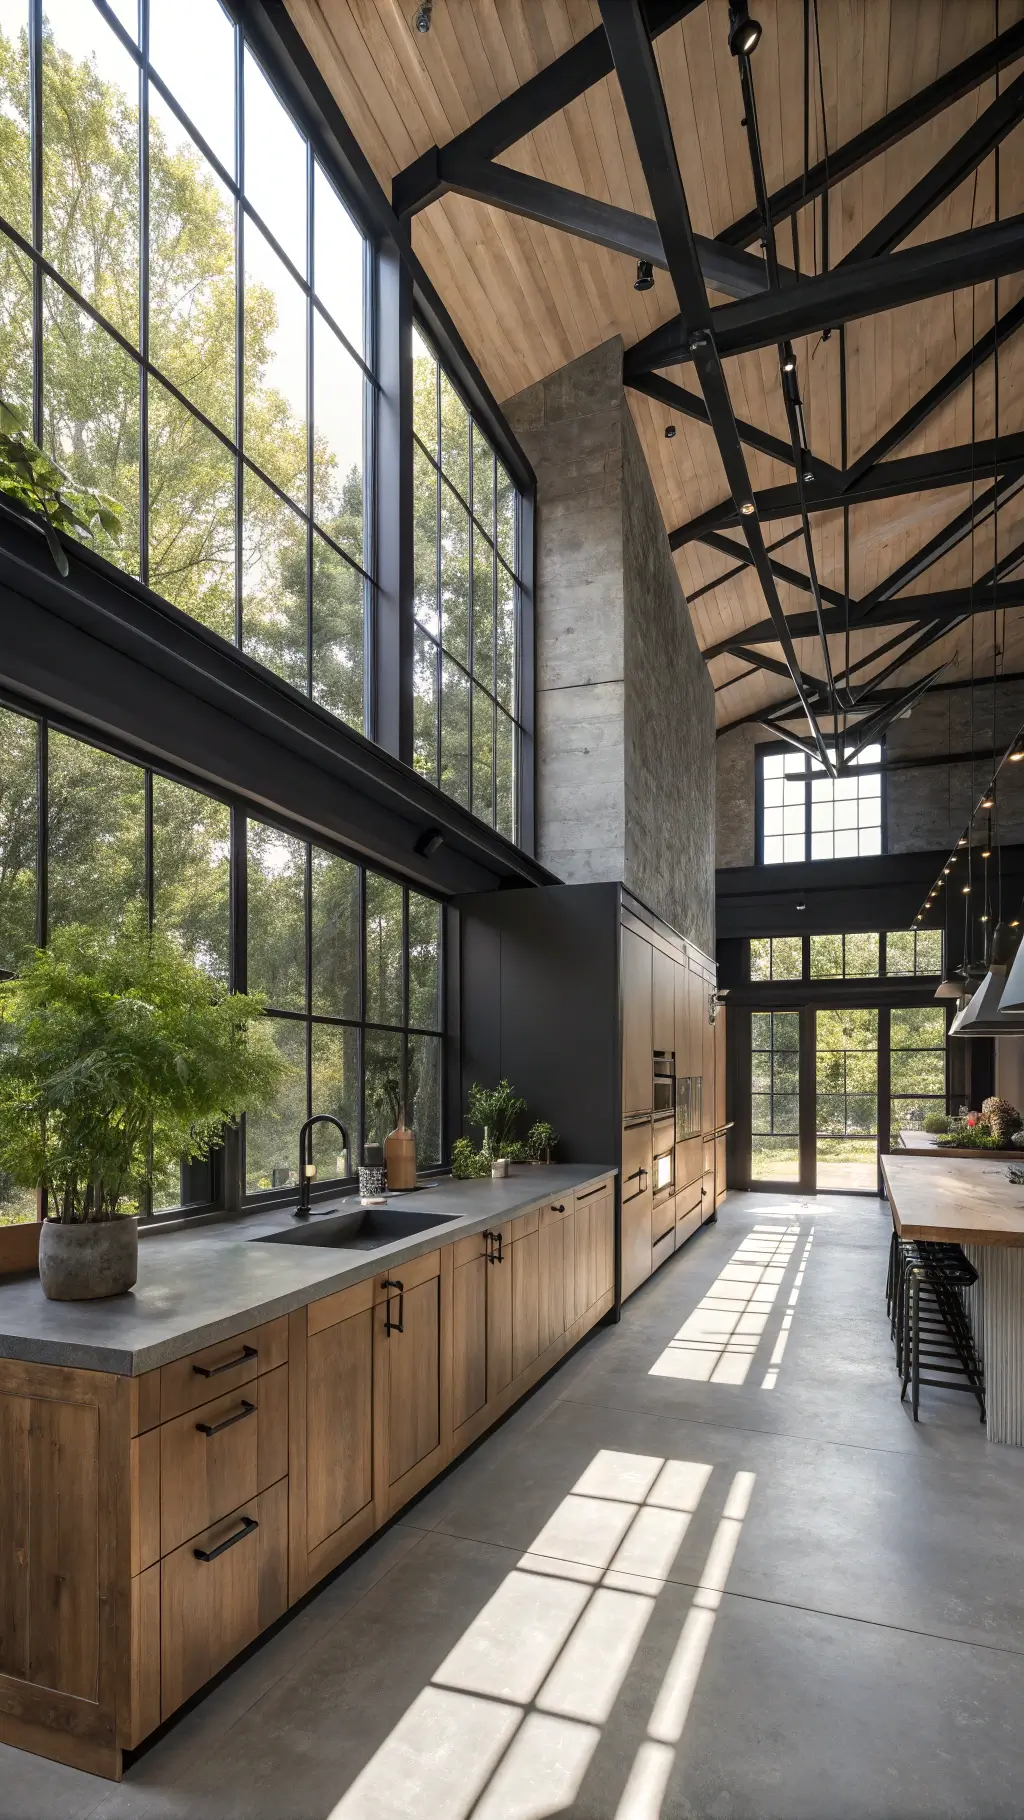
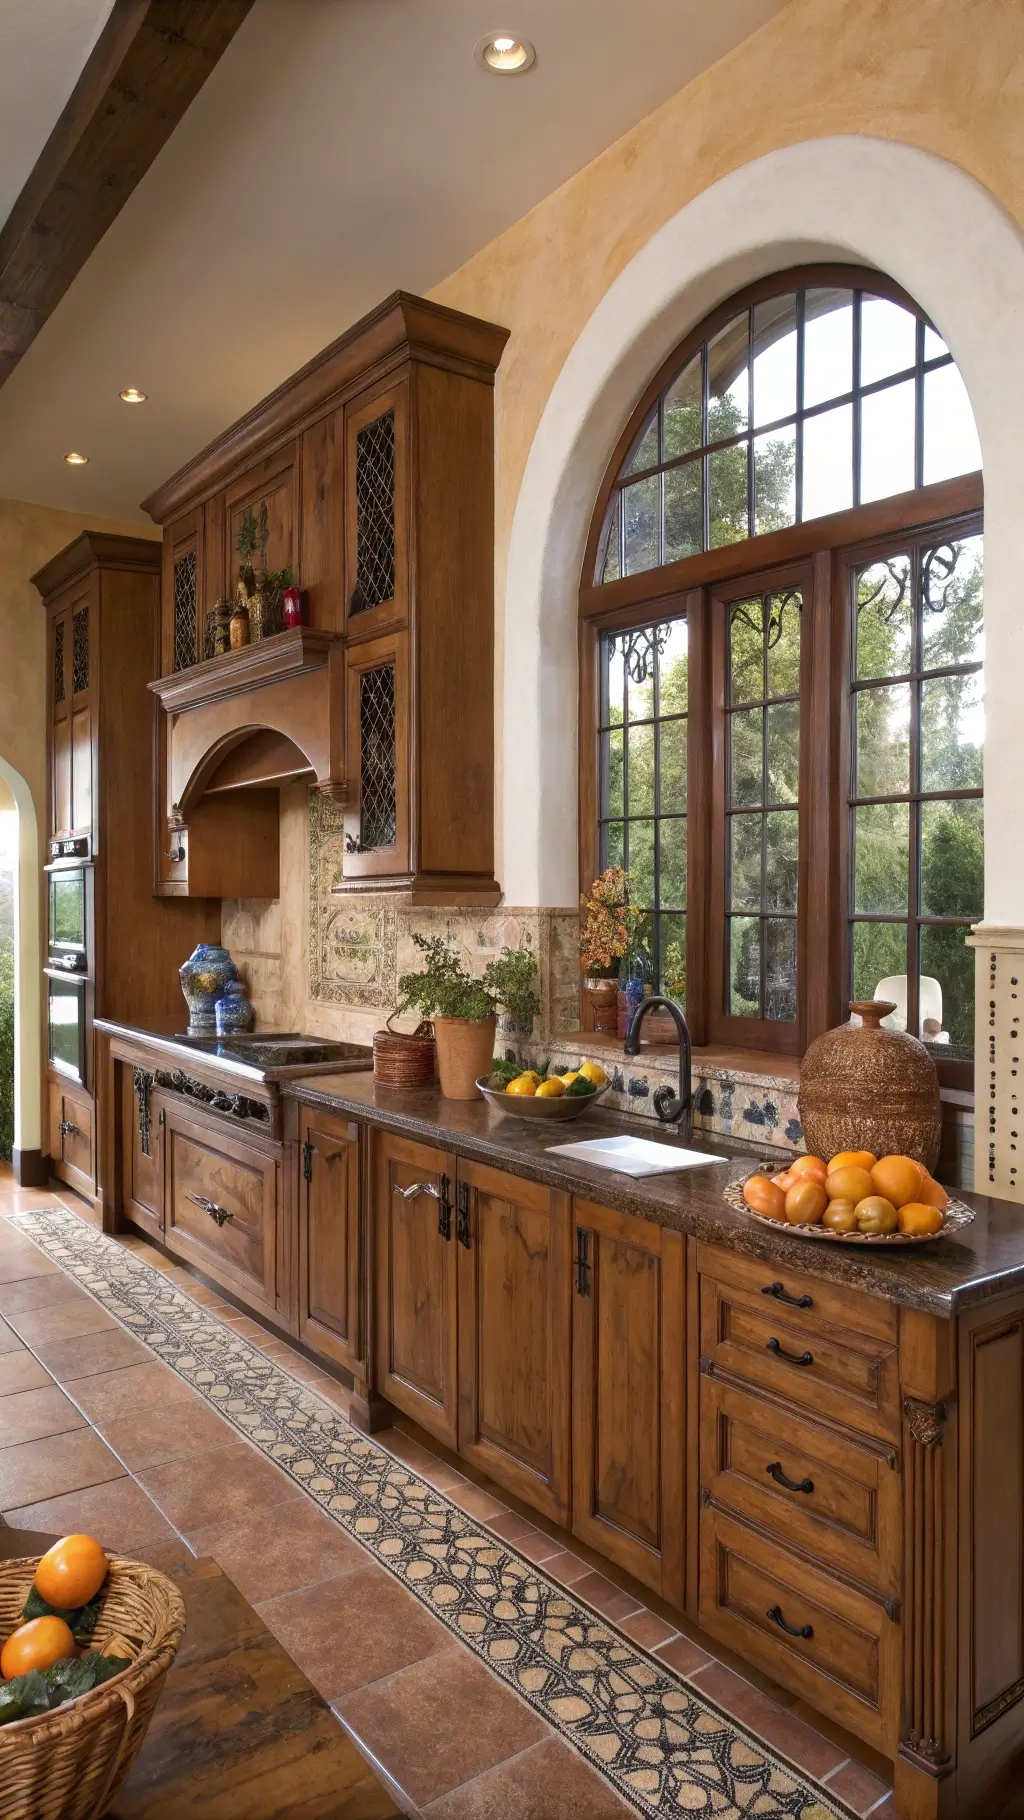
Stained kitchen cabinets are more than just storage – they’re the heartbeat of your kitchen’s visual narrative. These beauties transform ordinary spaces into extraordinary design statements, capturing wood’s natural personality with every grain and tone.
The Magic is in the Details
What Makes Stained Cabinets Photogenic:
- Reveals wood’s natural texture
- Offers incredible color depth
- Creates visual warmth
- Adaptable to multiple design styles
Your Photography Toolkit: What You’ll Need
Essential Gear
- High-resolution camera or smartphone
- Sturdy tripod
- Soft, diffused lighting
- Complementary props
- Photo editing software
Pro Tip Checklist
- Lighting: Natural window light is your best friend
- Timing: Shoot mid-morning or late afternoon
- Composition: Follow the rule of thirds
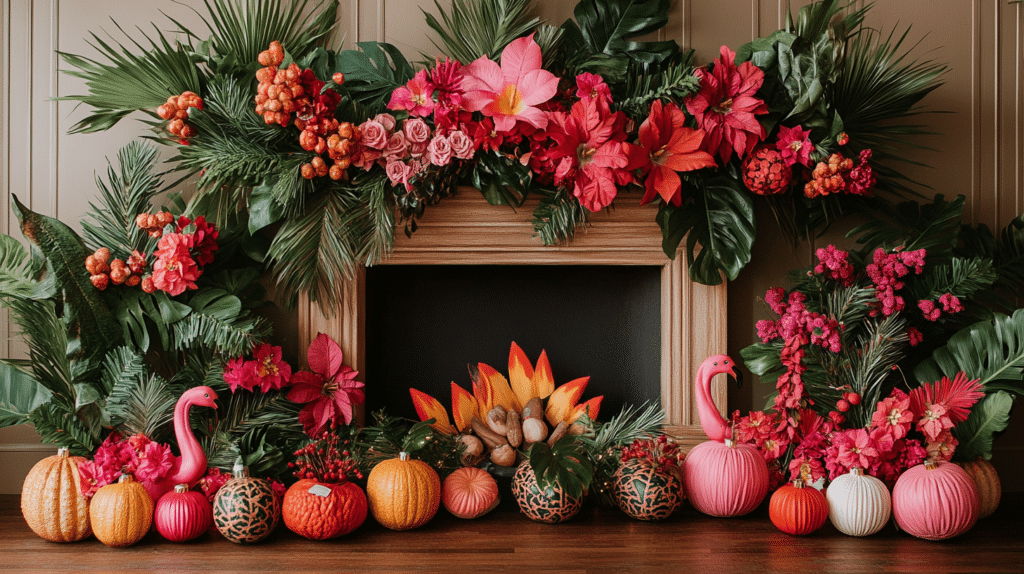
Styling Secrets That Make Cabinets Pop
Prop Selection Matters
- Wooden cutting boards
- Ceramic kitchen tools
- Fresh herbs in terracotta pots
- Vintage cookbooks
- Metallic accents for contrast
Warning: Less is more. Avoid cluttering your frame.
Technical Photography Techniques
Camera Settings for Perfect Shots
- ISO: 100-400
- Aperture: f/5.6-f/8
- White Balance: Daylight setting
- Focus: Sharp on wood grain and hardware
Composition Tricks
- Shoot from multiple angles
- Capture wide shots and detailed close-ups
- Use negative space strategically
- Highlight unique hardware and wood grain
Post-Production Magic
Editing Must-Dos
- Adjust exposure
- Correct color temperature
- Enhance wood grain details
- Maintain natural look
Pro Hack: Create multiple pins from same photoshoot for maximum content potential.
Platform-Specific Optimization
Pinterest Perfection
- Vertical aspect ratio (2:3)
- High-resolution images
- Descriptive, keyword-rich captions
- Pin during peak hours (morning/evening)
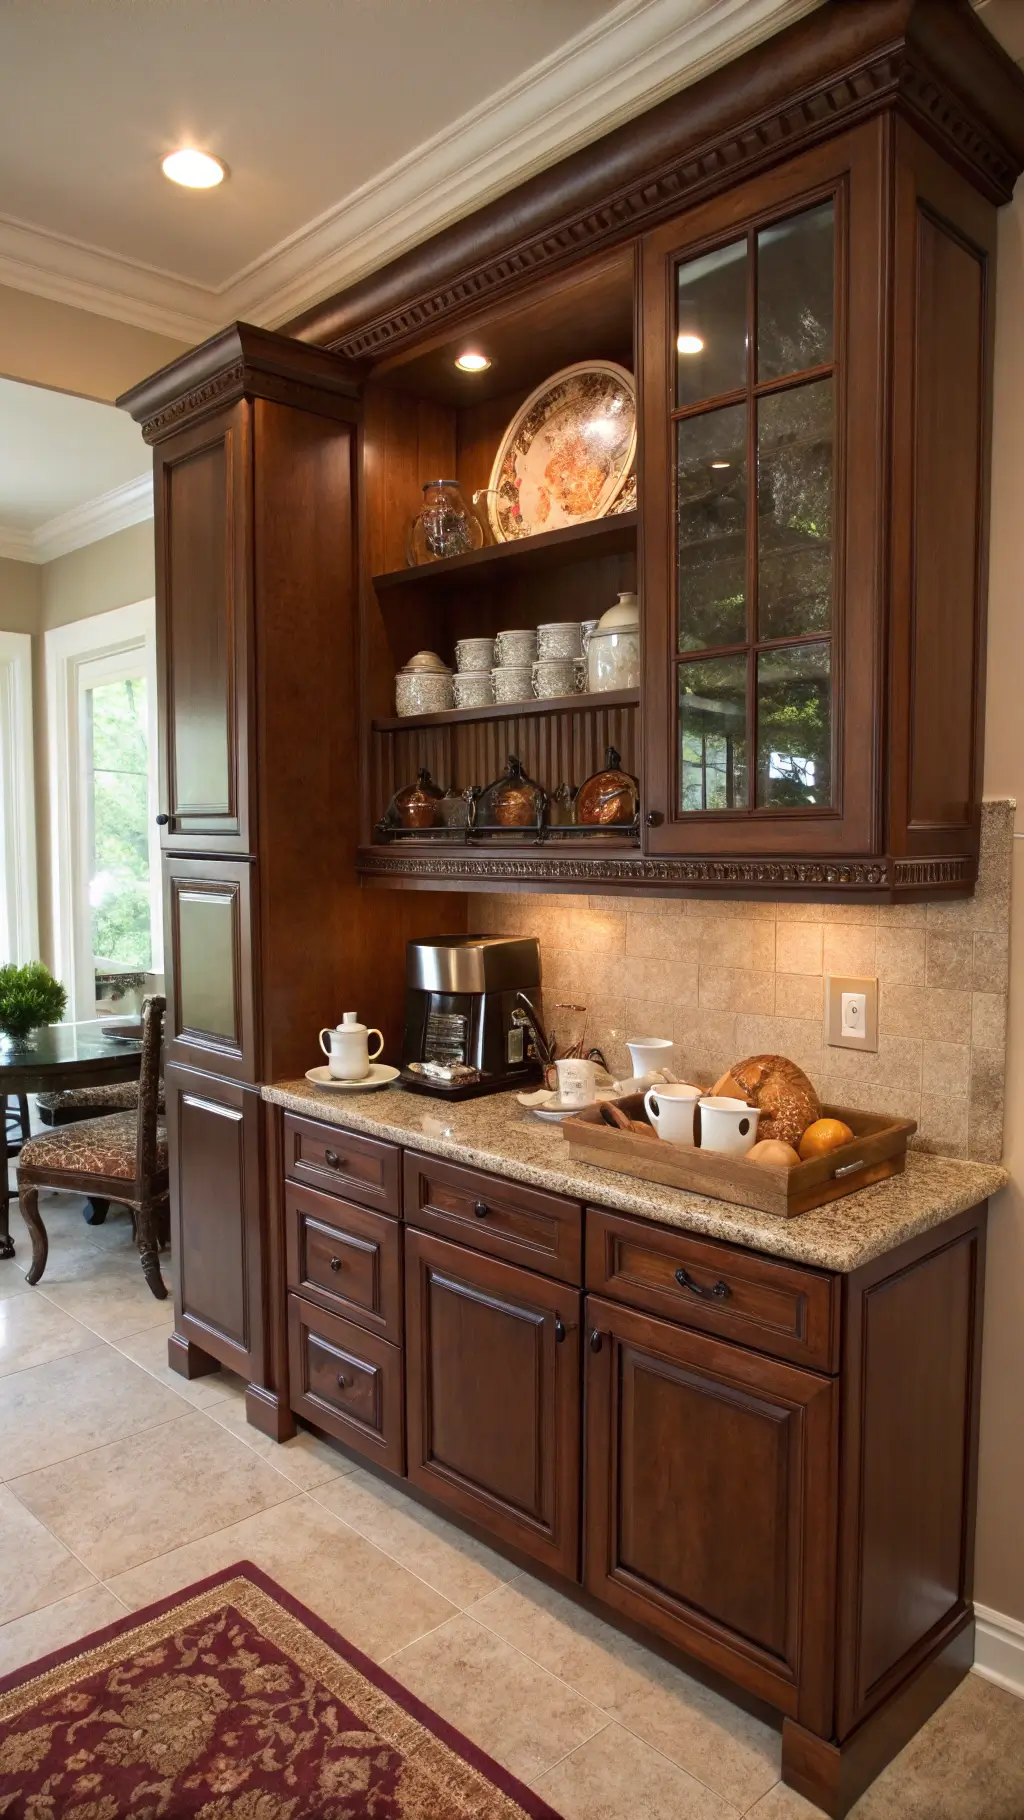
DIY Staining: Quick Reference
5-Step Cabinet Transformation:
- Remove hardware completely
- Deep clean surfaces
- Light sanding for smooth finish
- Apply stain + polyurethane
- Reinstall hardware
![]()
Common Mistakes to Avoid
- Harsh, direct lighting
- Overcrowded scenes
- Ignoring wood grain direction
- Inconsistent color correction
Final Thoughts
Stained cabinets hide damage. Paint shows every chip. Stain absorbs the evidence and asks no questions. That is why I chose it.